
If you're looking to add a handmade touch to your holiday decorations, this crochet pattern for Christmas stars and garland is the perfect project. With simple stitches and a bit of festive yarn, you can create delicate stars and charming little pelotitas to wrap around your tree.
Crochet Stars And Garland
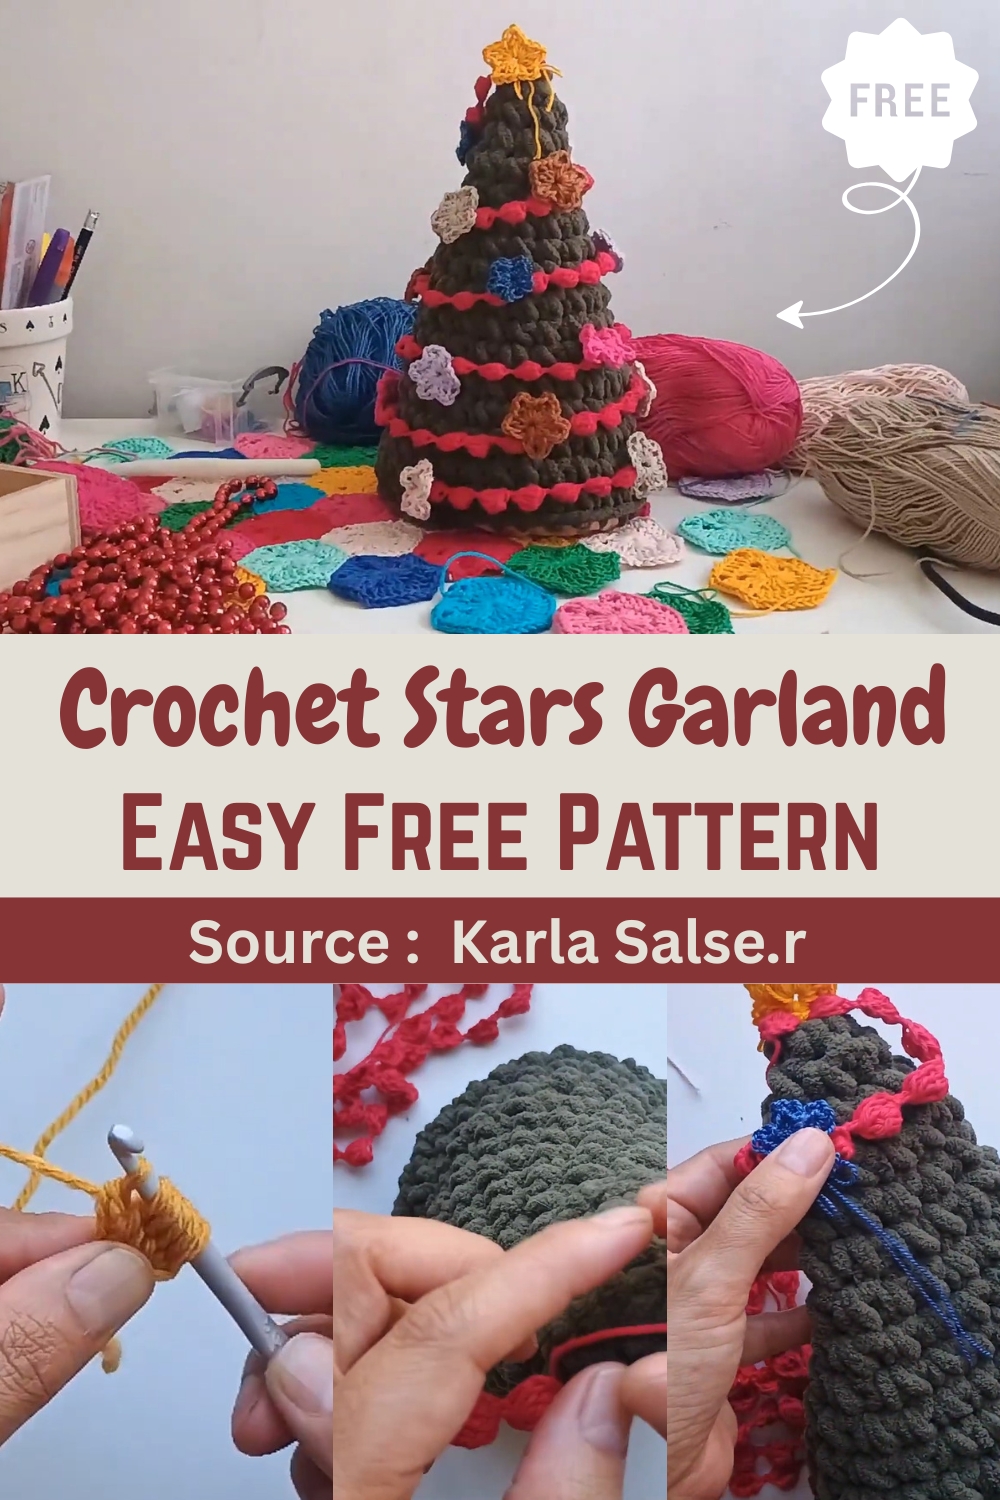
The design is both easy to follow and fully customizable in color and length, making it ideal for beginners and experienced crafters alike. This pattern allows you to personalize your décor while skipping the glue and opting for a neat, secure finish using just your yarn. Whether you’re decorating a mini tree or a full-sized pine, this set of crochet stars and garland will bring that cozy, magical feel every Christmas tree deserves.
Crocheting the Stars
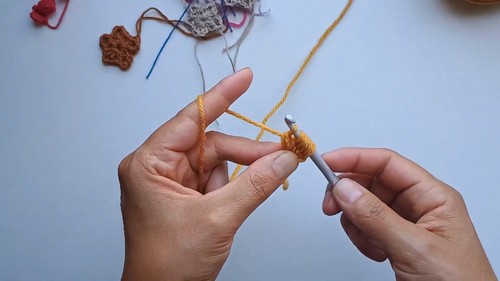
- Begin with a magic ring.
Inside the magic ring:
- Make one single crochet.
- Make one double crochet.
- Chain two.
- Make another double crochet.
- Repeat the above steps four more times to form a total of five points.
- Pull the center yarn to close the magic ring tightly.
- Cut the yarn, leaving a long tail for sewing.
- Thread the tail onto a yarn needle.
- Pass the needle through the first single crochet stitch to secure the star.
Crocheting the Garland (Pelotitas)
- Begin with a magic knot.
- Chain three.
In the first chain stitch:
- Make five double crochets without completing them.
- You should have six loops on the hook.
- Yarn over and pull through all six loops on the hook.
- Chain one to secure the pelotita.
Repeat the process:
- Chain three.
- Make five incomplete double crochets into the first chain.
- Pull through all loops and chain one to secure.
- Continue this pattern until you reach the desired garland length.
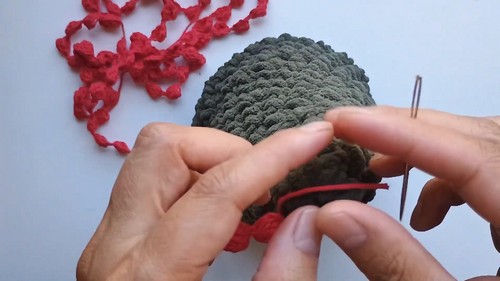
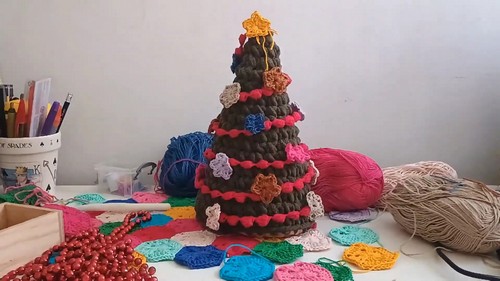
Decorating the Tree
- Start decorating from the top of the tree downward.
- Place a star at the tip of the tree.
- Begin wrapping the garland around the tree.
- Use the yarn tails from the stars to sew them onto the tree.
- Pass the yarn needle through the stitches of the tree to secure the stars.
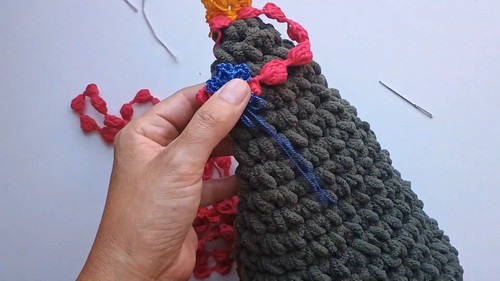
- Tie the garland to the star’s yarn tails between each pelotita.
- Avoid using glue by securely tying the pieces together with yarn.
- Attach more stars at intervals along the garland to keep it in place.
- For a cleaner look, trim any excess yarn tails—except for the top star.

Leave a Reply