
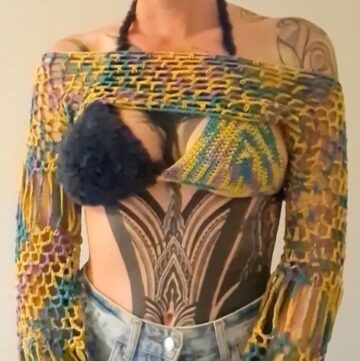
If you're looking to add a cozy, stylish touch to your wardrobe, crocheting shrug sleeves is a fantastic way to elevate your fashion game. This step-by-step crochet pattern guides you through the process of creating your own shrug sleeves, designed to fit perfectly while offering a comfortable, relaxed look.
Crochet Shrug Sleeves
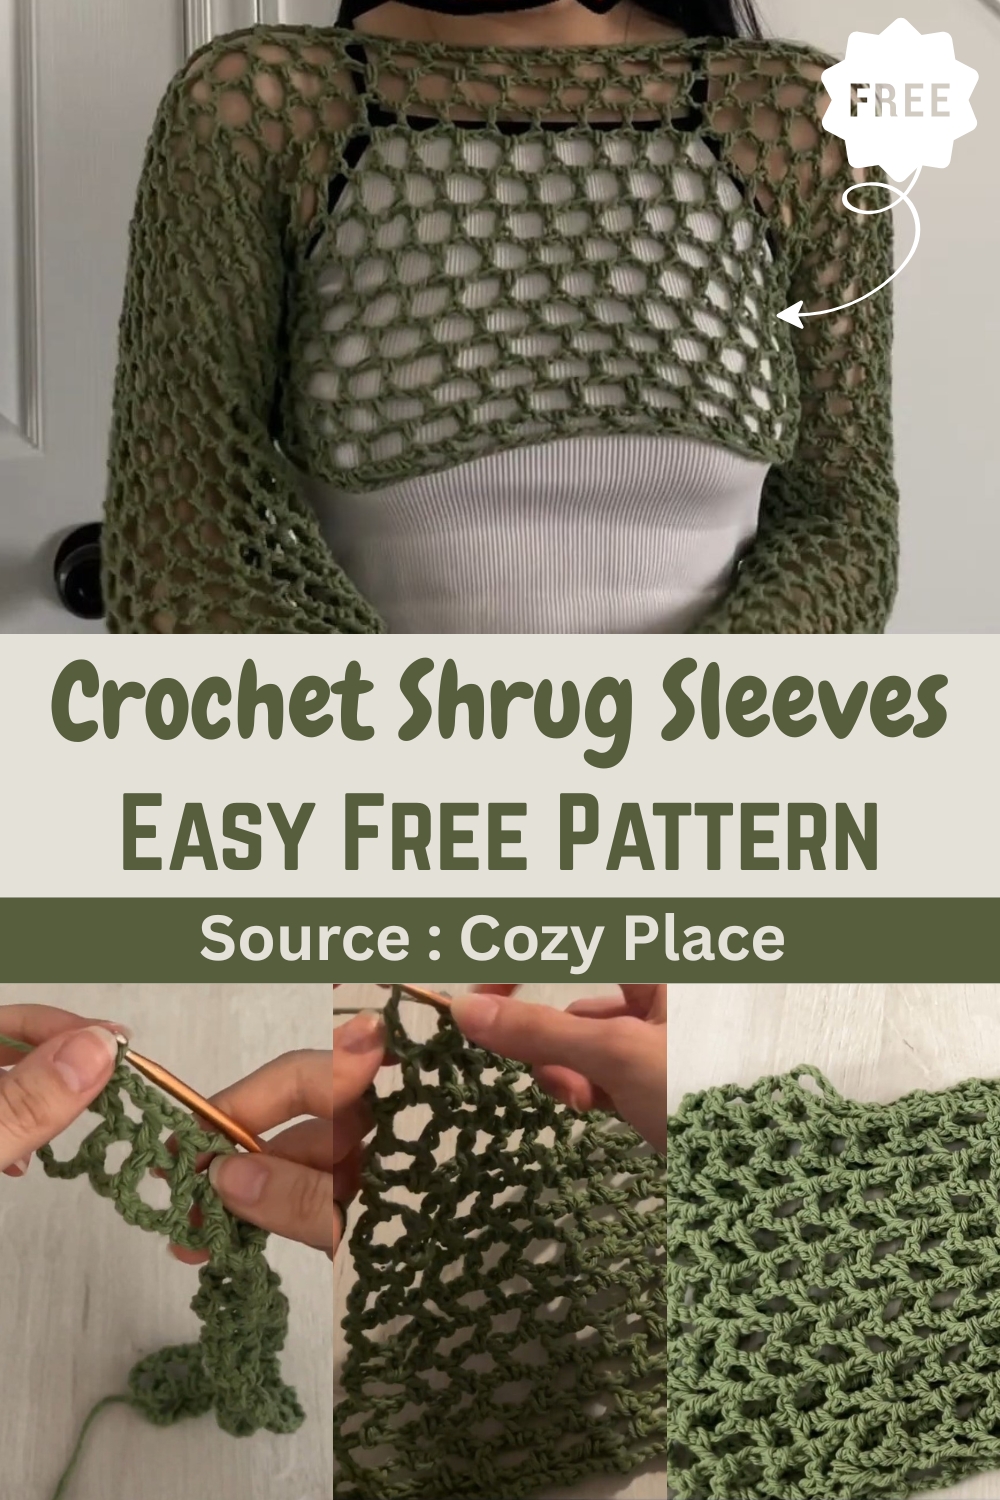
The pattern is versatile, allowing you to adjust the sizing based on your measurements, and the result is a chic and cozy accessory that can be worn in any season. Whether you're a beginner or more advanced, this project offers an accessible yet rewarding challenge. Plus, once you've mastered it, you can easily customize your design with different yarns or embellishments to suit your personal style.
Foundation Chain (Front Panel Width)
- Create a slip knot.
- Make a foundation chain that is half of your bust measurement (e.g., for a 34-inch bust, chain 17 inches worth of stitches).
- Ensure your number of chains is even for consistent stitch pattern.
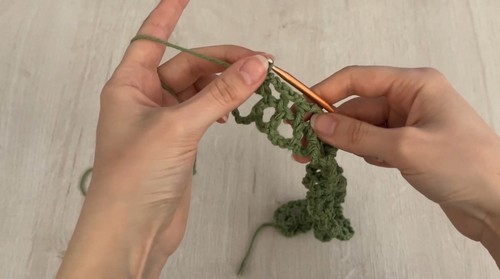
First Row
- Chain 10 more stitches.
- Create one double crochet into the 10th stitch from the hook.
- Pattern: Chain 3, then create a double crochet into the fourth stitch from the hook. Repeat this pattern until the end of the row.
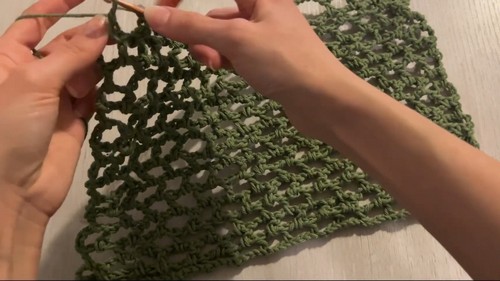
Subsequent Rows (Front Panel Length)
- At the end of the row, chain 6 and flip your work over.
- Continue the exact same pattern: create one double crochet into the chain space, chain 3, and then create another double crochet until the end of the row.
- Repeat this process (chain 6, flip work, continue pattern) to create as many rows as needed for the desired length of the front panel.
- Remember the number of rows created for the front panel.
Back Panel (Starting the Neck Hole)
- Once the front panel is finished, chain 6 and flip your work over.
- Create double crochets into the chain spaces to form the neck hole. The number of double crochets will depend on your desired neck size (e.g., four double crochets into chain spaces on both sides for the example project).
Connecting the Neck Hole
- Chain 31 stitches to connect from one side of the neck hole to the other (for size small; adjust for other sizes).
- Connect this chain into the fifth chain space from the end by making a double crochet.
- Create four more double crochets into the next four chain spaces.
Continuing the Back Panel Pattern
- You should have already chained 6. Create a double crochet into the next four chain spaces.
- Into the Chain: Count four chain spaces from the little pole (where you connected the neck chain) and create a double crochet into the fourth one.
- Continue this pattern, counting four chain spaces and creating a double crochet into the fourth one, along the chain you just created.
- Continue by creating double crochets into the next chain spaces until the end of the row.
- Create the same amount of rows for the back panel as you did for the front panel.
Attaching Front and Back Panels (Creating Armholes)
- Line up the front and back panels evenly.
- Connect them using slip stitches. Start by creating a slip stitch into the first chain space.
- Continue creating slip stitches into the stitches above the "little poles."
- The number of stitches you connect will determine the size of your armhole (e.g., four chains connected for size small).
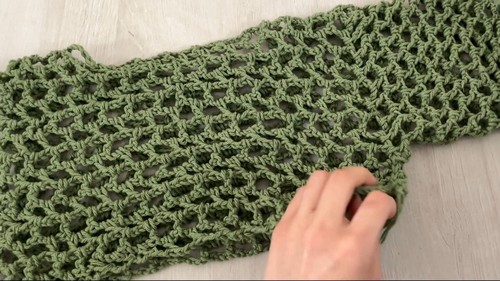
Creating the Sleeves
- Once you have created the desired armhole space, chain 3.
- Create a double crochet into the next chain space.
- Continue working in a spiral, creating double crochets all around, to form the sleeve length you desire.
- Remember how many rows you created for the first sleeve to ensure the other sleeve is equal.
Attaching for the Second Sleeve
- To connect the other side for the second sleeve, insert your hook through the first two spaces you want to connect.
- Attach the yarn and pull it through those two chain spaces.
- Chain 1.
- Start connecting the other spaces, ensuring you connect the same number of spaces as the first sleeve (e.g., four spaces).
- Repeat the sleeve creation process from step 8.
Finishing
- Weave in any loose yarn ends.
Leave a Reply