
This easy crochet polo shirt pattern is perfect for beginners, offering a stylish and versatile piece to add to your wardrobe. Using the mesh stitch, this design allows for a breathable, lightweight fabric that is ideal for warm weather or layering.
Crochet Polo Shirt
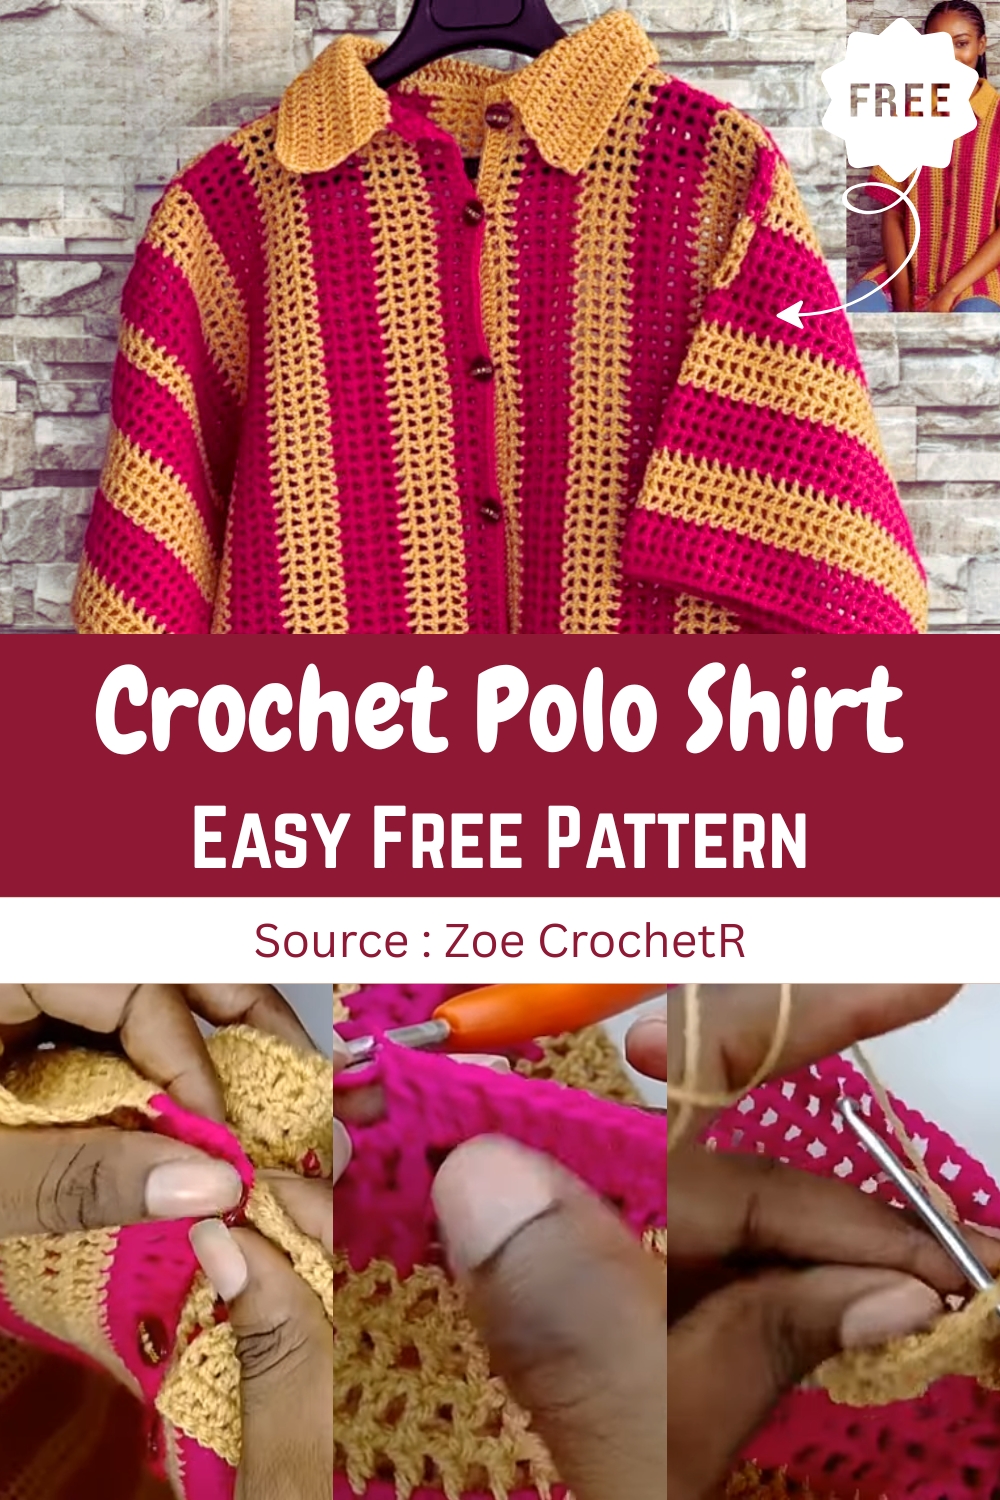
Whether you're crafting it for yourself or as a gift, this pattern gives you the opportunity to customize the fit and size, with clear instructions to guide you through creating three main panels: the back piece and two front pieces. The assembly is simple, with easy-to-follow steps to add sleeves, a collar, and buttonholes. It's a fun project to tackle, and once completed, you'll have a chic, wearable polo shirt ready for any occasion.
Materials and Gauge
- Yarn: Lightweight yarn
- Hooks: 3.5 mm (starting hook), 3 mm (main hook)
- Notions: Tapestry needle, stitch markers, scissors
- Size (Example): Size S (Measurements should be adjusted for other sizes)
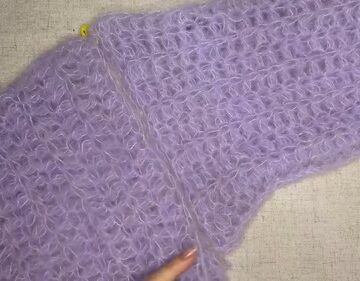
Main Body Panels (Mesh Stitch)
The body of the shirt is made of three flat panels: one back piece and two identical front pieces.
Foundation Chain
- Create a slip knot and begin your foundation chain.
- The stitch requires a multiple of three, but it's recommended to make the chain longer than your required length (e.g., an extra 17 cm) because the pattern strings up as you work.
- Adjusting Excess Chain: Once Row 1 is complete, count 3 stitches back from the last stitch, cut the excess chain, and pull the tail to secure the foundation edge.
Mesh Stitch Pattern
The pattern is worked in turning rows:
Panel Dimensions (Size S Example)
Ensure all three panels have the same exact length.
- Back Panel: Width = 46 cm
- Front Panels (2): Width = 23 cm each
Assembly and Seaming
- Sleeve Marking: Lay the panels flat with the right side facing up.
- Use stitch markers to mark the length of the sleeve opening from the top edge.
- The example uses 18 cm.
- Side Seam: Starting from the bottom, use a tapestry needle to sew the side seams up to the sleeve marker.
- Sew through the inside loops only for a clean seam.
Shoulder Seam:
- Mark the desired shoulder width (e.g., 15 cm for a size S) from the sleeve opening.
- The unseamed space between the shoulders will be the polo V-neck opening (e.g., 16 cm).
- Turn the work to the wrong side and sew the shoulder seams closed up to the V-neck allowance.
Sleeves and Front Edging
Front Opening Edging
- To tidy the raw edge of the front opening, attach your yarn and work a row of Single Crochet (SC) down the side.
- Make 2 SC into each chain-one space/row end along the edge.
Button Band and Buttonholes
Work a row of Double Crochet (DC) along the SC edging on both sides.
Buttonhole Side (Right Side for Women):
- Work a total of 19 DC (or 11 DC as originally suggested).
- Create a Buttonhole:
Chain 1, skip the next space, then DC in the next stitch. - Repeat this sequence (19 DC, Buttonhole) down the front opening.
Opposite Side (Left Side):
- Attach yarn at the top (neck opening).
- Chain 3 (counts as 1st DC).
- Work 1 DC in every stitch and space down the side, ensuring the two sides align and face the front.
Sleeves
- Start of Row 1: Attach yarn at the bottom of the sleeve opening.
- Chain 4 (counts as 1 DC + Chain 1).
- Work the mesh stitch pattern (DC on the stitch, Chain 1) around the armhole opening.
- Close the row with a Slip Stitch into the 3rd chain of the starting Chain 4.
- Subsequent Rows: Turn your work after each row to maintain the mesh pattern alignment.
- Repeat the mesh pattern until the desired sleeve length is reached (e.g., 15 cm or 18 rows from the armpit).
Collar
The collar is worked in rows around the neck opening, starting at the bottom edge of the button band.
- Row 1: Attach yarn. Chain 3 (counts as 1st DC).
- Make 2 DC into each chain-one space/row end around the entire neck opening.
- Row 2 (Increase Row): Chain 3, turn.
- Make an increase (2 DC) in the same stitch.
- Work 1 DC in each stitch across the row until the last stitch, where you make another increase (2 DC).
- Row 3 (Increase Row): Repeat Row 2.
- Subsequent Rows: Continue with or without increases until the collar is the desired size.
- The example uses a total of 7 rows.
- Finishing: Sew on buttons to align with the buttonholes on the opposite placket.

Leave a Reply