
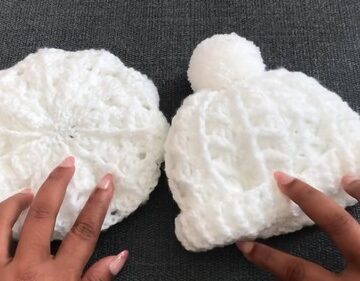
Create your own Crochet Bucket Hat featuring an easy fit and rounded crown. This Crochet Bucket Hat detailed guide offers simple steps to shape a brimmed style that feels great on warm days and adds sweet, handmade flair to casual wardrobes.
Crochet Bucket Hat

The project starts from the crown and works downward, allowing you to adjust the fit and brim size as you go. Whether you’re creating a breezy summer accessory or a trendy everyday piece, this crochet bucket hat is a quick and satisfying project that’s fun to customize with your favorite yarn colors.
Materials
- 6 mm yarn
- 6 mm crochet hook
- Yarn needle
- Scissors
The Crown
- Begin with a Magic Ring.
- Chain up and work Double Crochet (DC) or Half Double Crochet (HDC) stitches into the ring.
- Slip stitch to join or continue in a spiral.

- Continue increasing evenly in each round to keep the crown flat.
- Stop when the flat circle matches the top of your head.
The Body

Stop increasing and work even rounds using DC or HDC stitches.
- Continue until the body reaches your preferred height.
For a mesh look, use a pattern like [DC, chain 1, skip 1 stitch] and repeat around.

The Brim
- Start increasing again to form the brim. For example, work
[HDC in next 4 stitches, 2 HDC in next stitch]and repeat. - Optionally, work in Front Loop Only (FLO) for a neat fold line.
- Continue adding rounds until the brim reaches your desired width.

- Fasten off and weave in ends neatly.


Leave a Reply