
The Mystic Glow Hexagon Cardigan is a stylish and unique crochet project perfect for those looking to add a cozy, sparkling piece to their wardrobe. This cardigan is made up of two hexagons, joined together for a flattering fit. It utilizes the treble crochet stitch for the body and front post double crochet for the sleeve cuffs, which gives it both a textured and refined look.
Crochet Hexagon Cardigan
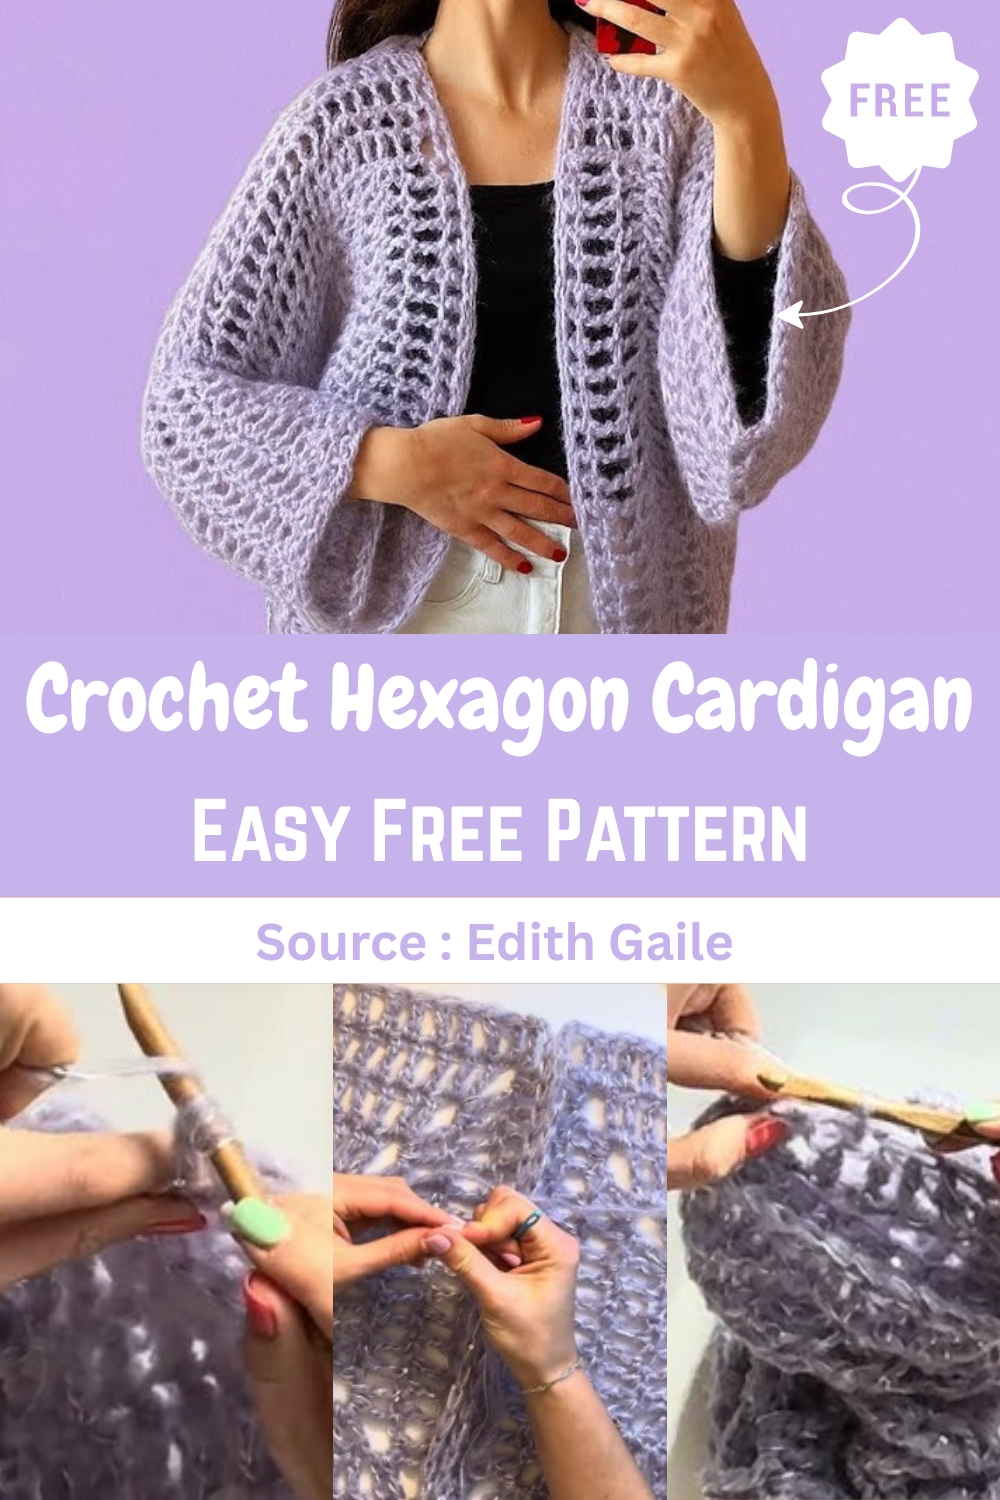
The addition of sparkly yarn provides a beautiful glow, making this piece perfect for casual outings or special occasions. With its customizable size options, this pattern can be adjusted to suit different fits, ensuring that everyone can enjoy a little touch of mystic charm in their closet.
Materials
- Yarn: Light yarn (acrylic, mohair, poly mix) combined with a sparkly yarn (one strand of each yarn).
- Hook: Size 8 mm.
- Other: Scissors, stitch markers, tapestry needle for seaming.
Hexagon Construction (Make Two)
The core of the cardigan is two matching hexagons.
- The pattern is worked in rounds.
Foundation: Ch 4, sl st to the first ch to form a ring.
Round 1: Ch 4 (counts as 1st tr).
- Work (tr, ch 3, tr) 5 times into the ring.
- Sl st to the 4th ch to join.
- You should have 6 corner spaces and 6 treble crochet posts.
Round 2: Ch 4 (counts as 1st tr).
- Work 1 tr in each tr from the previous round until you reach the corner.
Corner: Work (2 tr, ch 3, 2 tr) in the ch-3 space.
- Repeat the side stitches and corner all around.
- Sl st to the 4th ch to join.
- The side stitches will increase with each round.
Subsequent Rounds: Repeat Round 2, working 1 tr in every tr stitch along the sides, and (2 tr, ch 3, 2 tr) in every corner space.
- Continue until the hexagon is the desired size.
- The designer suggests 11-13 rows for an oversized look, or fewer for a smaller fit.
- The completed hexagon should fold into an 'L' shape.
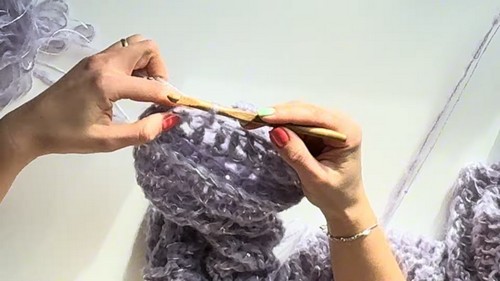
Assembly and Seaming
Once both hexagons are completed, you will join them using a needle and yarn (use the non-glitter yarn for seaming).
- Back Seam: Place the two hexagons with the right sides facing together.
- Sew the two center back edges together from the middle of the neck opening down to the bottom.
- Shoulder Seams: Sew the top edge of each hexagon together to form the shoulders, leaving the last two corner spaces open for the neck/collar area (adjust for size).
Adding Length to the Bottom (Optional)
The back is shorter than the front, and this step adds length to the bottom edges.
- Join yarn at the bottom edge and work in the same manner as the hexagon rounds.
- Sides: Work 1 tr in every stitch.
- Corners: Work a corner increase of (2 tr, ch 3, 2 tr) in the corner spaces.
- Repeat all the way around the bottom edge of the cardigan.
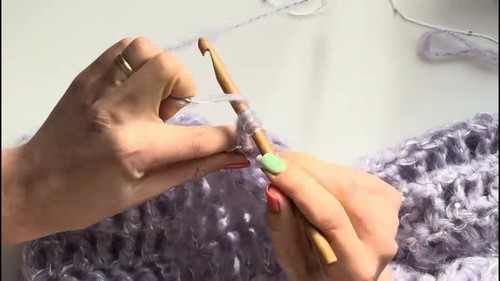
Sleeves
- The sleeves are worked in the round directly from the armhole opening.

Sleeve Round 1 (Foundation):
- Join the yarn in the middle of the underarm seam.
- Work 1 tr in every stitch around the armhole opening.
- In the seam area, work 2 tr (one on each side of the seam).
- Sl st to the 4th ch to join.
For Sleeve Length Rounds (Rounds 2-6):
- Ch 4, and work 1 tr in every stitch all the way around.
- Sl st to join.
- Repeat this round until you have your desired sleeve length (the designer suggests 6 rounds for her length, but you can adjust).
Sleeve Cuff/Ending

This section uses the Front Post Double Crochet (fpdc) to create a ribbed, tightened cuff.
- Cuff Round 1 (Decrease): Ch 3. Work (fpdc, fpdc together, 1 fpdc alone).
- Repeat the sequence all the way around. Sl st to join.
- Cuff Round 2 (No Decrease): Ch 3. Work 1 fpdc in every stitch (including the decreased stitches).
- Sl st to join.
- Cuff Round 3 (Decrease): Ch 3. Repeat the sequence from Round 1: (fpdc, fpdc together, 1 fpdc alone).
- Repeat the sequence all the way around. Sl st to join.


Leave a Reply