
The Crochet Ruffle Dress Pattern is the perfect blend of elegance and creativity, offering a timeless design that captures both charm and comfort. With its intricate ruffles and delicate stitches, this pattern brings to life a playful yet sophisticated dress that is ideal for any occasion. This pattern provides an enjoyable challenge, and the result is a stunning, one-of-a-kind garment that will turn heads.
Crochet Ruffle Dress
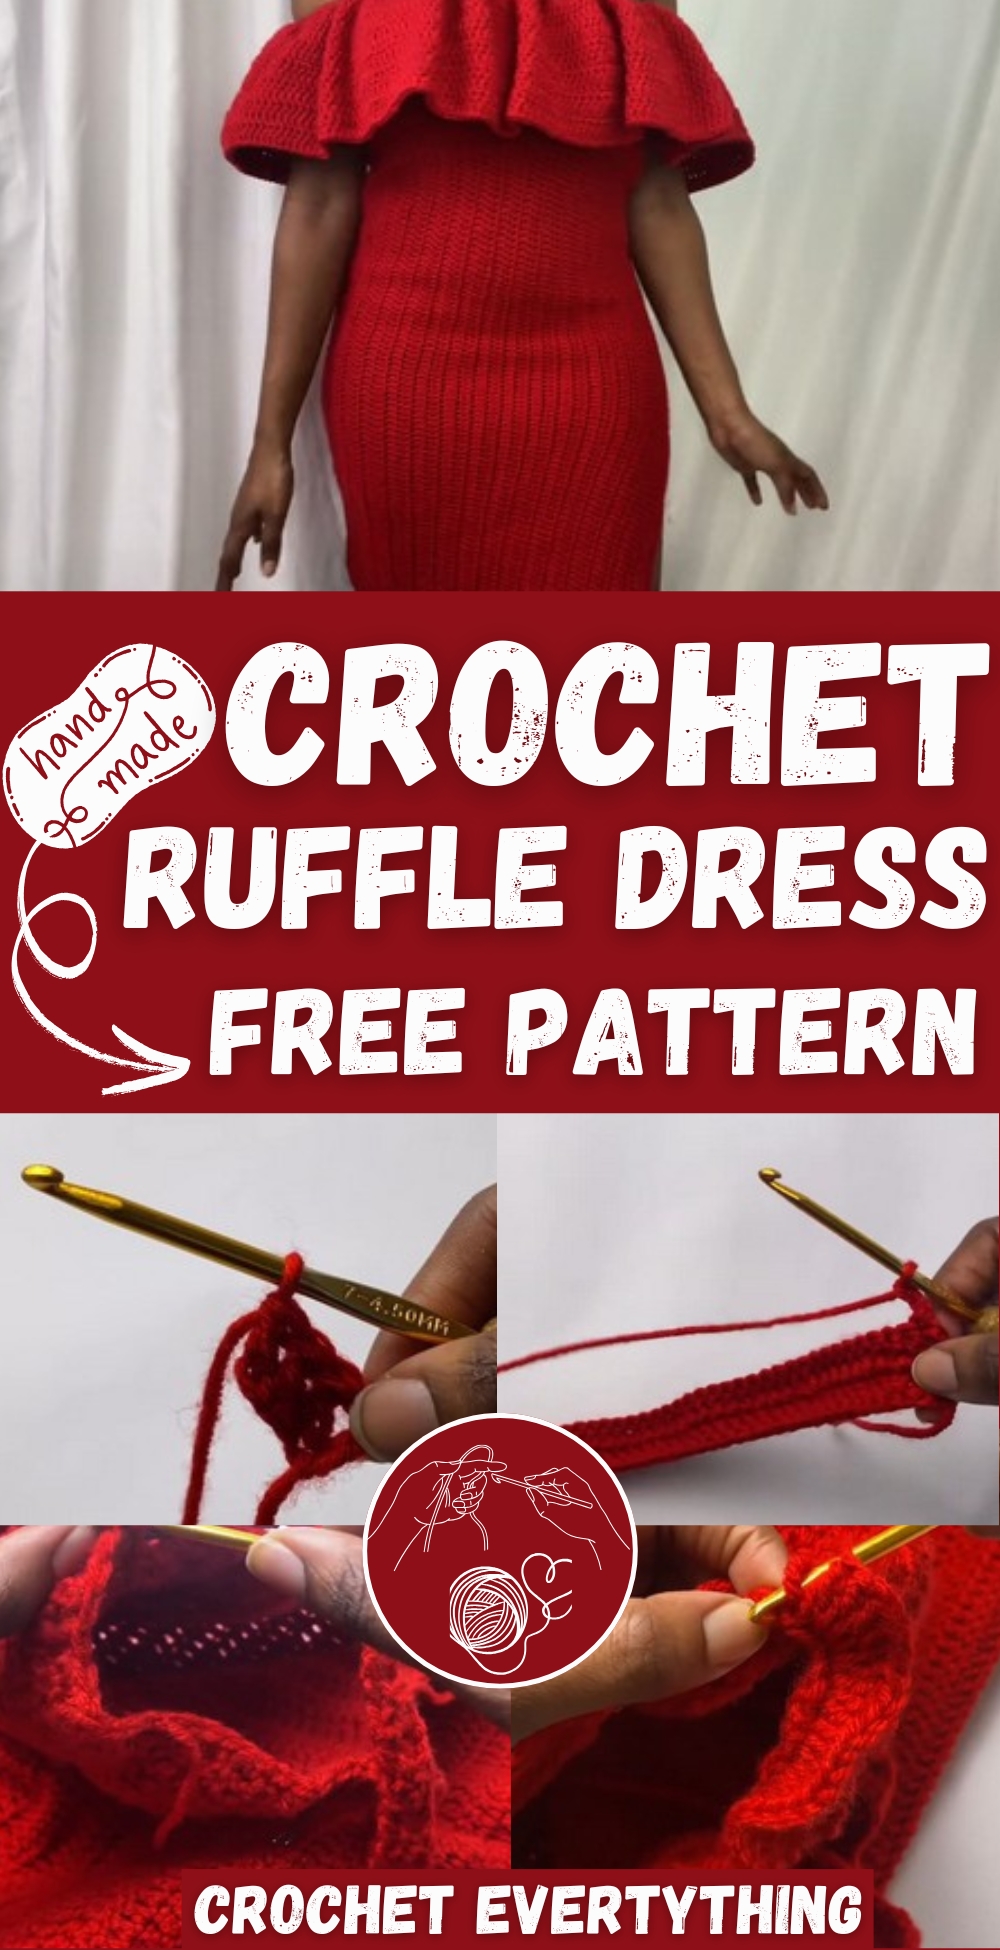
With customizable sizes and endless color possibilities, it's the perfect project to showcase your crochet skills while adding a touch of handmade beauty to your wardrobe!
Materials Needed:
- "I Love This Yarn" in the color red
- Scissors
- Measuring tape
- 4.5 mm crochet hook
- Tapestry needle
Pattern
Starting the Dress:
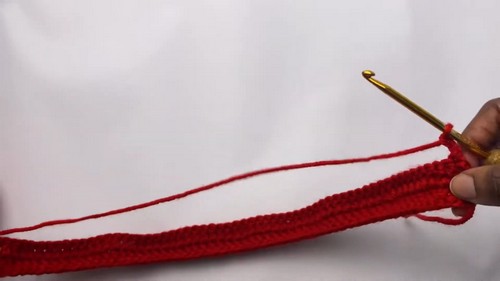
- Begin with a slip knot and create a foundation of double crochets or chain 112 and start in the second chain from the hook to make a total of 111 foundation stitches.
- Once you have your 111 foundation stitches, it should look like a chain.
Working the Body:
- Build the second row by chaining two and turning your work.
- Place a double crochet not in the base of the chain two, but in the next stitch over.
- Continue placing double crochets all the way down until the last stitch where you should place a double crochet in the chain two space.
- For the next 33 rows, repeat the following: Chain two, turn your work, and then place double crochets all the way down. You should have a total of 35 rows when finished.
- Once the first panel is complete, measure it. The example given measures 14.5 inches for one panel size.

Creating the Second Panel:
- Make an identical second panel.
Joining Panels:
- Decide where you want the slit of the dress to be and slip stitch down the panels accordingly, leaving 35-38 stitches open for the slit.
- Pin the side panels together to facilitate the slip stitching process.
Working the Slip Stitches:
- Slip stitch down one side panel completely.
- On the other panel, slip stitch until reaching the point where the slit will start.
- Fasten off and weave in the ends.
Turning the Dress Inside Out:
- Once both panels are attached, turn the dress inside out.
Creating the Top Edging:
- Find the top of the dress and start to create a slip knot.
- Place two single crochets into each row top along the upper edge of the dress.
- Decrease over two rows to shape the top edge.
Creating the Arm Straps:
- Mark off where the arm straps will go.
- Using a slip knot, attach the yarn and chain three to secure it.
- Place two double crochets in the next two stitches.
- Chain two, turn your work, add double crochets, and repeat for 26 rows, or until the desired length.
- Attach the end of the arm strap to the opposite side with single crochets.
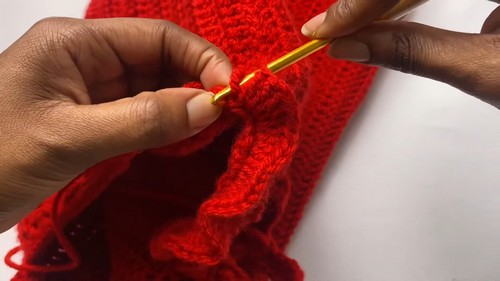
Adding Ruffles to Top Edge:
- Make slip stitches along the top front edge of the dress, stopping at the armholes.
- Chain two, place three double crochets in each slip stitch across the top edge.
- For the ruffle layers, chain two, turn your work, and place one double crochet in every stitch across for as many rows as desired for ruffle length.
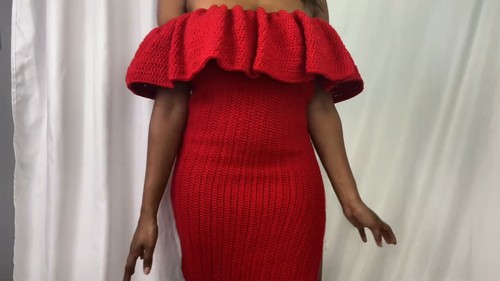
Final Touches:
- Weave in all yarn tails.
- The video ends by discussing the fit of the dress. If you crochet into the chain space where the turning chain came from, you'll have a straight seam at the side instead of a slight curve.
Leave a Reply