
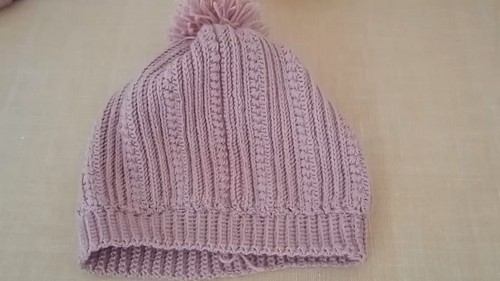
This easy crochet ribbed beanie with a pom pom is a must-have accessory for any toddler. The combination of a unique ribbed stitch and the textured star stitch gives the beanie a stylish yet cozy feel. Sized perfectly for a 2-year-old, this pattern can be customized with various yarn colors to match any outfit.
Crochet Beanie
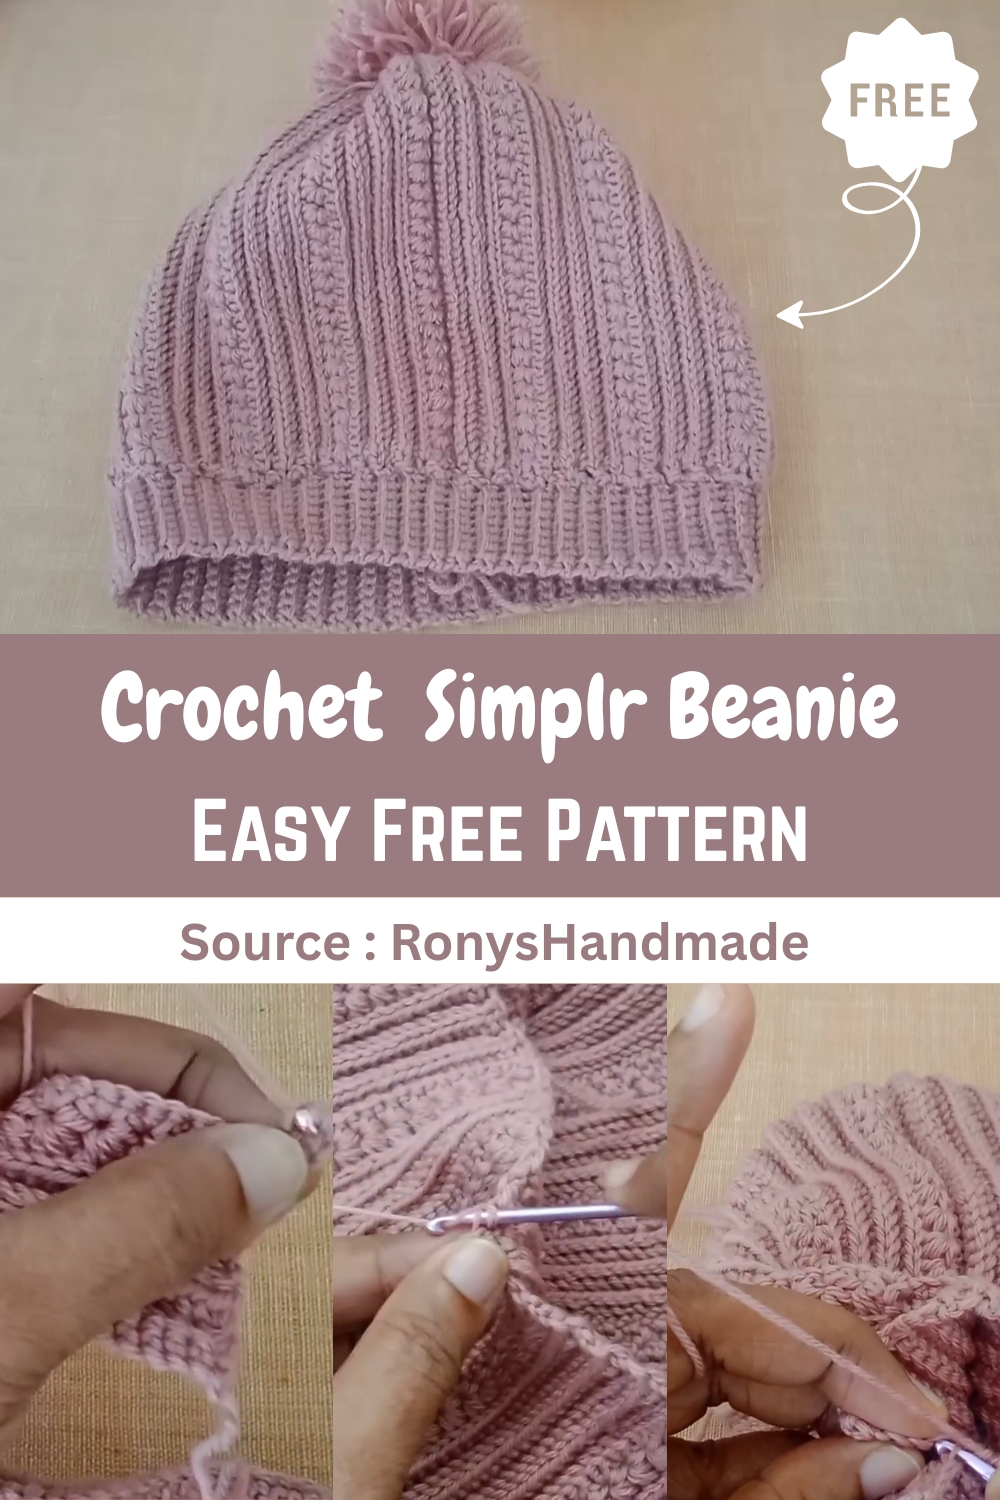
Whether you're crafting a gift for a special occasion or just want to make something cute and functional for your little one, this beanie is sure to keep them warm and fashionable. The addition of a pom pom on top adds a playful touch, making it both trendy and fun to wear.
Materials
- Yarn: 100% fine merino wool.
- Hook: 3.5 mm hook (a 3 mm hook is also mentioned).
- Finished Size (2-Year-Old): Total length (circumference of the head) should be approximately 46 cm (44 to 46 cm).
- Initial Chain Length: 8 inches.
The Main Body Panel
Start the Base:
- Chain until the length reaches 8 inches (the tutorial uses 53 chains).
- Row 1 (Single Crochet): Work Single Crochets (SC) into the back bumps (mid rib) of the starting chain to create a neat edge.
Rib Stitch Rows (The Main Pattern):
- Start of Row: Chain 2 and turn. Skip the first stitch and work a Half Double Crochet (HDC) into the next stitch.
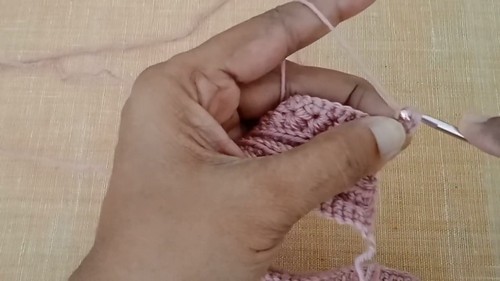
The Stitch:
- Insert the hook into the very first loop of the HDC just made.
- Yarn over and insert the hook into the back loop only of the next stitch.
- Yarn over and pull through (3 loops on hook). Pull yarn through all 3 loops.
- Repeat the stitch across the row.
End of Row: For the very last stitch, insert the hook into both loops (not just the back loop) to complete the final stitch of the pattern.
- Next Row: Chain 2 and turn. Repeat the pattern.
- Finishing a Row (from Row 3 onwards): After completing the pattern repeats, end the row by working a Half Double Crochet (HDC) into the starting chain-2 of the previous row.
- Repeat: Continue working the Rib Stitch rows, ensuring every row ends with a HDC into the previous row's chain-2.
Star Stitch Accent (Texture Rows)
Star Stitch Row (After 4 Rib Rows):
- Chain 3 and turn.
- First Star: Pull up a loop in the 2nd chain from the hook, the next chain, and the back loop of the next three stitches (6 loops on hook).
- Yarn over and pull through all 6 loops. Chain 1 to close.
- Remaining Stars: Pull up a loop in the eye of the star, the first loop of the previous stitch, and the back loop of the next three stitches (6 loops on hook).
- Yarn over and pull through all 6 loops. Chain 1 to close.
- End of Row: Finish the last star and end the row with a Half Double Crochet (HDC) into the starting chain-2 of the previous row.
For Star Stitch Return Row (Single Crochet):
- Chain 1, turn.
- Work Single Crochet (SC) into the very first stitch.
- Work 2 SCs into the eye of each star across the row.
- Finish the row with 1 SC into the last stitch.
- Continue: Repeat the sequence (4 Rib Rows + 1 Star Row + 1 SC Row) until the panel length reaches 46 cm.
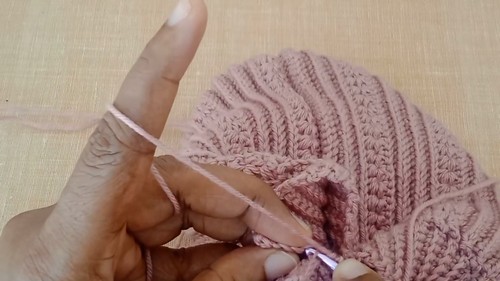
Assembly
- Seam the Beanie: Place the right sides of the panel facing each other. Join the ends using an invisible slip stitch seam.
- Insert the hook, picking up the inner strand from one side and the corresponding strand from the other side, and slip stitch to join.
- Close the Top: Thread the yarn tail through the top edges of the beanie (like a running stitch) and pull tightly to cinch the top closed.
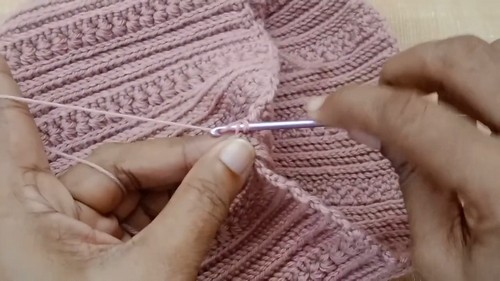
The Ribbed Edging (Rim)
- Starting the Rib: Attach yarn to the bottom edge. Chain 10.
- Row 1: Turn and work Single Crochets (SC) into the back bumps of the 9 chains (to form 9 SCs).
- Joining: Slip stitch into the next space on the beanie edge. Slip stitch into the space after that.
- Rib Stitch: Turn. Skip the slip stitches and work 9 SCs in the back loop only across the row.
- Return Row: Chain 1, turn. Work 9 SCs in the back loop only across the row.
- Repeat: Slip stitch twice into the beanie edge, turn, and repeat the 9 SC (back loop only) rows until the rim circles the entire opening.
- Seam the Rim: Join the two ends of the rim with an invisible seam by working an SC, taking one strand from the front piece and one strand from the back piece for each stitch.
- Final Touches: Attach a pom pom to the top of the beanie.
Leave a Reply