
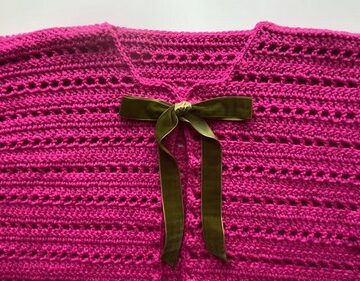
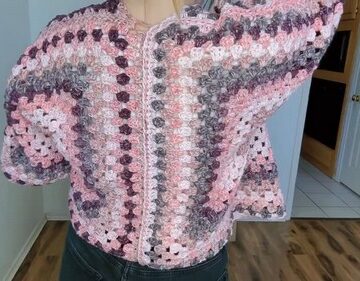
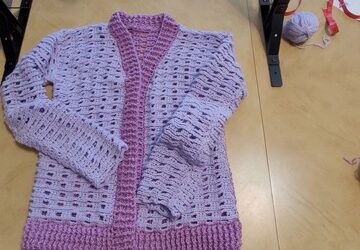
This crochet patchwork cardigan pattern is a fun and creative way to bring the Harry Styles-inspired look into your handmade wardrobe. Made from simple granny squares, this project allows you to play with color and design while keeping the construction easy to follow.
Crochet Patchwork Cardigan

The tutorial guides you through connecting your squares, working neat edges, adding ribbing for a professional finish, and completing the sleeves for a stylish fit. Perfect for layering, this cardigan is versatile, cozy, and a great project for beginners and experienced crocheters alike. You can personalize it by mixing different yarn colors, making it truly one-of-a-kind.
Materials
- Yarn of your choice (varied colors for patchwork effect)
- Crochet hook suitable for your yarn
- Yarn needle for sewing squares and weaving ends
- Scissors
Connecting the Squares
- Sew the granny squares together with yarn, keeping the joins as invisible as possible.
- Connect six squares for the back and six squares for each front side.
- Join four squares across each shoulder.
- On the side seams, attach only the bottom squares and leave the top open for the arms.

Working the Bottom Edge
- Begin at the bottom edge of the cardigan.
- Crochet single stitches all the way around the bottom edge.
Creating the Bottom Ribbing
- Use alternating front post double crochet (fpdc) and back post double crochet (bpdc) stitches.
- Work five full rows of fpdc and bpdc for a ribbed texture.

Working the Front Opening and Collar Edges
- After the single crochet edge around the cardigan opening, chain 3 and work double crochets for the next row.
- Continue working rows until you reach four total.
- On the fourth row, use fpdc and bpdc to create a ribbing effect along the collar and front edges.

Finishing the Arms and Sleeves
- Work around each arm opening using single crochets, followed by fpdc and bpdc ribbing rows.
- Continue until the sleeve edges are finished.
Finalizing

- Weave in all loose ends securely.
- Your crochet patchwork cardigan is ready to wear.

Leave a Reply