
To turn heads with these ultra-trendy granny square pants! This crochet pattern walks you through every step to create a stylish and comfortable pair of pants made from colorful granny squares.
Crochet Granny Square Pants
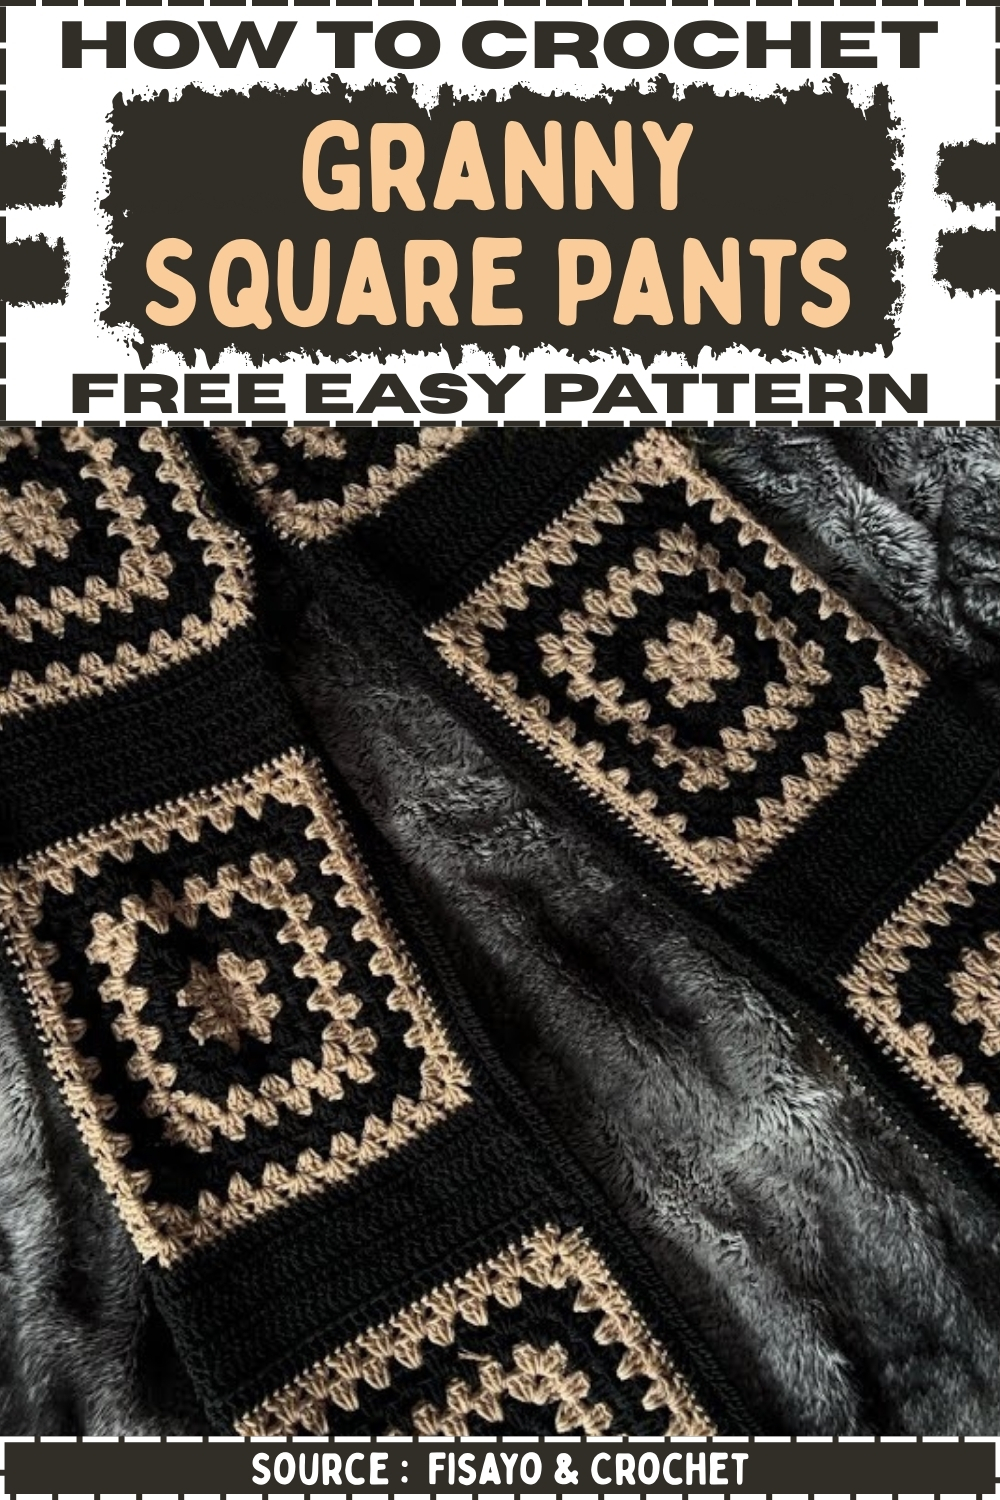
Whether you're lounging at home, attending a festival, or just love handmade fashion, these pants are a must-make project. With easy-to-follow instructions and room for color customization, you can make them uniquely yours. Plus, the drawstring waistband ensures the perfect fit every time. Crochet lovers of all levels will enjoy building this wearable piece of art that combines cozy vibes with serious fashion flair.
Materials
- Two different colored four-weight yarns
- 5 mm crochet hook
- Needle
- Stitch markers
- Yarn cutter
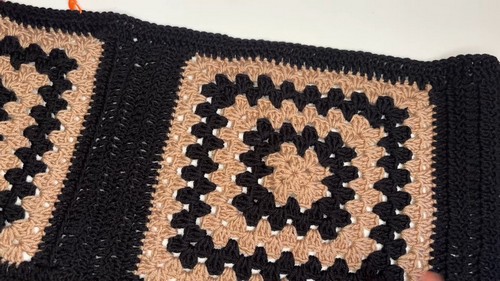
Creating the Granny Square
- Start with a magic ring
- Chain 3 (counts as first double crochet), add 2 double crochets into the ring
- Chain 1, then add 3 double crochets into the ring
Repeat the chain 1 and 3 double crochets two more times (total: 4 clusters)
- Chain 1, pull yarn tail to close the ring
- Slip stitch into top of the initial chain 3
- Slip stitch into second double crochet, then into the chain 1 space
Second Round (First Color)
- Chain 3 (counts as double crochet)
- Add 2 double crochets in the same space
- Chain 2
- Add 3 double crochets in the same space (creates a corner)
- In next space, add 3 double crochets
- Repeat corner pattern (3 dc, ch 2, 3 dc) in each corner
- Continue this pattern around the square
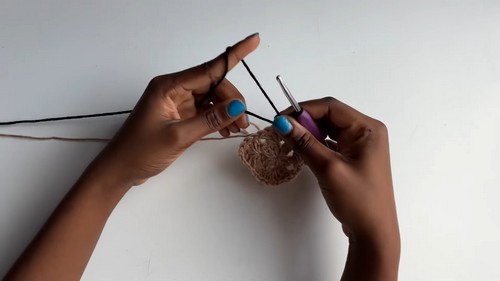
Change Color
- Slip stitch to corner space
- Yarn over with new color, pull through
- Chain 3 with new color
- Add 2 double crochets in the same space
- Chain 2, then 3 more double crochets in the same space
- Continue working 3 double crochets in each side space, and 3 dc, ch 2, 3 dc in each corner
- Repeat this pattern around the square
Subsequent Rounds
- Slip stitch into third chain, then into corner space
- Chain 3 (counts as dc), add 2 dc in same space
- Chain 2, add 3 more dc in same space
- Work 3 dc in each side space
- Repeat corner pattern at each corner
- Alternate colors every 2 rows
- To change color: slip stitch to corner, yarn over with new color, chain 3, and continue pattern
- Complete 2 rows of each color until square is complete
- Finish by slip stitching into chain 3, then into chain space
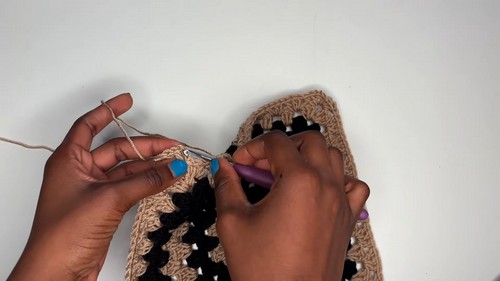
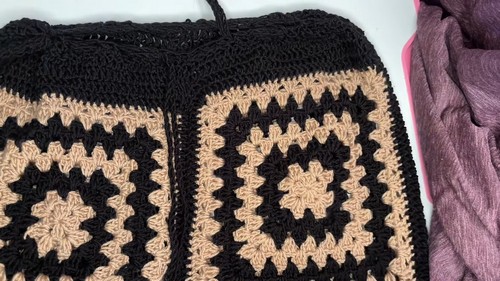
Connecting the Squares
- Make 12 granny squares total
- Use connecting yarn (black recommended)
- Connect yarn to 2-chain space on one square
- Chain 3 (counts as dc), add 1 dc in same space
- Work dc into each V-stitch across
- At end, add 2 dc in the last 2-chain space
- Turn work, single crochet into last dc, then another sc in second loop
- Continue dc across row
- Repeat until length is reached (creator used 5 rows)
Joining Two Squares
- After rows are done, chain 2
- Place second square with front facing up
- Put them side by side
- Yarn over and work dc into corner of second square
- Pull up loop, insert hook into first dc of first square, pull loop through
- Repeat: dc in second square, pull loop through next stitch of first square
- Continue joining across the side
- Chain 1 and cut yarn when done
- Repeat to connect second square
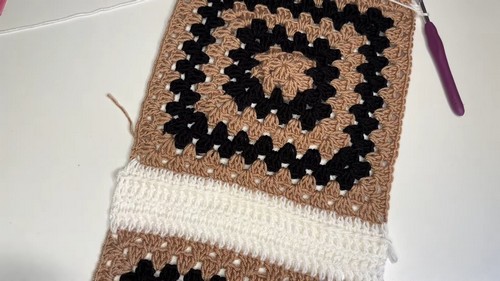
Adding a Bottom Row to Connected Squares
- Insert hook into bottom space of connected squares, chain 3
- Add 1 dc in same space
- Work 3 dc in each space across, 2 dc in final space
- Add 2 more dc in final space (total 4 dc at corner)
- Work up the side: 2 dc in each dc stitch
- At top, add 4 dc to turn
- Continue down other side
- At base, chain 3 and turn
- Work back and forth rows until leg opening is wide enough (creator did 2 rows)
Joining the Pants Together (Crutch Area)
- Measure and mark crutch area with stitch marker on each leg
- Align squares front-to-front (wrong sides out)
- Join at stitch markers
- Slip stitch to join: yarn over, insert hook into matching stitches, pull through
- Chain 1 to secure
- Continue slip stitching to the marker
- Cut yarn when done
- Repeat for back side
Connect Front and Back
- Lay front piece with right side up
- Align back piece on top (right sides together)
- Match middles and place stitch marker
- Slip stitch around edges to join (leave waist and leg openings unstitched)
Finishing the Waistband
- Connect yarn to waistband
- Add 3 rows of double crochet
- In third row, decrease in every stitch to tighten waistband
- Make a drawstring by chaining desired length
- Weave drawstring through waistband to adjust fit


Leave a Reply