
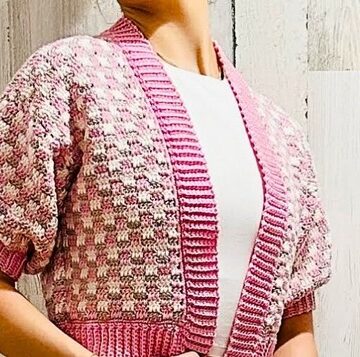
This superb crochet cardigan pattern is designed to help you create a perfectly fitted, stylish, and cozy wardrobe piece using a simple four row repeat stitch. With clear steps for shaping the back, front panels, sleeves, and borders, this pattern allows full customization in width, length, and sleeve style.
Crochet Textured Stitch Cardigan
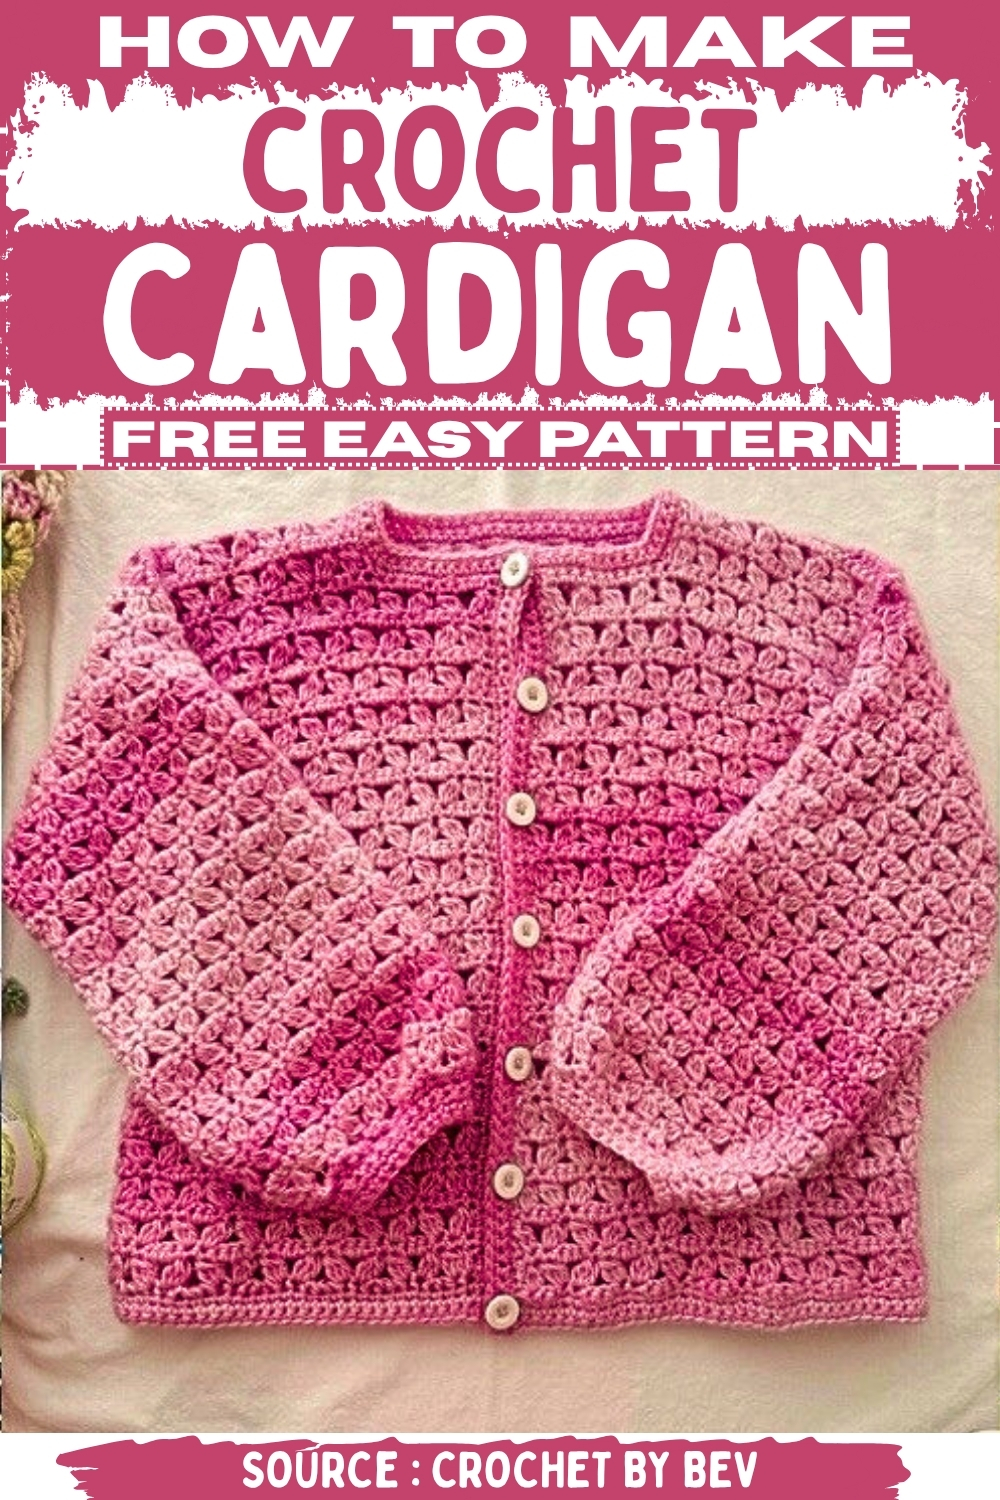
Whether you prefer a relaxed fit or something more snug, the construction adapts to your measurements, making it ideal for all sizes and skill levels. The structured repeat stitch adds beautiful texture while still being easy enough for confident beginners.
Materials
- Medium weight yarn
- 6 mm hook
- Yarn needle
- Stitch markers
- Scissors
Preparation and Sizing
- Measure your bust circumference.
- Add 2 to 7 inches of positive ease.
- Divide this total by two for the Back Panel width.
- Use the same measurement divided into two for the Front Panels.
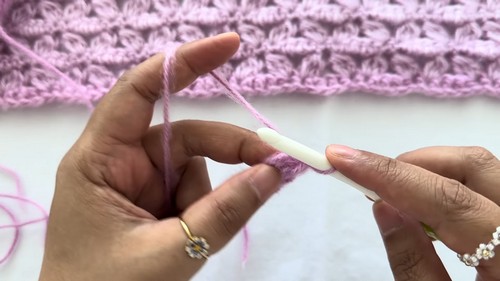
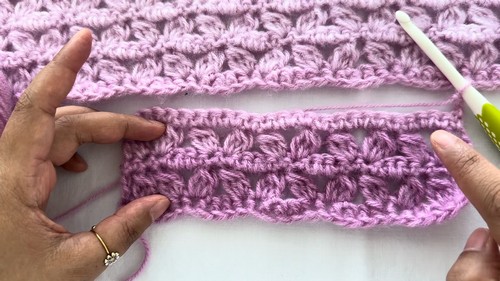
Four Row Repeat Stitch Pattern
- Start each panel with a Chainless Single Crochet Foundation using a multiple of 10 plus 5.
- Work a slip knot and chain one.
- Insert hook into the chain bump, yarn over, pull through one, yarn over, pull through two.
- Insert hook into the bottom loops of the previous stitch and repeat the same steps until the needed width is reached.
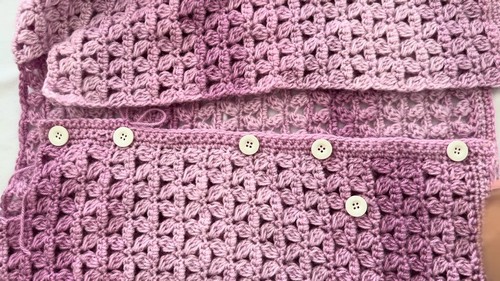
- Work Row 1 by starting with a double crochet and a cluster, skip two stitches, then repeat cluster, chain three, cluster across.
- Work Row 2 with single crochet in each stitch and two single crochets in each chain three space.
- Work Row 3 by beginning with a three stitch cluster decrease, skip three stitches, then work cluster, chain three, cluster until the end, finishing with another three stitch cluster decrease.
- Work Row 4 with single crochet in each stitch and two single crochets in each chain three space.
- Continue repeating Rows 1 to 4 until the panel reaches the desired length.
Back Panel
- Begin with a stitch count using a multiple of 10 plus 5.
- Work the four row repeat until the piece is two inches shorter than the desired cardigan length.
Front Panels
- Subtract five stitches from the Back Panel stitch count and divide by two for each front panel.
- Work both front panels following the same repeat as the back panel.
- When four rows remain, decrease for the neckline by deducting ten or fifteen stitches.
- Mark the final stitch on the right front panel and work the last four rows only up to the mark.
- Attach yarn at the marked stitch on the left front panel and work the final four rows.
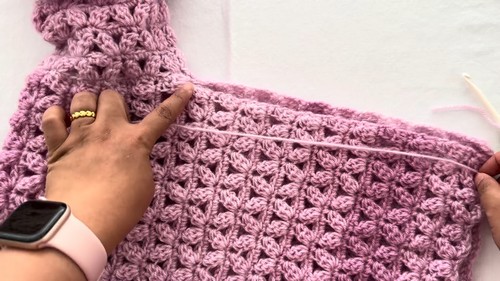
Assembly and Sleeves
- Lay the back panel right side up and the front panels right side down, then sew the shoulder seams.
- Mark your desired sleeve opening and sew the side seams up to that point.
- Join yarn at the bottom of the armhole and work a round of single crochet evenly around using a multiple of five plus five.
- Work the four row repeat in the round until the sleeve is one inch shorter than desired.
- Decrease by working single crochet two together around the sleeve opening.
- Work another round decreasing every two to three stitches.
- Finish with three rounds of single crochet.
Hem Border
- Insert yarn at the bottom front corner.
- Work three rows of single crochet across the entire hem.
Side Borders
- Continue working single crochet up the first front opening.
- Mark button placement and work chain one skip one for buttonholes.
- Work a final row of single crochet, working one single crochet into each buttonhole.
- Work the second front border for the same number of rows without buttonholes.
Neckline Border
- Insert yarn at the neckline opening.
- Work three rows of single crochet evenly around the neckline.


Leave a Reply