
This crochet baby hat pattern is perfect for beginners looking to create a charming and functional accessory for newborns. Using simple stitches like single crochet and double crochet, the pattern guides you through making a sweet 0-3 month-sized hat with a beautiful ribbon detail.
Crochet Baby Hat
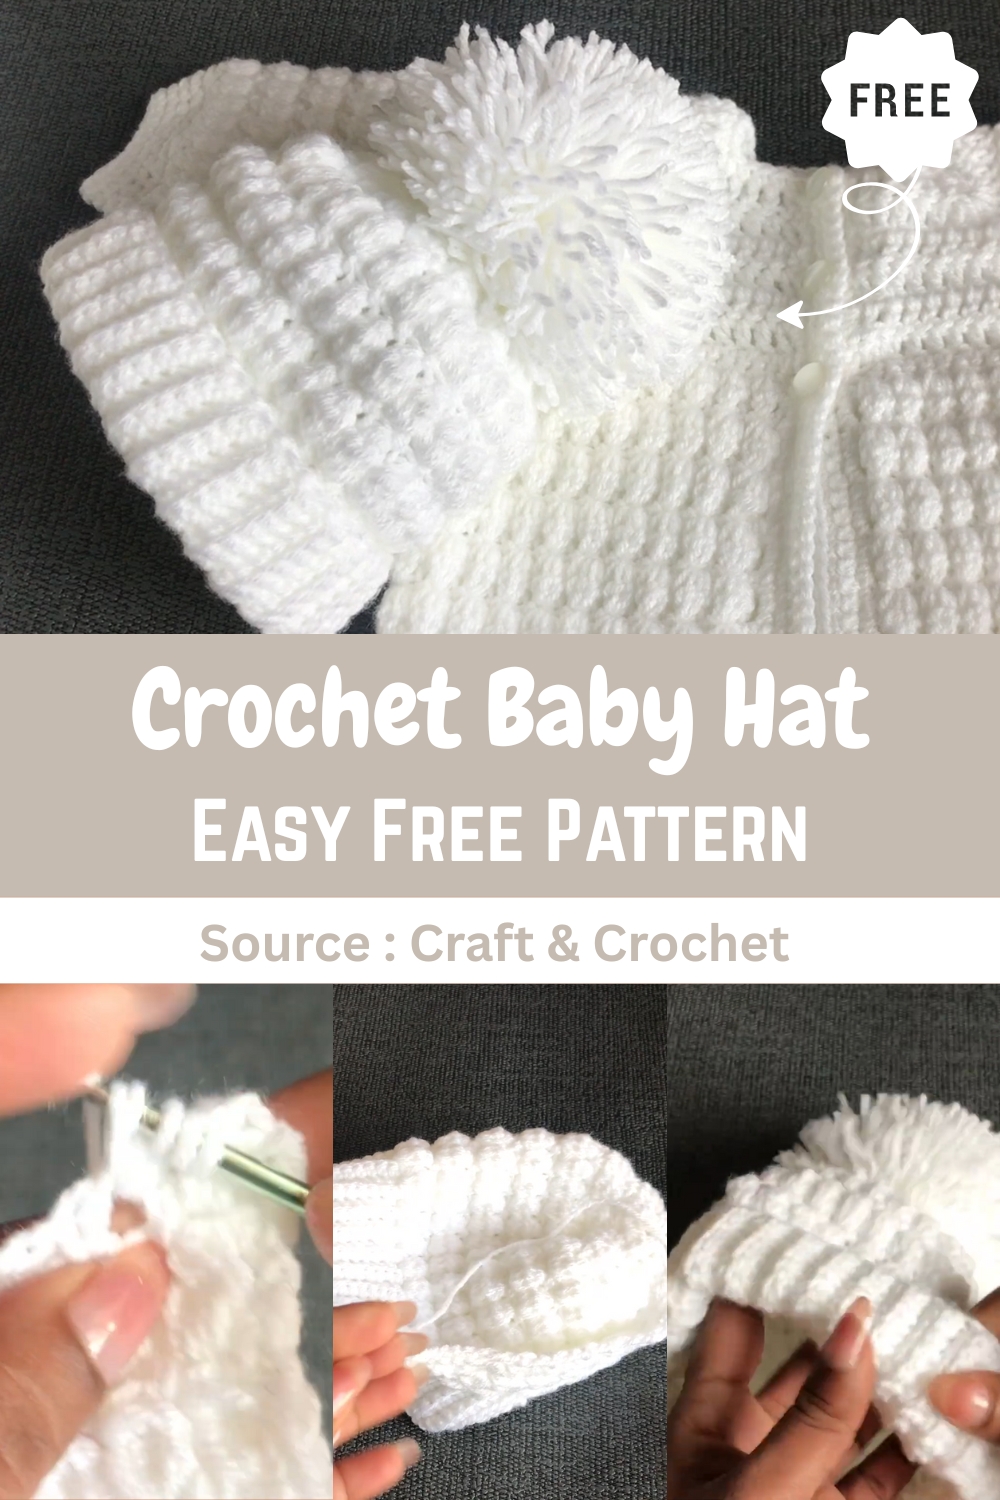
The hat can be customized with your choice of colors, and the pom-pom finish adds an extra touch of cuteness. Whether you're making it for your own baby or as a thoughtful gift, this pattern offers a rewarding and quick project with great results.
Yarn and Hook
- Use double-knitting yarn and a 4 mm crochet hook for a 0-3 month size hat.
Hat Ribbon Section
- Starting Chain: Begin with a slip knot and nine chains for all hat sizes.
- Row 1: Skip the first chain and single crochet into the second chain.
- Continue with single crochet in each chain until you have a total of nine single crochets.
Repeat Rows 2 & 3:
- Row 2: Chain one, turn your work, and single crochet in the back loop of each stitch until the last stitch.
- For the final stitch, use both loops.
- Row 3: Chain one, turn your work, and single crochet in the back loop of each stitch until the last stitch.
- For the final stitch, use both loops.
Continue: Repeat these two rows to create the hat ribbon.
- A 0-3 month size requires 60 rows.
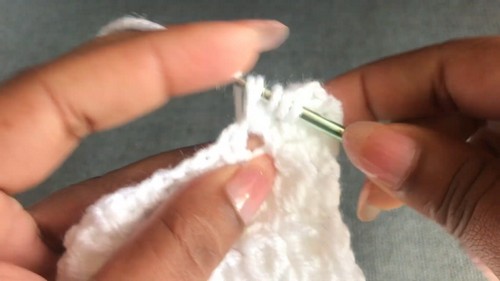
Hat Top Pattern Section
- Row 1: Start with a chain of three, which counts as the first stitch.
- Row 2: Skip one row and into the next, create four double crochets with the last loop on the hook.
- Go through all five loops on the hook and then chain one.
- Continue this pattern to the end, finishing with a double crochet into the first of the nine starting chains.
- Row 3: Chain one and turn your work.
- Single crochet in the space between the first double crochet and the next stitch, then chain one.
- Repeat this pattern, finishing with a single crochet into the third chain of the starting chain-three.
Repeat Rows 4 & 5:

- Row 4: Start with a chain of three and turn your work.
- Skip the first single crochet and in the next chain space, make four double crochets with the last loop on the hook.
- Go through all five loops and then chain one.
- Repeat in each chain space to the end.
- The last stitch is a double crochet into the last single crochet of the previous row.
- Row 5: Chain one, turn your work, single crochet between the first double crochet and stitch, and then chain one.
- Repeat this pattern to the end of the row, finishing with a single crochet into the third chain of the previous row's chain-three.
- Continue: Repeat rows four and five for the body of the hat.
- The video suggests 10 rows for a 0-3 month size.
Reducing Stitches for the Hat Top
- Row 11: Start with a chain of three and turn your work.
- Use the first two chain spaces to make four double crochets with the last loop on the hook.
- Go through all five loops and chain one.
- Repeat this, combining two chain spaces into one stitch, until the end of the row.
- Finish with a double crochet in the last single crochet.
- Row 12: Chain one, turn your work, single crochet, and then chain one between each stitch.
- Finish with a single crochet in the top of the third chain.
- Row 13: Start with a chain of three and turn your work.
- Again, combine two chain spaces into one stitch, making four double crochets with the last loop on the hook, and chain one.
- Repeat this pattern to the end.
- Row 14: Chain one, turn your work, and single crochet between each stitch. You should have eight single crochets.
- Cut the yarn at the end of this row.
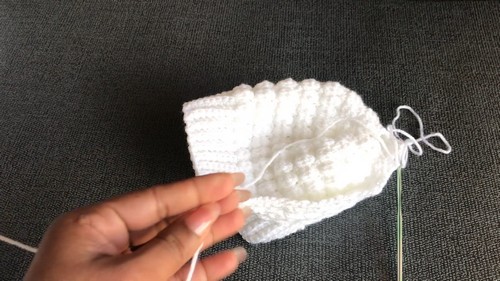
Finishing
- Close the Top: Use the long yarn tail and a needle to sew through the eight single crochets at the top of the hat to close it tightly.
- Seam the Side: Use the same yarn to sew the side seam of the hat from the top down to the ribbon section.
- Join the Ribbon: Join the two ends of the ribbon by sewing through the single crochet stitches on each side.
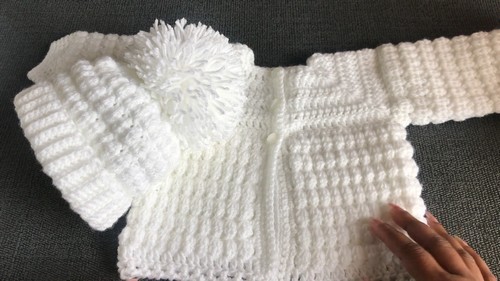
- Pom-Pom: The video also shows how to make a pom-pom by wrapping yarn around a piece of cardboard 250 to 275 times.
- You can then attach it to the top of the hat.


Leave a Reply