
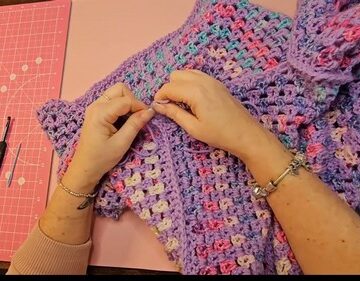
This Crochet Alpine Stitch Cardigan pattern is perfect for crocheters looking to make a cozy, stylish garment with a rich, textured look. The cardigan is constructed in separate panels, using the alpine stitch in the back loop only (BLO), which creates a beautiful ribbed effect.
Crochet Alpine Stitch Cardigan

It’s designed to be versatile, offering a relaxed fit, and it’s beginner-friendly thanks to the detailed, easy-to-follow instructions. The pattern allows for customization based on size, and it’s a perfect project for both seasoned crocheters and beginners who are looking to add a statement piece to their wardrobe.
Materials
- Yarn: Worsted weight yarn (e.g., I Love This Yarn/Super Saver), at least six skeins.
- Hook: 3.0 mm for main body and sleeves, 2.5 mm for cuffs.
- Pattern Multiple: Starting chain must be a multiple of 6 + 5.
Measurements (Medium Size):
- Back Panel: 22 inches wide by 13 inches high.
- Front Panel: 9 inches wide.
- Neckline opening: 5 inches.
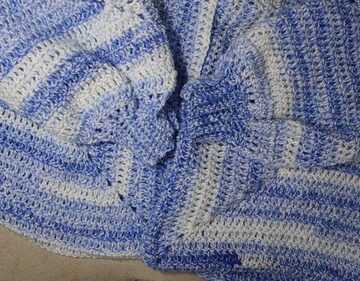
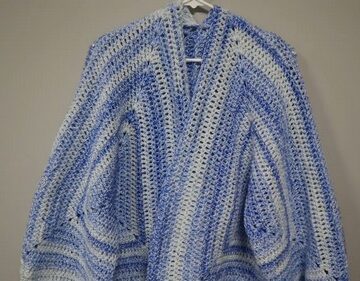
Body Panels (Back and Front)

All rows are worked in Back Loops Only (BLO).
Back Panel (Example uses 61 chains)
- Starting Chain: Chain 61 (multiple of 6 + 5).
- Row 1: Skip the first stitch. Make 4 SS, then 4 HDC. Repeat (**4 SS, 4 HDC*) until 4 chains remain, ending with 4 SS.
- Row 2: Chain 1, turn. Make 4 BLSS, 4 BLHDC. Repeat pattern until the end.
- Row 3: Chain 2 (counts as HDC), turn. Make 4 BLHDC, 4 BLSS. Repeat pattern until the end.
- Row 4: Chain 2, turn. Make BLHDC, BLSS. Repeat pattern until the end.
- Repeat: Alternate between matching and alternating rows until you reach 96 rows.
Front Panels (Make 2)
- Use the same starting chain and stitch pattern as the back panel.
- Make 38 rows for each front panel (for size Medium).
Assembly and Seaming

Shoulder Seams
- Place the front panel on top of the back panel, wrong sides facing.
- Count 38 rows from the outer edge of the back panel and place a stitch marker.
- Join the 38 rows using SC stitches.
- Repeat for the second shoulder.
Side Seams
- Count 32 rows from the shoulder seam for the armhole.
- Join the side seams with SC, working up to the armhole marker.
- Repeat for the second side seam.
Sleeves (Make 2)
- Starting Chain: Chain 77 (multiple of 6 + 5).
- Rows: Work alternating BLSS/BLHDC pattern for 60 rows.
Attaching Sleeves
- Place the sleeve panel onto the armhole opening.
- Join the top of the sleeve panel to the armhole with SC stitches.
- Join the long ends of the sleeve with SC.
Ribbing (Cuffs, Bottom, and Front Edging)

Sleeve Cuffs (2.5mm hook)
- Ribbing Panel: Chain 15 + 1 for turning. Work SC across (15 SC).
- Ribbing Rows: Make BLSC for 30 rows.
- Joining Row: Chain 1, turn. Work SC down the side, alternating 1 SC in one row end and 2 SC in the next.
- Attachment: Attach the cuff to the sleeve opening.
Bottom Ribbing
- Edge Row: Make 1 SC all around the bottom, reducing stitch count to 130 SC.
- Ribbing Panel: Chain 30 and make BLSC for 130 rows.
- Attachment: Attach the ribbing panel to the bottom edge.

Front Edging/Neckline Ribbing
- Edge Row: Make 1 SC all the way around the front opening.
- Ribbing Panel: Chain 10 and make BLSC for 202 rows.
- Attachment: Attach the ribbing panel to the front opening.
Leave a Reply