
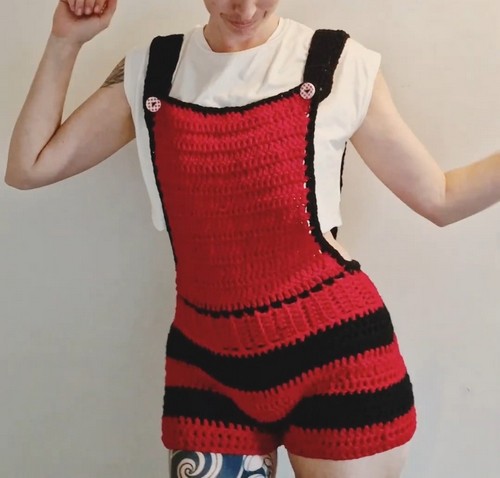
Crocheting your own overalls has never been easier with this step-by-step pattern! Whether you're a beginner or an experienced crocheter, this pattern offers a fun, creative way to make a cozy and stylish outfit.
Crochet Overalls
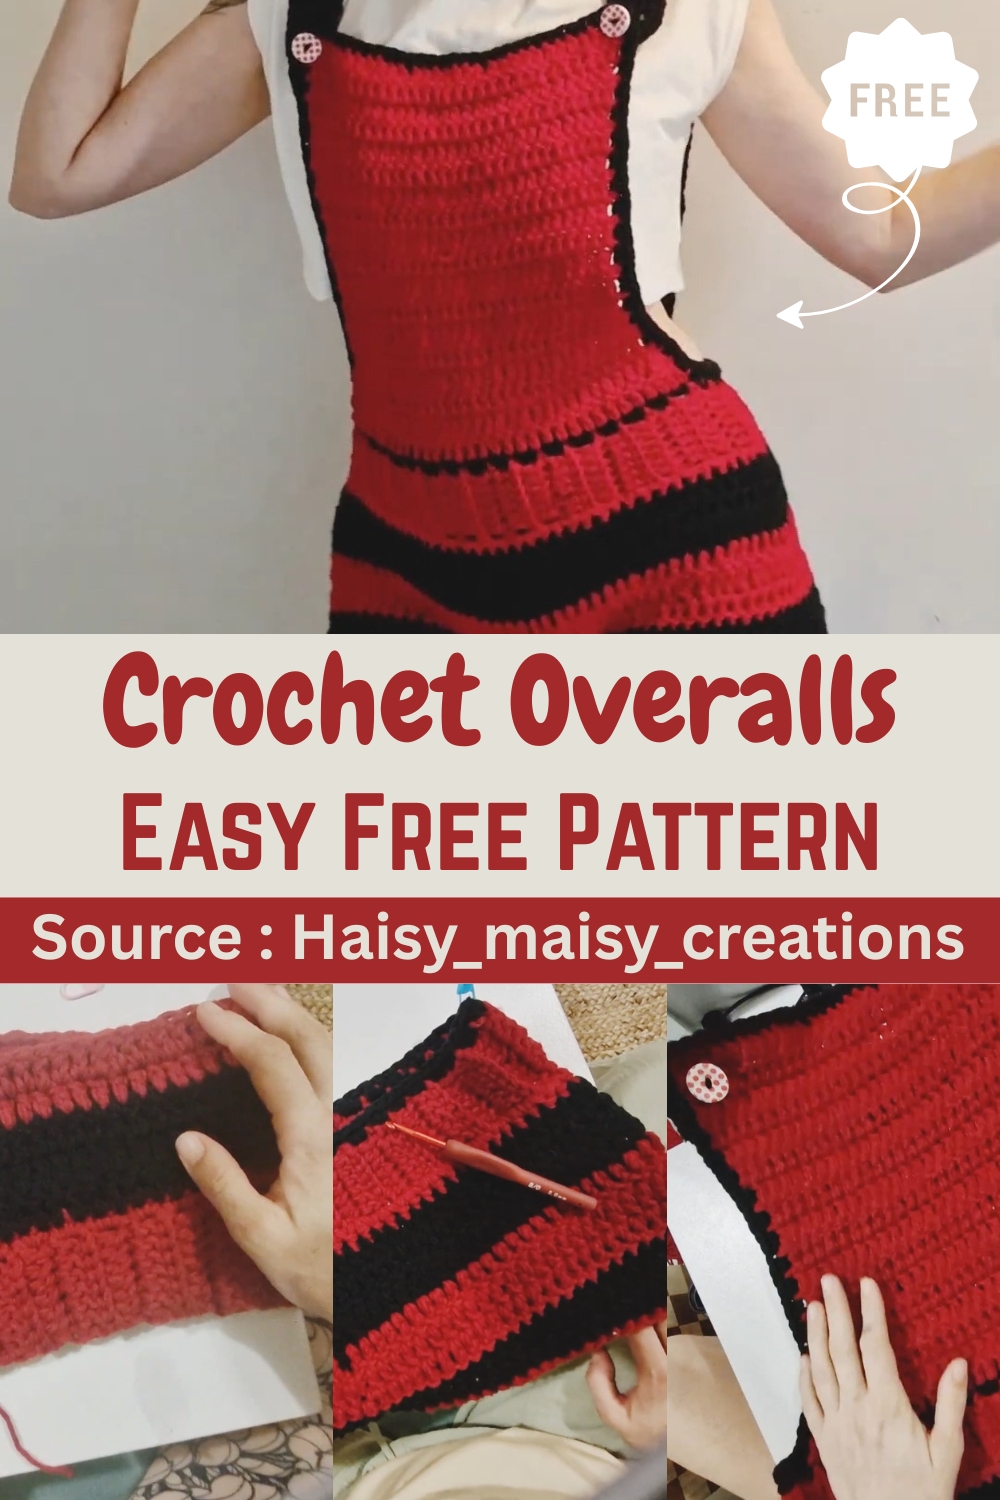
The pattern provides clear instructions for both the shorts and bib sections, allowing for customization in color and size. Plus, the option to add cute buttons or sew the straps directly gives you flexibility in design. Whether you're looking to make a playful summer outfit or a chic all-year-round piece, this crochet overall pattern offers versatility and comfort for every occasion!
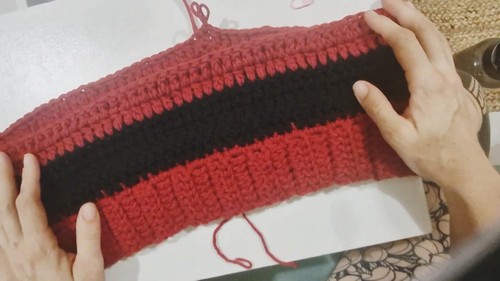
Waistband Foundation Chain:
- Make a slip knot.
- Chain the desired height for your waistband (creator chained 8 for a thicker waistband).
First Row of Waistband:
- Chain 2 more (counts as your first double crochet).
- Double crochet into the third chain from the hook.
- Continue with one double crochet into each chain all the way down.
- Count your stitches to ensure you have the desired amount.
Ribbed Waistband Rows (Back Loop Only):
- Chain 3 (counts as first double crochet).
- Turn your work.
- Double crochet into the back loop only of each stitch until you reach the end of the row.
- Repeat this process until your waistband fits comfortably over your hips and snugly on your waist.
Joining the Waistband:
- Take both ends of the waistband and ensure there are no twists.
- Place the ends together.
- Insert your hook under the first stitch of both sides and join with a slip stitch.
- Continue slip stitching through each corresponding stitch on both sides until you reach the bottom.
Single Crochet Border for Shorts Foundation:
- Work into the row ends (posts of the double crochets).
- Put two single crochets into each double crochet post space all around the waistband.
- Slip stitch into the first single crochet to join the round.
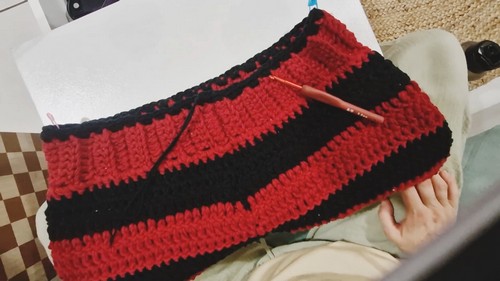
First Round of Shorts Body (with Increases):
- (Optional: Change color here).
- Chain 3 (counts as first double crochet).
- Double crochet into each stitch until you reach your first stitch marker.
- Remove the stitch marker.
- Increase: Put three double crochets into that stitch.
- Place a stitch marker in the center stitch of the three double crochets.
- Continue with one double crochet into each stitch until you reach the second stitch marker.
- Increase: Put three double crochets into that stitch.
- Continue with one double crochet into each stitch until you come back to your seam.
- Slip stitch into the top of the chain 3 from the beginning of the round.
Second Round of Shorts Body (No Increases):
- Chain 3.
- Double crochet into each stitch around until you get back to the seam.
- Slip stitch into the top of the chain 3 from the beginning of the round.
Alternating Rounds for Hip Measurement:
- Alternate between a round with increases and a round with no increases.
- Continue these alternating rounds until you achieve your full hip measurement.
Standard Rounds to Crotch Area:
- Remove your stitch markers.
- Count every stitch in the last row and divide by two.
- From your join, count that number of stitches and mark the center stitch with a stitch marker.
- Continue with standard rounds until you reach your crotch area.
Splitting for Legs and Forming Crotch:
- Make a chain that will reach from the back of the shorts to the front (e.g., chain 4 for a tight fit).
- Slip stitch into your marked center stitch.
Crocheting the First Leg:
- Chain 1.
- Start with a round of double crochet around this leg.
- Double crochet into each chain of the crotch.
- Slip stitch into the first double crochet of that round to join.
- Continue rounds of double crochet until the leg reaches your desired length.
- (Optional: Add increases on every second row for a looser fit).
Crocheting the Second Leg:
- Reattach yarn at the center stitch of the shorts body.
- Double crochet into each stitch until you get to the crotch chains.
- Work into the back loop of the chains.
- Fasten off your yarn and weave in ends.
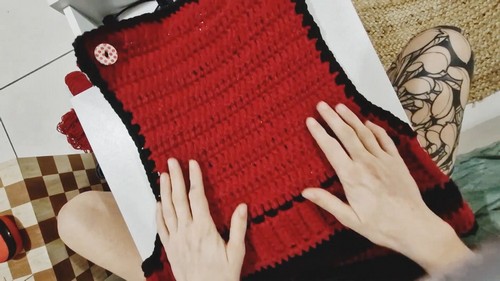
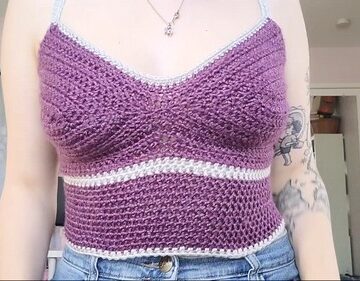
The Overalls Top (Bib)
Single Crochet Border on Top of Waistband:
- (Optional: Change color here).
- Single crochet all around the top of the waistband.
- Join with a slip stitch.
First Row of Front Bib:
- Fasten off and reattach yarn into the first marked stitch.
- Double crochet along the front of the waistband until you reach the marked stitch on the other side.
Decreasing Rows for Bib Shaping:
- Chain 1.
- Double crochet two together (dc2tog) into the first two stitches.
- Continue with one double crochet until two stitches remain.
- Do another dc2tog into the last two stitches.
Straight Rows for Bib Height:
- Chain 3 (counts as first double crochet).
- Continue doing one double crochet into each stitch until the bib reaches your desired height.
Optional Single Crochet Border for Bib Edges:
- (Optional: Change color here).
- Reattach yarn at a corner of the bib.
- Single crochet down the side of the front panel and along the waistband.
- At the top corner, put three single crochets into the space to create a rounded corner.
- Single crochet along the top edge of the bib.
- Slip stitch into the first stitch to finish.
The Straps
Determine Strap Placement and Width:
- Decide where you want your straps to sit on the back of the overalls (e.g., 6 stitches out from the seam).
- Decide how wide you want your straps (e.g., 6 stitches wide).
Crochet the First Strap:
- Attach yarn at the starting stitch on the back waistband.
- Double crochet into each stitch for the desired width.
- Chain 3 (counts as first double crochet).
- Turn your work and continue with double crochet until the strap is long enough to attach to the front panel.
Optional Single Crochet Border for Straps:
- Chain 1.
- Single crochet along the top edge of the strap.
- Slip stitch into the stitch where the double crochet post connects to the waistband.
Crochet the Second Strap:
- Repeat the steps for the second strap, ensuring it is the same length.
Assembly
Attaching Straps (Button Method):
- Choose buttons small enough to go through the gap between double crochet posts.
- Stitch the button onto the outside of the strap.
- Attach the button through the stitches on the front panel.
Attaching Straps (Sewing Directly - Alternative):
- Bring the outer edge of the strap to the inner edge of the front panel.
- Slip stitch to join them.
Finishing:
- Weave in all remaining ends.
- (Optional: Add appliques or a pocket for customization).
Leave a Reply