
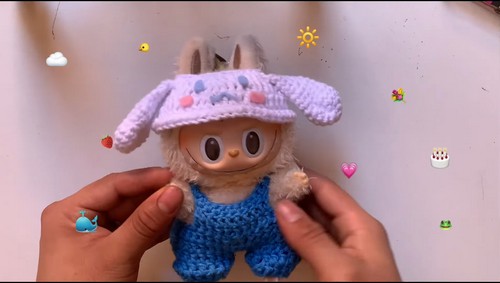
Labubu Cinnamoroll Crochet Outfit
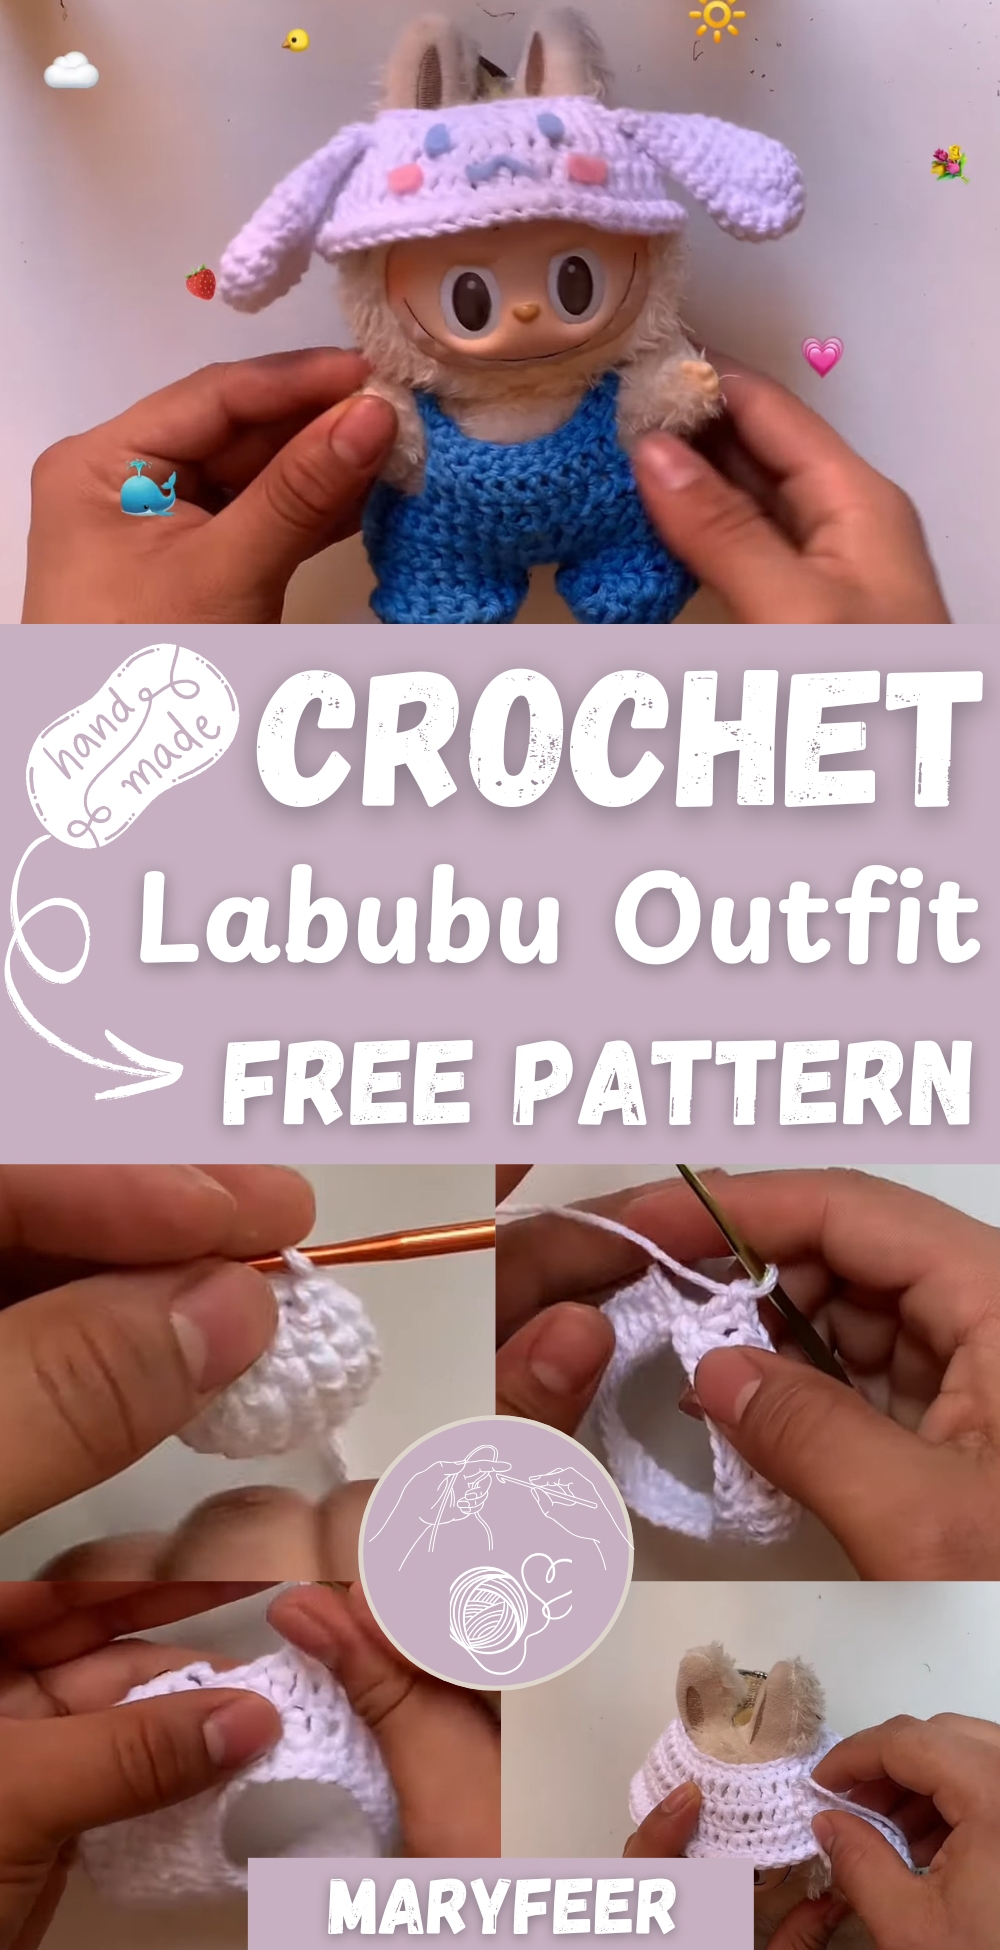
Whether you're crafting for a collection, a gift, or just for fun, this pattern combines cuteness and creativity in every stitch. With easy-to-follow steps and an adorable finish, it's a delightful project for any crochet lover who wants to add a touch of magic to their amigurumi wardrobe.
Materials
- Two strands of "Abuelita" brand yarn
- 2.5 mm crochet hook (for initial work)
- 2 mm crochet hook (for tighter weave)
- Stitch marker
- Yarn needle for finishing
- Scissors
Part 1: Overall
Legs (Make 2)
- Make a slip knot and chain 18
- Join the chain with a slip stitch to form a ring (ensure it's not twisted)
Round 1:
- Chain 2 (counts as first double crochet)
- Place a stitch marker in the second chain
- Make 1 double crochet in each stitch around (total 18 dc)
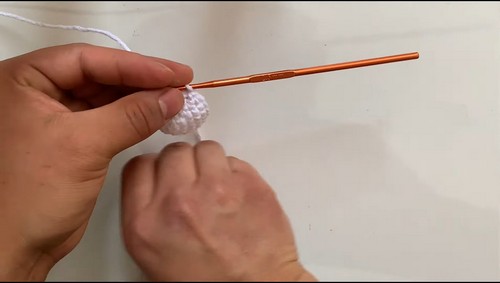
Switch to a 2 mm hook
Round 2:
- Join with a slip stitch
- Chain 2 (counts as first double crochet), place stitch marker
- 1 double crochet in each stitch around (total 18 dc)
Fasten off the first leg. Leave a long tail on the second leg for joining
Joining Legs & Starting Body
- Chain 2 from second leg
- Join with a slip stitch into any stitch of the first leg
Body Round 1:
- Chain 2 (counts as first dc), place stitch marker
- Work 1 double crochet in each stitch around both legs
- In the chain-2 space between the legs, make 2 double crochets into each chain
- You should now have 40 double crochets total
Body Decrease Section
Round 2:
- Join with slip stitch
- Chain 2, place stitch marker
Pattern: 9 dc, 1 dc decrease, 19 dc, 1 dc decrease, 8 dc
Round 3:
- Join with slip stitch
- Chain 2, place stitch marker
- 1 double crochet in each stitch around
(Optional: Add one more decrease if your tension is too loose)
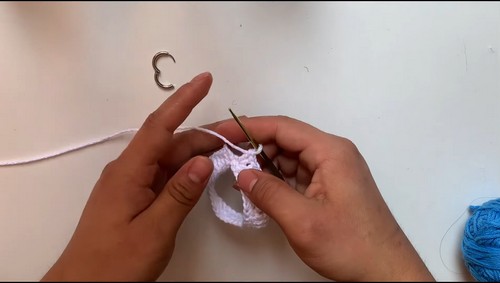
Fasten off: Join with a slip stitch, chain 1, cut the yarn, and secure
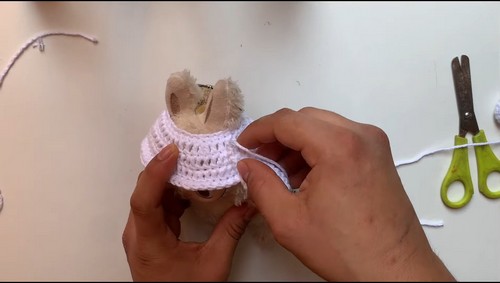
Front Bib
- Find the center front stitch of the body
- Count 10 stitches from that center and place a stitch marker
- Insert hook into marked stitch and join yarn with a slip stitch
Row 1:
- Chain 2 (counts as first dc)
- Make 10 double crochets across
Row 2:
- Chain 2, turn
- Make 10 double crochets
Straps & Back Panel

First Strap:
- Chain 11
- Align the end of the chain with the back panel (match 10-stitch span)
- Join with single crochet
Back Panel:
- Make 10 single crochets across
Second Strap:
- Chain 11
- Attach to front bib with a single crochet
Edging
Make single crochets all around:
- 11 sc along each strap
- 10 sc along the bottom edge of the front bib
Join with a slip stitch, chain 1, fasten off, and weave in ends
Part 2: Hat
Ears (Make 2)
Begin with a magic ring
Round 1:
- Chain 1
- Make 6 single crochets into the ring, pull tight to close
Round 2:
- 2 sc in each stitch (total 12 sc)
For Round 3:
- 1 sc, 1 increase around (total 18 sc)
Rounds 4 & 5:
- 1 sc in each stitch (18 sc per round)
Round 6:
- 1 sc, 1 decrease around (total 12 sc)
For Rounds 7, 8, & 9:
- 1 sc in each stitch (12 sc per round)
Round 10:
- 1 sc, 1 decrease around (total 8 sc)
Rounds 11–13:
- 1 sc in each stitch (8 sc per round)
Flatten ear and make 3 sc across both layers to close
- Chain 1 and leave a long tail for sewing
Hat Base
- Chain 30 and join with a slip stitch (ensure chain isn't twisted)
Round 1:
- Make 30 single crochets around
Switch to a 2 mm hook
Round 2:
- Join with a slip stitch
- Chain 3 (counts as first dc), place stitch marker
- Pattern: 4 dc, 1 increase around
For Round 3:
- Join with slip stitch
- Chain 3, place stitch marker
- Pattern: 3 dc, 1 increase around
Round 4:
- Join with slip stitch
- Chain 3, place stitch marker
- Pattern: 6 dc, 1 increase
- Work remaining 3 stitches as normal dc
Hat Edging
- Join with a slip stitch and chain 1
- Turn work inside out
- Work half double crochets in front loop only around brim
- Join, chain 1, fasten off, and weave in ends
Assembly Instructions
Sew Ears:
- Attach both ears to the second row (dc round) of the hat
- Use 3 stitches as a guide for even placement
Add Face Details:
- Use felt pieces to create and glue/sew on facial features

Leave a Reply