
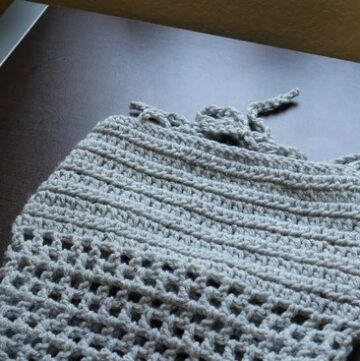
To create your go-to summer essential with this breezy and stylish crochet shirt pattern! Perfect for warm weather, this pattern offers a vibrant, color-changing design and a flattering vertical texture that suits all body types.
Crochet Summer Shirt
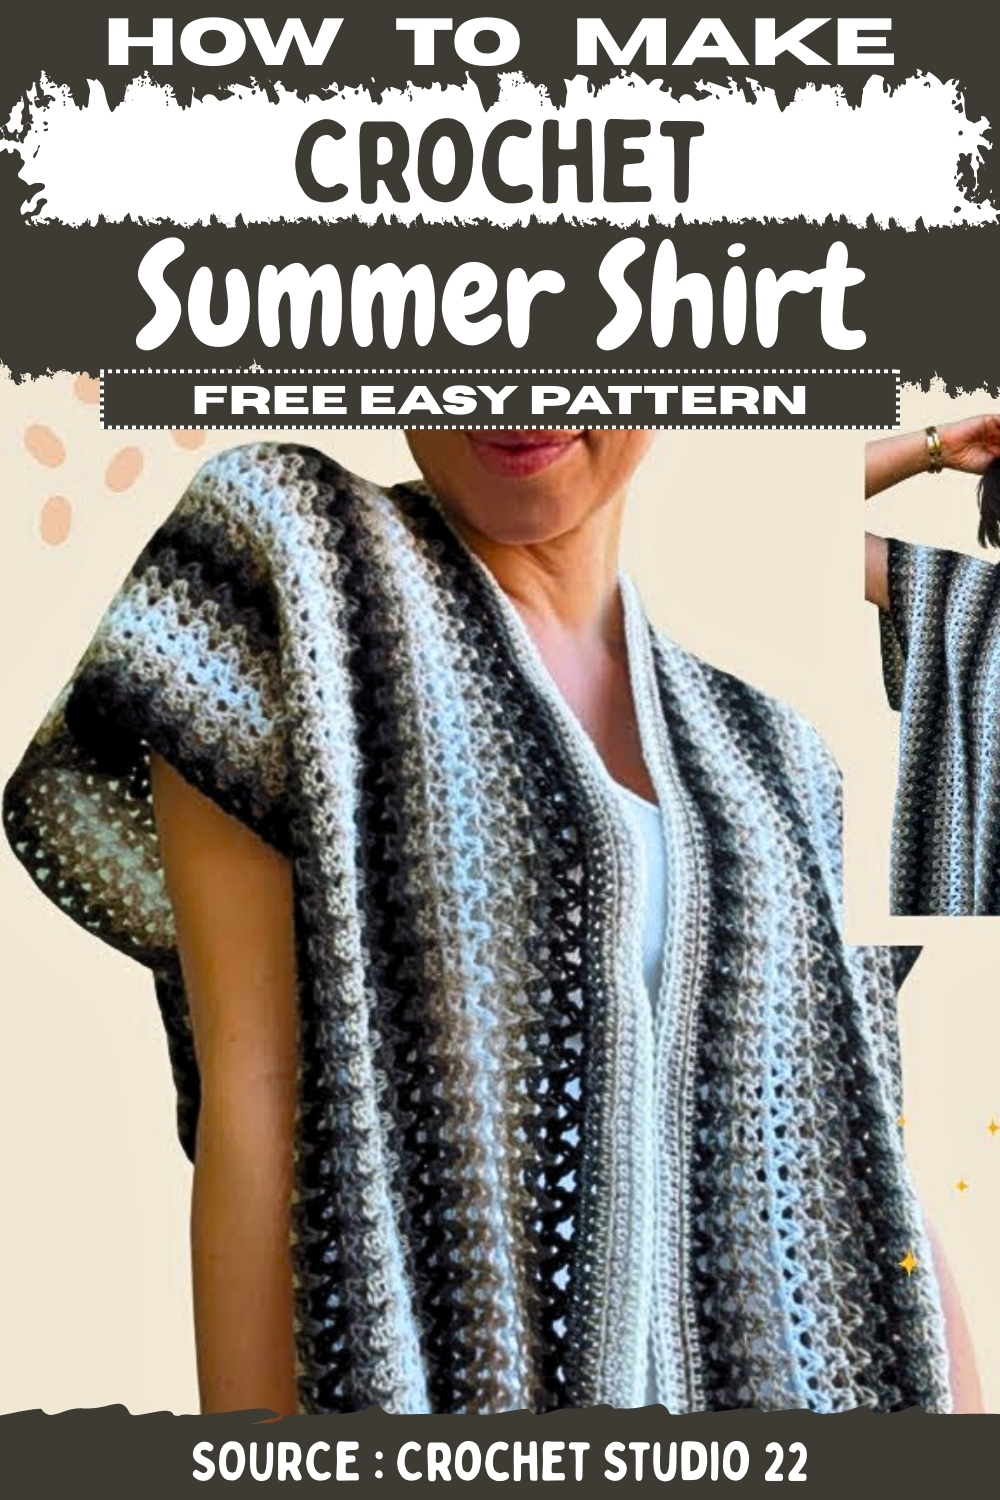
Using just a few basic stitches and five colors (or any palette of your choice), this project is highly customizable for size, length, and color scheme. Whether you want a cropped, fitted look or a looser, flowy top, this pattern lets you make it your own. Great for confident beginners and experienced crafters alike, it's a fun and satisfying make that you'll want to wear all season long.
Materials
- Yarn in five colors (or as many as desired)
- Crochet hook (size 4 mm recommended for main panels)
- Smaller crochet hook (size 3 mm for seaming)
- Tapestry needle
- Scissors
- Stitch markers (optional)
Measurements and Fit
- Measure from the neck down for length
- Measure from neck to desired arm reach for width
- Wider panels = looser fit
Foundation Chain
- Create a foundation chain that is a multiple of three
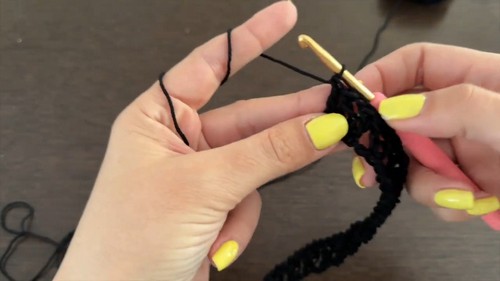
Row 1 (Main Pattern Start)
- Make a double crochet in the third chain from the hook (work in back bumps for a neater finish)
- Chain one
- Make another double crochet in the same stitch
- Skip two stitches
- In the next stitch: double crochet, chain one, double crochet (V-stitch)
- Repeat the pattern across the row
- At the end, place one double crochet in the final stitch (no chain or V-stitch)
Changing Colors (End of Every Row)
- On the final double crochet of the row, stop with two loops on the hook
- Pull new yarn through the two loops
- Tighten the tails of old and new yarn
- Chain three
- Cut the old yarn and optionally knot the tails for extra security

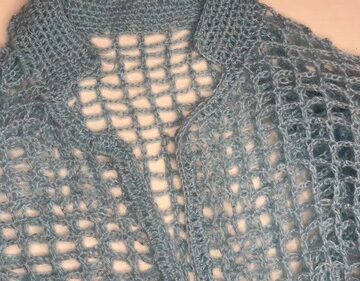
Subsequent Rows (Row 2 and Onward)
- Turn your work
- In each chain-one space of the V-stitches: double crochet, chain one, double crochet
- Continue to the end of the row
- End with a single double crochet
- Change to the next color as described above
- Follow a color gradient or repeat pattern (e.g., black → gray → white → gray → black)
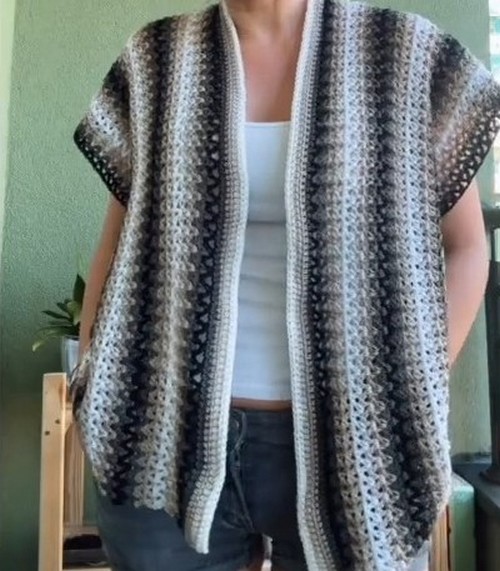
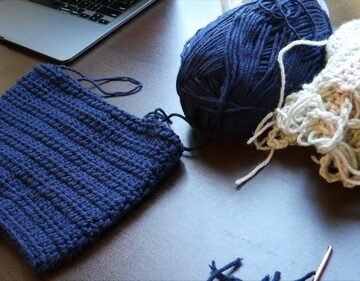
Creating Panels
- Front Panels: Make two identical panels using the above stitch pattern
- Write down your foundation chain count to match both
- Back Panel: Same pattern and stitch count as front
- Width = width of both front panels + neck opening space (e.g., palm’s width)
- Use a different starting color to avoid overlap in color joins

Weaving in Ends
- Thread tail through a tapestry needle
- Weave in a zigzag pattern through loops/stitches
- Trim excess yarn
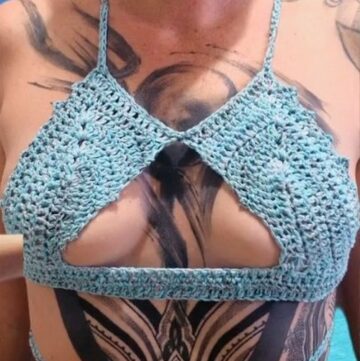
Connecting Panels
Top (Shoulder) Connection
- Use smaller hook
- Line up corners of front and back panels
- Use slip stitch to connect: two slip stitches per row
- Don’t make stitches too tight to avoid puckering
Side Connection
- Start from bottom corners
- Insert hook into back loop of one panel and front loop of the other
- Slip stitch up to stitch marker (armhole length)
- Customize armhole length by trying on the piece
Edging
- Work around entire piece (shoulders, neck, and sides)
- Use the same five colors used in the shirt body
- Make a loop and chain two
- Place one half double crochet in each stitch all the way around
- Switch colors each row and repeat
- One row per color, cut yarn between color changes
Leave a Reply