
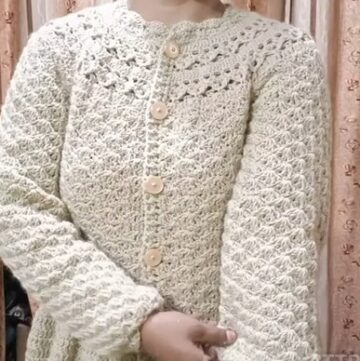
The Crochet Sweater Shrug pattern is perfect for beginners and seasoned crafters alike, offering a cozy, stylish garment that's easy to create. Using the versatile Half Double Crochet (HDC) stitch and its back loop variation, this shrug is made up of two identical rectangular panels that are then joined together.
Crochet Sweater Shrug
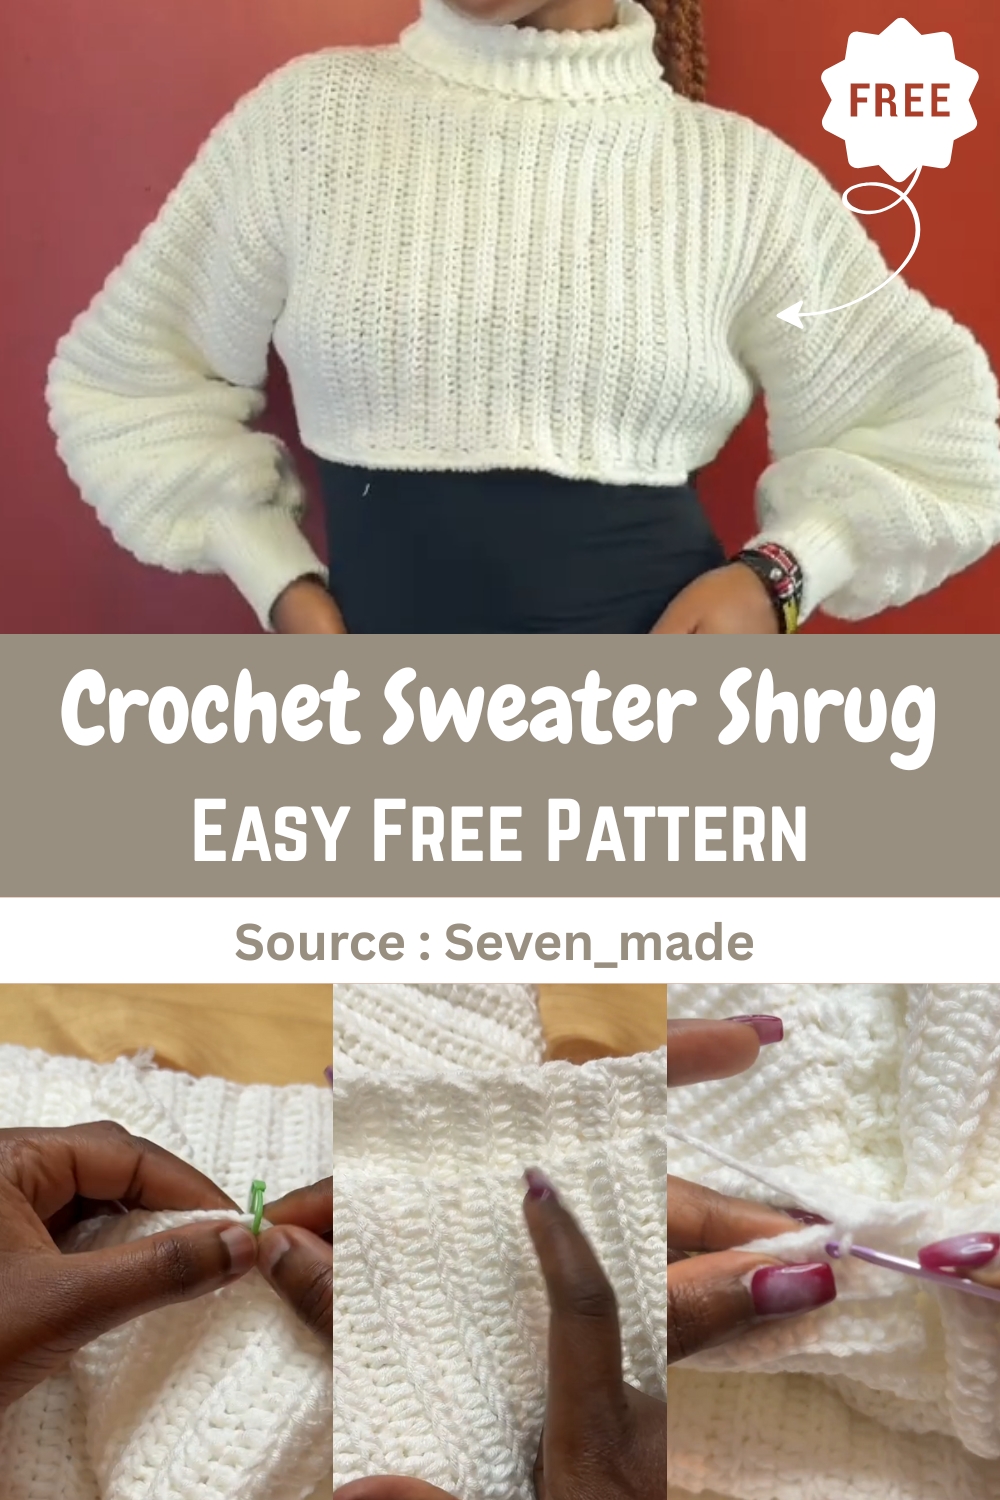
The pattern includes detailed instructions for creating the main body, sleeves, and ribbed cuff, as well as clear steps for joining the panels at the shoulders and sides. Whether you're looking for a warm accessory to throw over a casual outfit or something unique to showcase your crochet skills, this sweater shrug will become a staple in your wardrobe.
The Main Panel (Back and Front)
The shrug is constructed from two identical rectangular panels.
- Foundation
Make a slip knot and a starting chain of 46 stitches. The chain should measure approximately 10 inches. - Row 1
Chain 2. Make Half Double Crochet (HDC) in the 3rd chain from the hook and in every chain across. - Rows 2 - 56
Chain 2, turn your work. Make Back Loop Half Double Crochet (BLHDC) in every stitch across. - Repeat
Repeat Step 3 until you have a total of 56 rows. - Second Panel
Create a second panel exactly the same way (56 rows).
Joining the Panels (Shoulders and Sides)
Shoulder Seam (Neck Opening)
- Marking: Lay the two finished panels on top of each other.
- On both edges of both panels, count 16 rows from the top and place a stitch marker.
- The un-marked rows in the center will be the neck opening.
- Joining: Starting from the top corner, attach your yarn and join the two panels using Single Crochet (SC).
- Make two SC into the end of each corresponding row.
- Join until you reach the stitch marker.
- Repeat this joining process on the opposite side of the neck opening.
Side Seam (Armhole)
- Marking: On the bottom edge of the joined panels, count 6 rows/stitches from the outer corner and place a stitch marker.
- Repeat on the other side.
- Joining: Join the bottom 6 rows/stitches together using Single Crochet (SC) to create a small seam.
- Fasten off and cut the yarn.
- The remaining opening is the armhole.
The Sleeves
The armhole opening should have 40 row ends on the front side and 40 on the back side.
Round 1
- Attach yarn at the bottom seam.
- Chain 2, then make an HDC in the same spot.
- Work HDC into the end of every row around the armhole opening.
- Make an extra HDC at the shoulder area. Slip stitch to join.
Rows 2 - 34
- Turn your work. Chain 2.
- Make Back Loop Half Double Crochet (BLHDC) in every stitch around.
- Slip stitch to join.
Repeat
Repeat Row 2 until you have a total of 34 rows for the main sleeve length.
The Sleeve Cuff
The cuff is worked flat and then joined to the sleeve edge.
- Cuff Foundation: Chain 20. Chain 1 more.
- In the 2nd chain from the hook, make a Slip Stitch (SS).
- Continue making SS in every chain across. (20 SS).
- Joining: At the end of your first row of slip stitches, skip one stitch on the sleeve edge and join the cuff to the sleeve with two Slip Stitches into the next two stitches.
Cuff Ribbing: Turn your work. Skip the two joining SS.
- Make Back Loop Slip Stitch (BLSS) across the 20 cuff stitches.
- Repeat: Turn, make BLSS back across the cuff.
- Join to the sleeve edge by skipping one stitch and making two SS into the next two stitches.
- Repeat this process (BLSS across, join to sleeve) until you have four stitches left on the sleeve edge.
- Final Join: Skip one stitch, and make a SS in the last three stitches on the sleeve edge.
- Turn your work and make a final row of BLSS.
- Sewing: Fold the sleeve onto the wrong side.
- Join the cuff edges together using Slip Stitches.
- Continue joining the rest of the sleeve seam up the arm using Single Crochet (SC). Fasten off.
Repeat Part 3 and Part 4 for the second sleeve.
Edging and Neckline

Bottom Edging
- Round 1 (SC): Attach yarn at a bottom corner.
- Chain 1. Work two Single Crochet (SC) into the end of every row/stitch along the entire bottom edge.
- Slip stitch to join.
- Round 2 (Crab Stitch): Chain 1, turn your work.
- Make Reverse Single Crochet (Crab Stitch) around the entire edge.
- Slip stitch to join and fasten off.
Neckline/Collar
- Round 1 (SC): Attach yarn at the neckline corner.
- The neckline edge is approximately 48 rows long (24 rows on the front, 24 on the back).
- Make one SC on the two corner stitches.
- Work two SC into every half double crochet row end/stitch around the entire neckline. (Total: 100 stitches).
- Collar Ribbing: Chain 24 for the ribbing height.
- Chain 1 more.
Ribbing: The collar is worked similarly to the cuff, using the Single Crochet (SC) stitch:
Make SC across the chain (24 stitches).
- Join to the neckline edge: Skip one stitch on the neckline, and make two SC in the next two stitches.
- Turn your work, skip the two joining SC, and work Back Loop Single Crochet (BLSC) across the ribbing row.
- Repeat this process (BLSC across, join to neckline by skipping 1 stitch and making 2 SC) until you have covered the entire neckline and only one stitch is left on the edge.
- Final Join: Join the two ends of the ribbing together using Single Crochet (SC).
- Fasten off and weave in all remaining ends.

Leave a Reply