
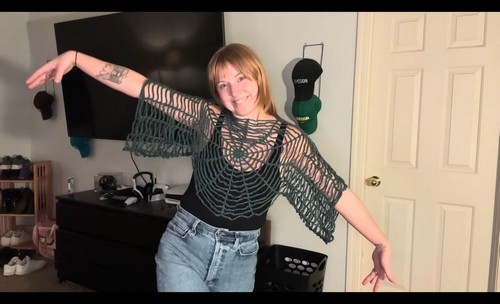
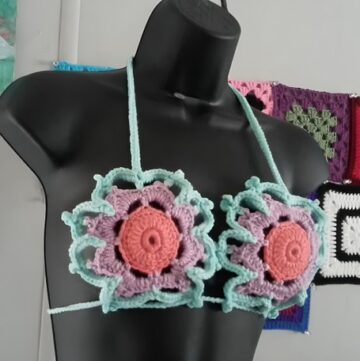
The spiderweb crochet top is the perfect blend of edgy and boho, making it an ideal piece for festivals, beach outings, or layering over a tank for a stylish everyday look. This versatile pattern walks you through every step from creating the hypnotic center web to customizing the sleeves and final fit.
Crochet Spiderweb Top

Whether you’re aiming for a bold statement piece or something more subtle, the adjustable sizing and chain length options make this top uniquely yours. With its airy construction and trendy aesthetic, this spiderweb top is bound to become a favorite in your handmade wardrobe.
Materials Needed
- Worsted weight (4) yarn
- 4mm crochet hook
- Stitch marker
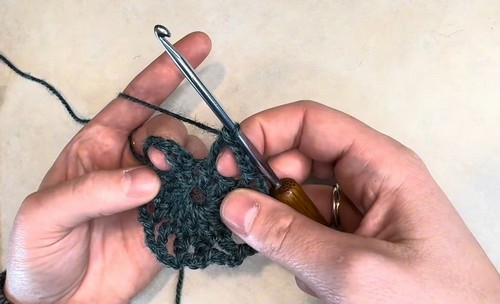
Getting Started
- Create a magic circle.
Row 1:
- Standing double crochet into the ring
- [Ch 1, DC] × 12
- Slip stitch to top of starting DC to join
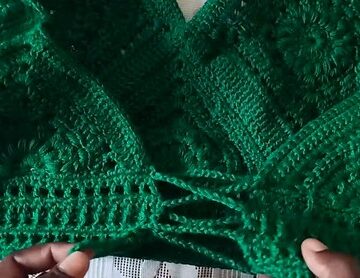
Creating the Web Pattern
Row 2:
- Ch 1
- Standing DC in same stitch
- Ch 3, skip chain space, DC on next DC around
- End with Ch 3, slip stitch to first DC
Rows 3 and onward:
- Increase the chain space by 2 each row (Ch 5, Ch 7, Ch 9…)
- Continue the same DC placement
- Use a stitch marker at the beginning of each row
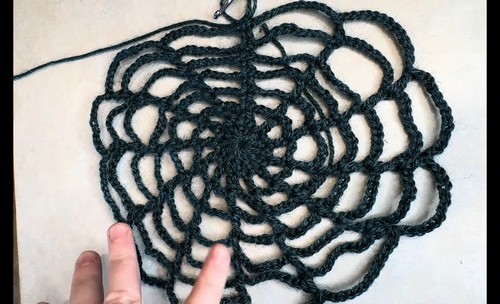
Measuring and Adjusting
- Continue adding rows until the piece stretches from shoulder to shoulder
- Approximately 14 rows were used in the example
Blocking
- Block each panel to enhance shape and open up the web design
Assembling the Top
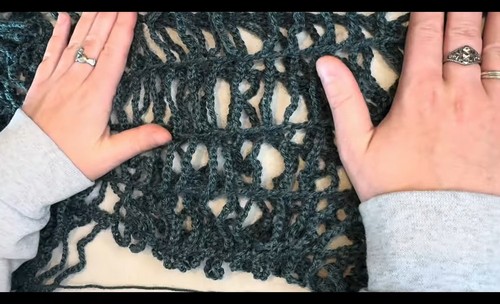
Connecting Panels:
- Lay both panels right side up
- Align center stitches and pin
- Slip stitch to join
Creating Sleeves:
- Determine where sleeves should start
- Leave desired gaps for armholes
Attaching Sides:
- Slip stitch down the sides to join front and back panels
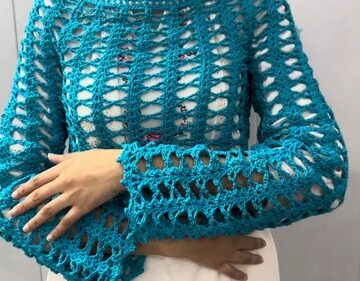
Constructing Sleeves:
- Ch from one side of the panel to the other to enclose armholes
- Creator used 27 chains for initial sleeve round
Customizing Sleeve Length
- To create a tighter sleeve, halve the chain count (e.g., Ch 13 or fewer)
- Adjust as desired to achieve the look and fit you want
Final Touches
- Block the full top again to finish
- Optionally add rows at the bottom if more length is needed

Leave a Reply