
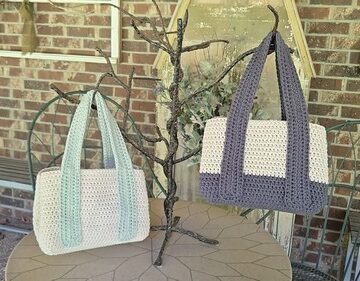
If you're looking for a show-stopping crochet project that blends artistry with functionality, this 3D rose bag pattern is a must-try. Designed with layered petals and a 3D floral aesthetic, this bag mimics the bloom of a real rose while offering the practicality of a stylish accessory.
Crochet 3D Rose Bag
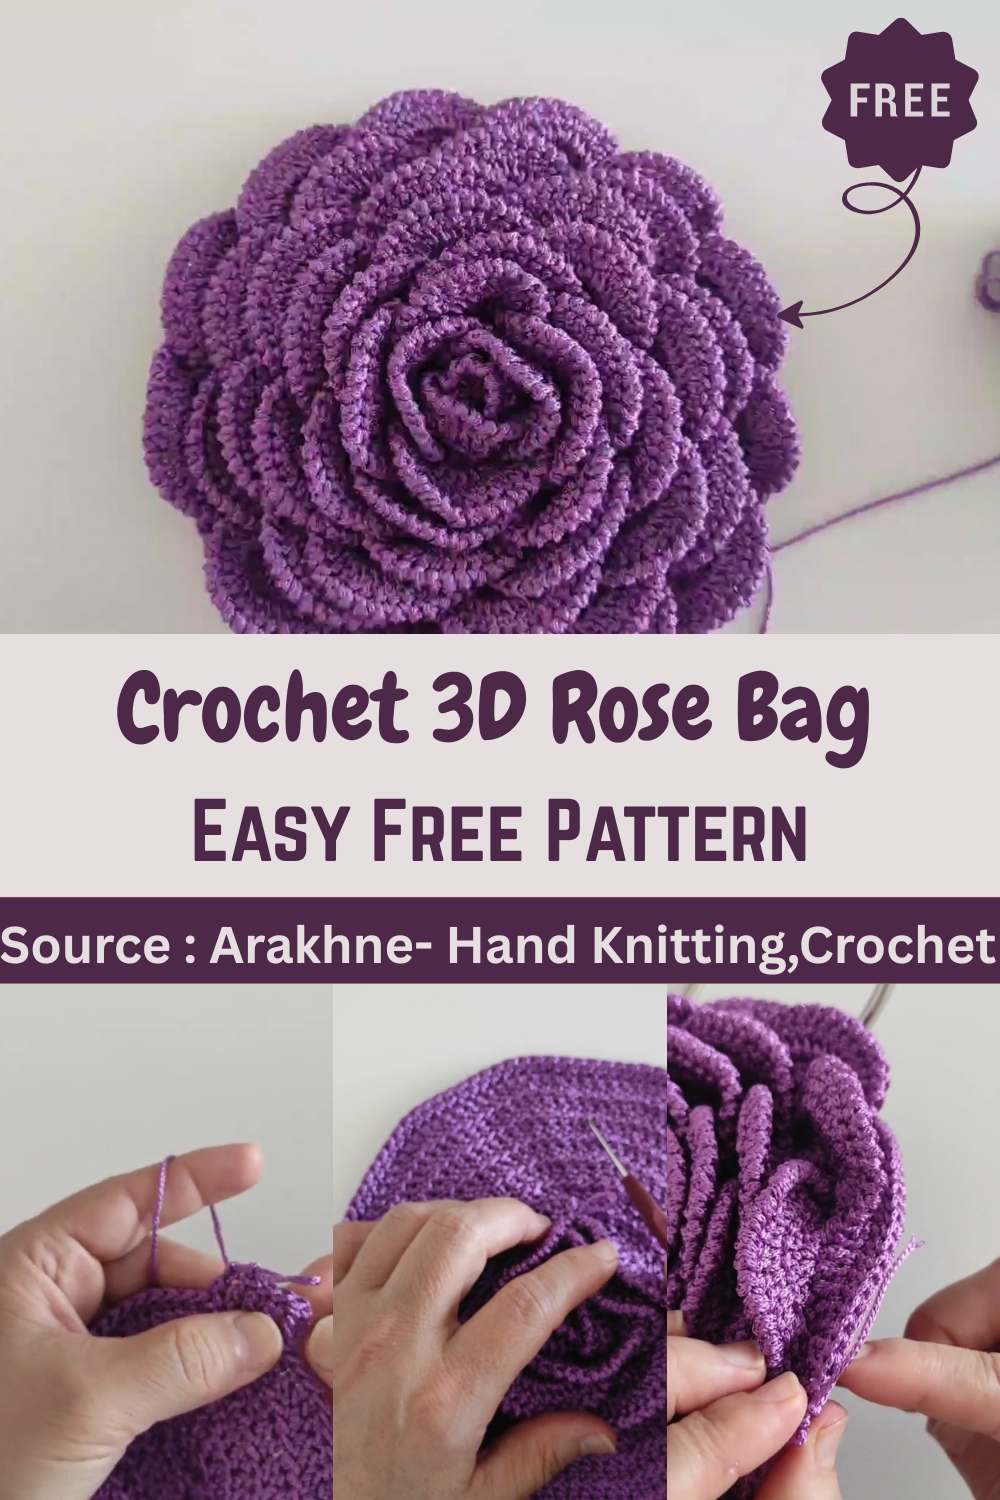
The pattern walks you through creating a sturdy base, forming lifelike petals using clever ridge techniques, and finishing with durable, elegant handles. Whether you're gifting, accessorizing, or selling handmade items, the rose bag offers a unique, customizable design that’s bound to turn heads.
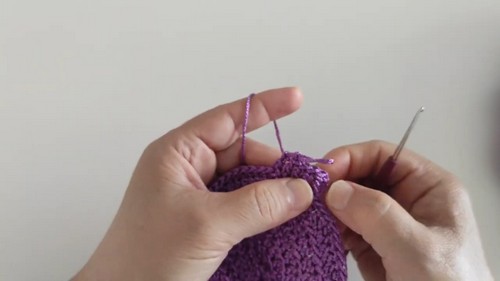
Creating the Base of the Bag
- Begin with a magic ring and chain 3
- Make 12 double crochets into the magic ring (including the chain 3)
- Pull the yarn to close the ring and slip stitch into the top of the initial chain 3
- Chain 3, work 2 single crochets in each stitch around in the back loop only (total: 24 stitches)
- Close the round with a slip stitch into the chain 3
- Chain 3
- Make 2 double crochets in the first stitch, then 1 double crochet in the next
- Repeat this pattern around, working in the back loop only
Continue increasing as follows:
- Round 4: 2 dc in one stitch, 1 dc in next two stitches
- Round 5: 2 dc in one stitch, 1 dc in next three stitches
- Round 6: 2 dc in one stitch, 1 dc in next four stitches
- Increase by one additional stitch between increases for each round until 10 rounds total
- After the 10th round, the base should measure approximately 19 cm
- Chain 1 and make single crochets all around the edge
- Close the round with a slip stitch
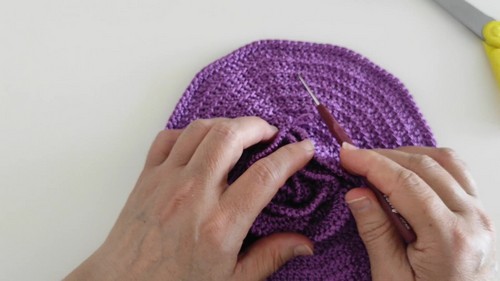
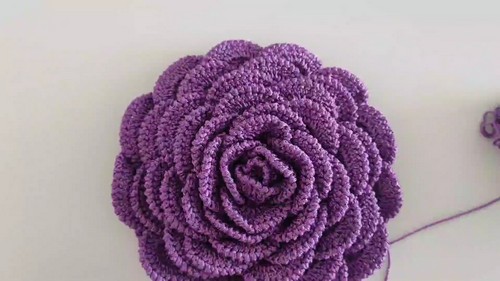
Creating the Rose Petals
- Locate the back loop ridges created earlier
- Attach yarn to any ridge with a slip stitch and chain 3
- Make 2 double crochets in the same ridge (3 total including chain 3)
- In the next ridge, make 3 double crochets (6 total)

- Chain 3 and turn
- Make 2 double crochets in each of the 6 stitches (12 total)
- Count 5 ridges and slip stitch to attach petal to base
- Chain 1, make single crochets in reverse along the petal edge
- Count 5 ridges and slip stitch to attach the zigzag edge
- For each subsequent petal in the first layer:
- Chain 3, 2 dc in same ridge
- Make 3 dc in each of the next 2 ridges (9 total)
- Chain 3 and turn
- Make 2 dc in each stitch (18 total)
- Count 6 ridges and slip stitch to attach the petal
- Create zigzag edge and attach after 6 ridges
- Repeat until the first layer is complete
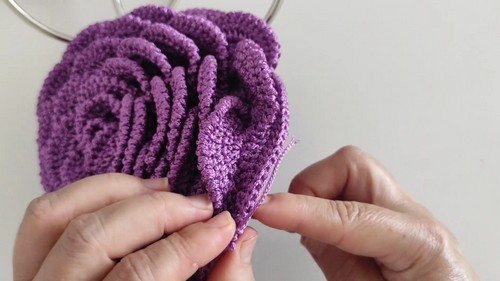
Moving to the Next Layer of Petals
- Chain 3 and slip stitch to the next available ridge
- Repeat the same petal pattern (9 base dc, 18 second row dc)
- Attach petals every 6 ridges
- Skip a row of ridges between layers to reduce bulk
Creating the Bag Handles
- Chain 18
- Starting from the second chain, make 17 single crochets
- Chain 1 and turn
- Make 2 single crochets in the first and last stitch of the row to increase width
- Continue single crochets in between
- Repeat for 4 rows
- Align the handle loop with the bag (wrong side inward)
- Slip stitch through both layers to attach
- Continue slip stitching around the handle loop edge for durability
Final Assembly
- Cut yarn and weave in ends securely
- Burn ends if using mercerized yarn to prevent fraying
- Fold the bag in half to align handles
- Measure 4 cm from the top edge
- Slip stitch handles onto the bag through both layers
- Ensure tight, even stitches for strength


Leave a Reply