
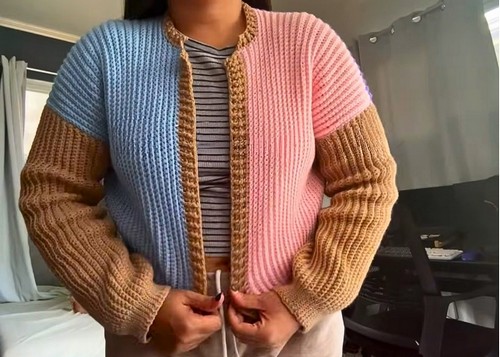
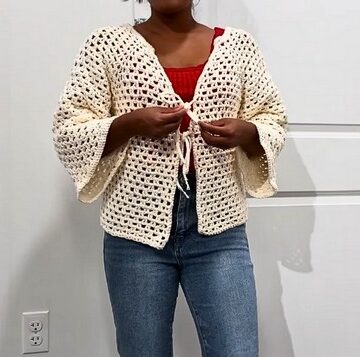
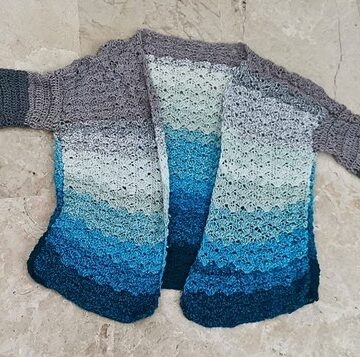
The Simple Ribbed Cardigan crochet pattern is a versatile made to measure design that allows you to create a perfectly fitted cardigan using your own measurements. This pattern focuses on clean ribbed texture, comfortable structure, and a timeless silhouette that works well for everyday layering.
Crochet Ribbed Cardigan
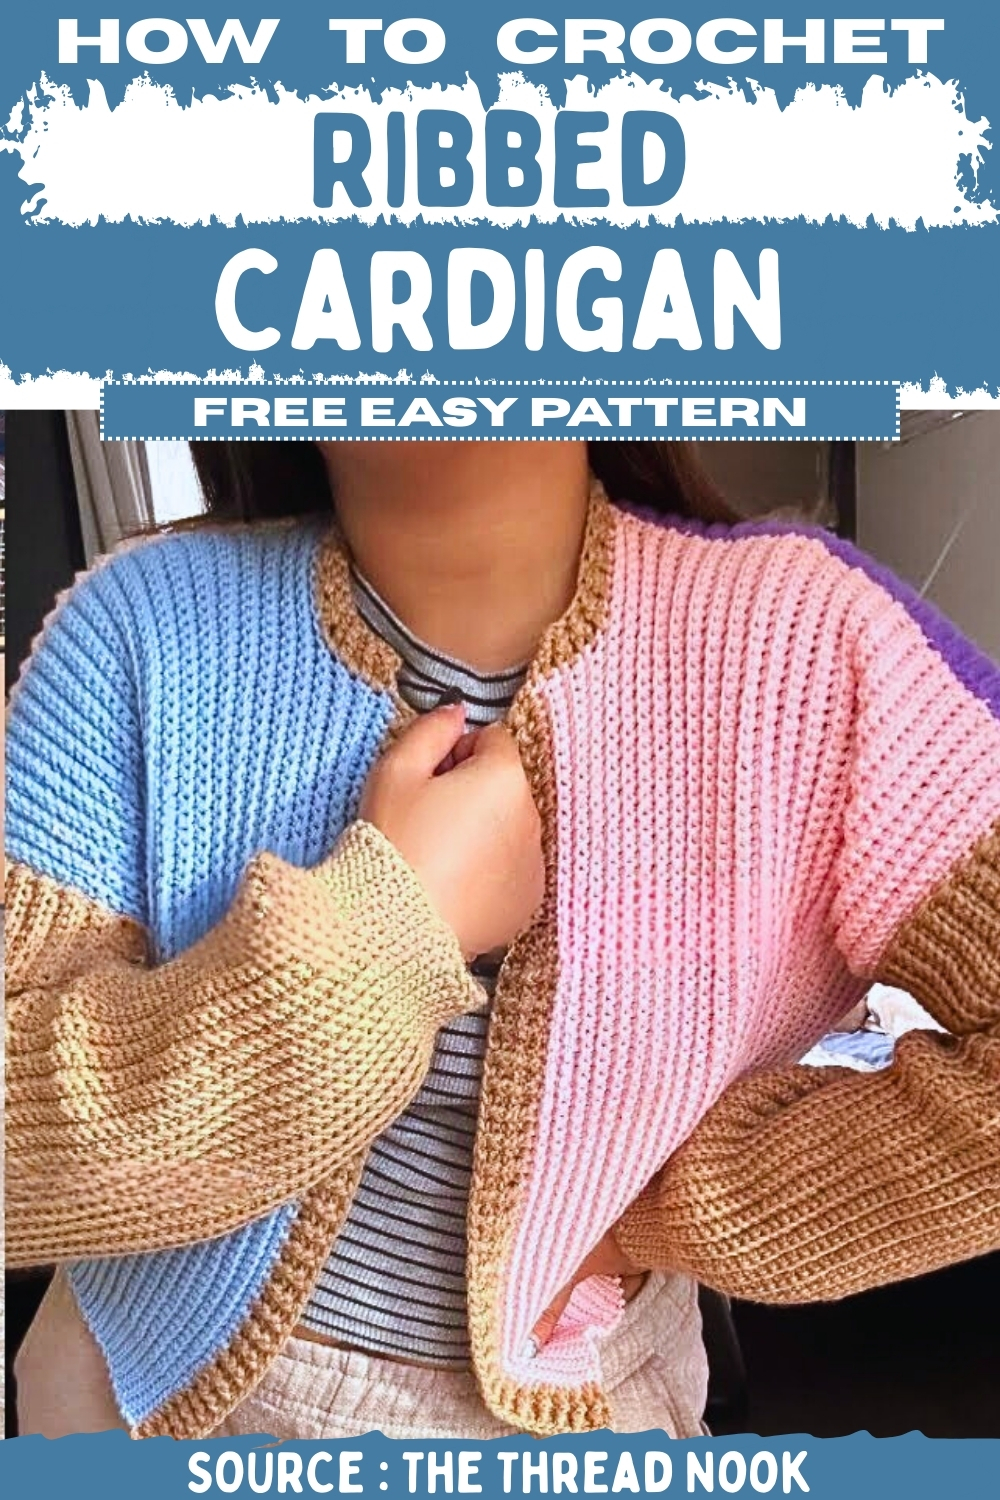
Designed to be flexible with yarn choice and sizing, it is ideal for crocheters who want a custom fit without complicated math. The cardigan features built in ribbing, seamless sleeves, and a polished front and neck finish, making it both practical and stylish for all seasons.
Materials
- 4 ply or size 3 lightweight yarn
- 3.5 mm crochet hook
- Stitch markers
- Scissors
- Yarn needle
Measurements
- Measure shoulder to desired cardigan length and record as Measurement A
- Divide bust circumference by four to calculate panel width
- Subtract one inch from bust divided by four for Measurement B1
- Use full bust divided by four for Measurement B2
- Divide arm circumference by two for Measurement C
Front Panels Make Two
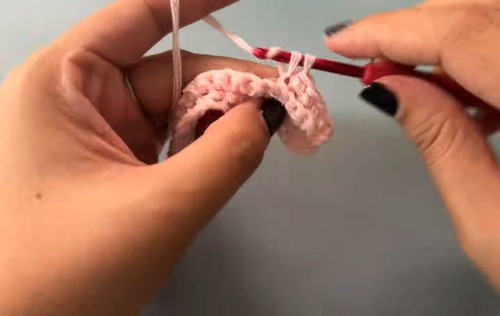
- Chain a length equal to Measurement A
- Single crochet in each chain until ten chains remain then slip stitch in the last ten chains and place a marker in the first slip stitch
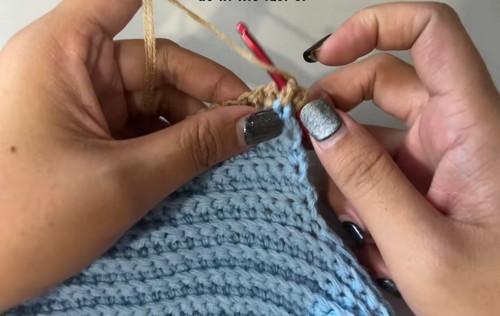
- Chain one turn slip stitch in back loop only for the first ten stitches then single crochet in back loop only across the remaining stitches
- Chain one turn single crochet in back loop only until the stitch marker then slip stitch in back loop only across the last ten stitches
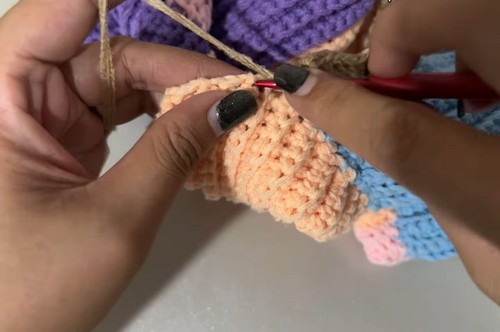
- Repeat the previous two rows until the panel reaches Measurement B1
- Skip ten stitches at the top edge opposite the ribbing to shape the neck and continue the same pattern until the panel reaches Measurement B2
Back Panel
- Chain the same number used for the front panels
- Repeat the same stitch pattern for the total number of rows equal to both front panels combined
Assembly
- Place the two front panels on top of the back panel
- Sew the shoulder seams using an invisible stitch
- Measure Measurement C down from the shoulder and mark the armholes
- Sew the side seams from the bottom ribbing up to the armhole markers
Sleeves
- Attach yarn at the bottom of the armhole opening
- Chain the desired sleeve length
- Slip stitch in the first ten stitches to form cuff ribbing then single crochet across the remaining chains
- Slip stitch into the next two stitches of the armhole edge turn and work back across the sleeve in back loop only
- Continue working back and forth slip stitching into the armhole edge each time until the armhole is fully filled
- Join the sleeve seam using slip stitches
Finishing
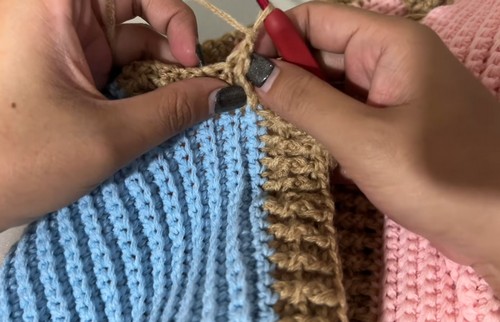
- Attach yarn at the bottom front corner and work double crochet evenly along the front edge
- Work alternating front post double crochet and back post double crochet rows to create ribbing
- Continue the same ribbed pattern evenly around the neckline to form the collar
- Fasten off and weave in all ends
Leave a Reply