
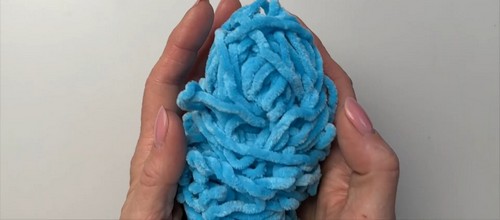
To dive into your next adorable crochet adventure with this soft little ray pattern! Perfect for beginners and seasoned crocheters alike, this stingray plushie is a quick, fun project using simple stitches and bulky yarn to create a squishy, huggable sea friend.
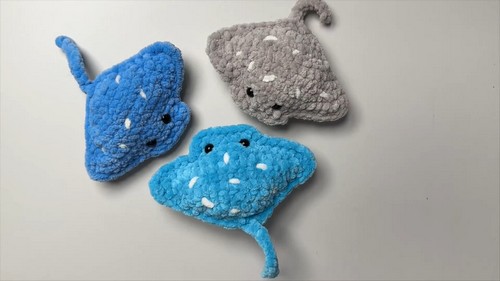
Crochet Stingray Amigurumi

Featuring a two-toned body, safety eyes, a sweet embroidered smile, and optional white spots, this plush ray makes a great gift, desk buddy, or decor piece. You can customize it with different colors and yarn textures to make it uniquely yours. With clear steps and room for creative embellishments, this pattern brings the joy of ocean life into your hands.
Materials
- Super bulky weight yarn (main color and belly color)
- 4mm hook
- 8mm black safety eyes
- Yarn needle
- Small amount of stuffing
- Scissors
- Black floss (for smile)
- White yarn (for spots)
Stitches Used
- Chain (ch)
- Single Crochet (sc)
- Slip Stitch (sl st)
- Increase (inc) – two sc in one stitch
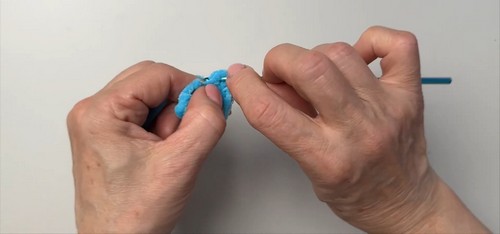
Top Part of the Stingray
- Create a slip knot
- Chain 4, turn. Sc in the first stitch, inc in next, sc in third chain (4 stitches)
- Chain 1, turn. Work 2 sc in each stitch across (8 stitches)
- Chain 1, turn. Inc, 6 sc, inc (10 stitches)
- Chain 1, turn. Inc, 8 sc, inc (12 stitches)
- Chain 1, turn. Inc, 10 sc, inc (14 stitches)
- Chain 1, turn. Inc, 12 sc, inc (16 stitches)
- Chain 1, turn. Inc, 14 sc, inc (18 stitches)
- Chain 1, turn. 18 sc across
- Fasten off and leave a tail to tuck in
Head Section
- Reattach yarn at 7th stitch from edge
- Work 6 sc across
- Chain 1, turn, 6 sc across again
Bottom Piece
- Repeat steps for top piece exactly
- At end of row 10, fasten off completely
Attaching Safety Eyes
- Place safety eyes between the last two rows of the head section
- Leave 4 stitches between the eyes
- Attach the backs to secure
Connecting the Two Parts
- Line up top and bottom pieces
- Insert hook through final row stitch of both pieces, sc through both layers around
- Leave about 10 stitches open near the face
- Weave in any yarn tails
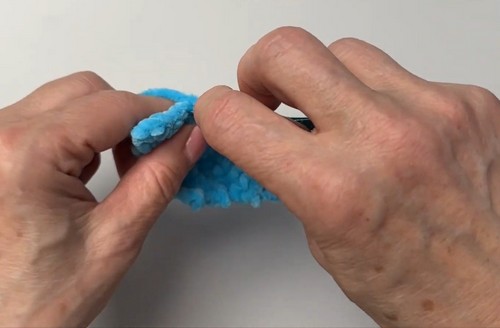
- Lightly stuff the center, keeping wings and face soft
- Finish sc around the rest of the body to close
Creating the Tail
- Attach yarn at center back
- Pull yarn through to tail position
- Chain 11
- Work 10 sl st back along chain
- Make 1 sl st into the body to secure
- Fasten off and weave in tails
Embroidering the Smile
- Thread black floss on a needle
- Bring floss up between rows of the head
- Make 1 horizontal stitch for mouth
- Bring floss down one row to form a small V
- Tie ends inside the body and hide
Adding White Spots
- Thread white yarn onto needle
- Bring yarn up through bottom to the top
- Add 7–8 small random stitches on the ray’s back
- Bring yarn down, tie with starting tail, tuck inside
Finishing Touches
- Gently shape wings by bending outward
- Trim or tuck any loose yarn fuzz


Leave a Reply