
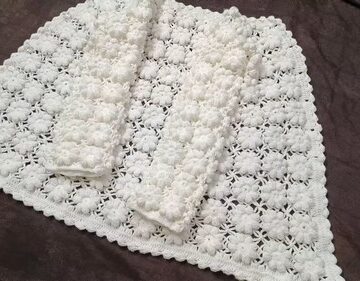
The Crochet Lace Cardigan is a stylish, versatile piece that adds a touch of elegance to any wardrobe. Worked from the top down, this cardigan is designed with two distinct lace patterns: Squares and Semicircles. The lace design creates an airy, light texture that’s perfect for layering during the cooler months.
Crochet Lace Cardigan
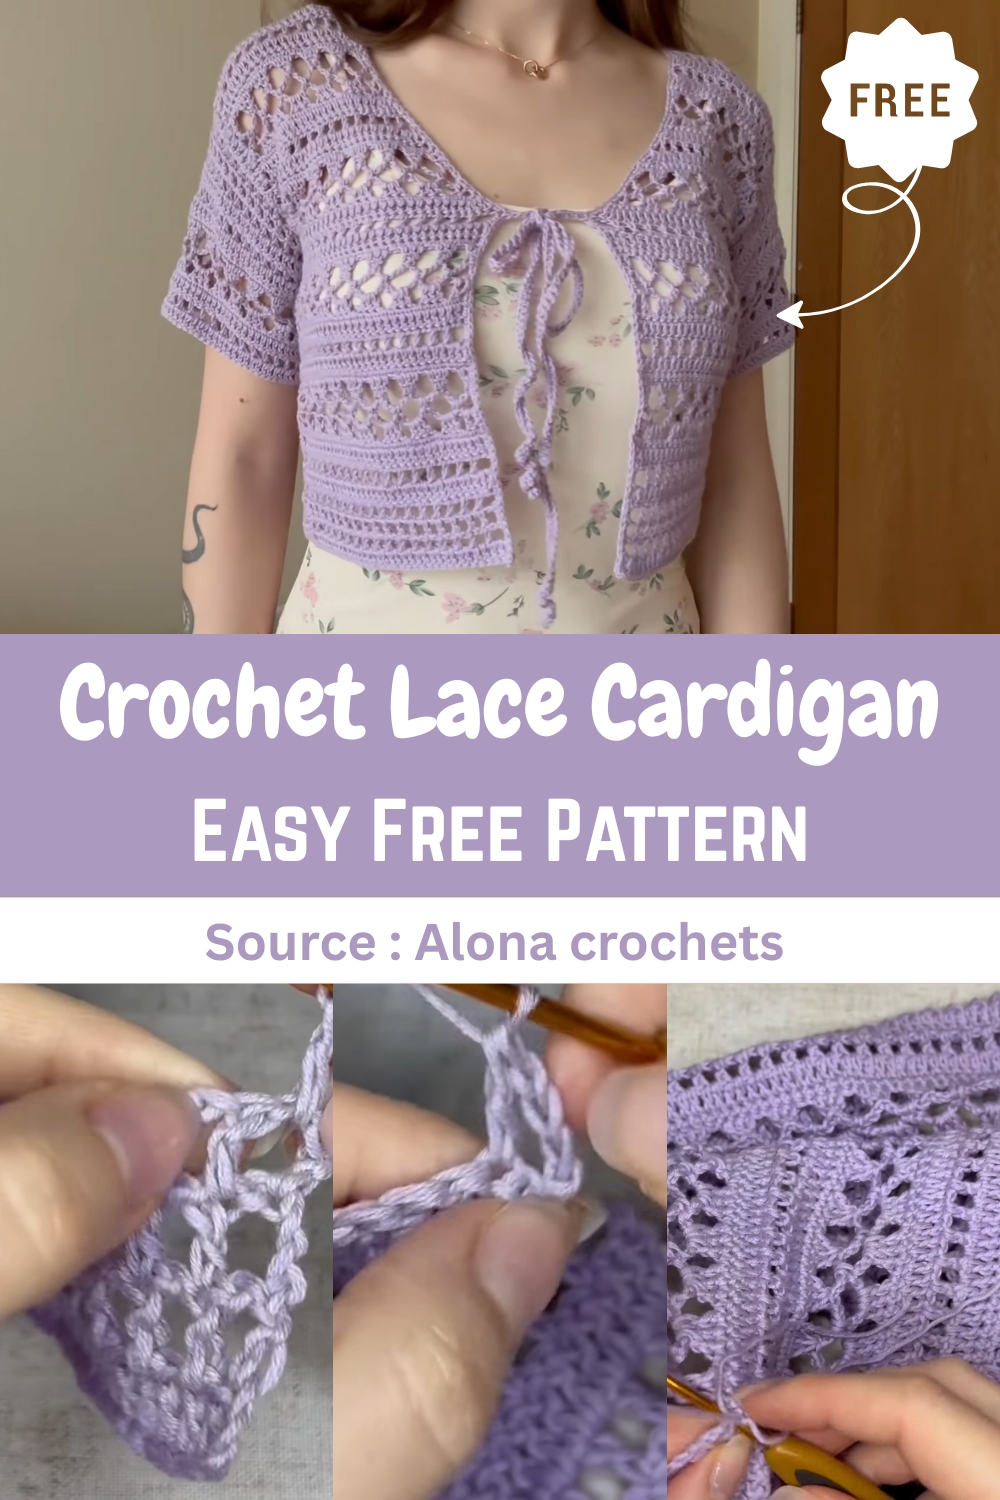
Whether you're dressing up for an evening out or adding a cozy touch to casual outfits, this cardigan offers endless styling possibilities. Plus, the step-by-step instructions make it an enjoyable project for crocheters of all levels. Customize your fit and length to match your personal style or get creative with color choices!
Front Panel Pattern (Start of Cardigan)
- The cardigan is made of two front panels, one back panel, and two sleeves.
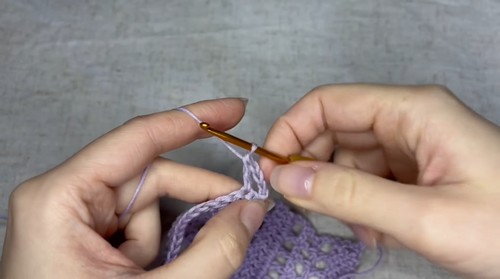
Foundation Chain: Make a slip knot, then chain a number that is a multiple of four. (The example uses 24 chains, plus 3 extra for turning)

- Row 1 (DC): DC (Double Crochet) in the 4th chain from the hook and in each chain across.
- Row 2 (Squares): Chain 4 (Ch 3 counts as DC, Ch 1 for spacing).
- Turn. Skip 1 st, DC in next. Repeat from * across.
- End with a DC in the 3rd chain of the turning chain.
- Row 3 & 4 (Squares): Repeat the instructions for Row 2.
- Row 5 (DC): Chain 3. Turn.
- Work 1 DC into each chain space and 1 DC into each DC stitch across.
- End with 1 DC in the 3rd chain of the turning chain.
- Row 6 (Squares): Repeat the instructions for Row 2.
- Row 7 (DC): Repeat the instructions for Row 5.
- Row 8 (SC + Inc): Chain 1. Turn.
- Work SC (Single Crochet) across, making one additional stitch (increase) somewhere in the row.
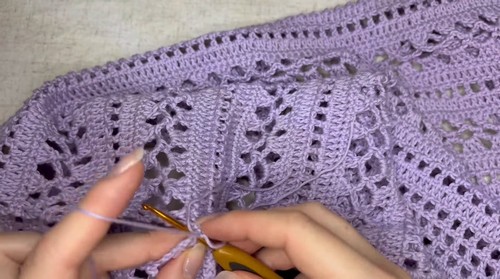
Main Lace Pattern (Semicircles)
- Row 9: Chain 3. Turn. Skip 1 st, DC in next.
- Chain 5. Skip 1 st, make a 3DCT (3 Double Crochets Together) into the next three stitches.
- Repeat from * across. End: Skip 1 st, make a 2DCT (2 Double Crochets Together) into the last two stitches.
- Row 10: Chain 5. Turn. Make a SC into the first Chain-5 space.
- Chain 5, SC into the next Chain-5 space.
- Repeat from * across. End: Chain 2, DC into the last stitch.
- Row 11: Chain 3. Turn. DC into the first stitch.
- Chain 1, make 3 DC into the Chain-5 space.
- Repeat from * across.
- End: Make 2 DC into the last Chain-5 space to match the beginning.
- Finishing Row (Row 12): Chain 1.
- Turn. Work 1 SC into each stitch and into each Chain-1 space across.
Pattern Repeat
- The main pattern sequence that is repeated (with increases on some DC/Square rows) is:
- Double Crochets (DC)
- Squares (Ch 1, DC)
- Double Crochets (DC)
- Single Crochets (SC with 1 increase)
Main Lace Pattern (3 rows: Row 9, 10, 11)
- Single Crochets (SC)
- Repeat this sequence until your front panel has a total of 43 rows.
Back Panel & Assembly
- Back Panel: Chain 95 total (92 for the base, 3 for turning).
- This length should measure approximately 40 cm (16 in) for the example size.
- Work the same 43-row pattern sequence as the front panel, but without any increases, creating a simple rectangle.
Joining Shoulders: Line up the back panel and front panels.
- Use slip stitches to join the panels at the shoulders.
- Front Border and Ties: Work a row of Single Crochet all the way around the front opening.
- Add ties by chaining 100 chains + 1 for turning at the specified points on the panel.
- Joining Sides: Try on the cardigan to place a stitch marker where you want the armpit opening to end.
- Starting from the bottom, join the side seams using Single Crochet up to the stitch marker.

- Sleeves: Join the yarn under the armpit and work in the round, turning at the end of each row.
- Start the first row with 72 DC, then continue the pattern sequence until you reach your desired sleeve length.


Leave a Reply