
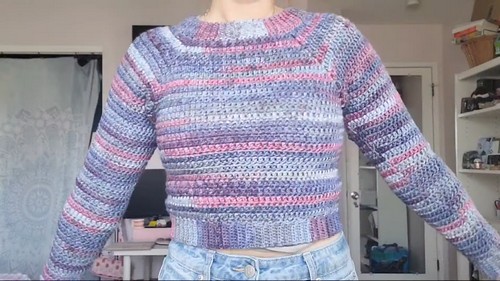
Stay warm and stylish with this Crochet Raglan Sweater tutorial. Whether you’re new to garment making or already love crocheting sweaters, this crochet raglan sweater pattern gives you an easy, comfortable fit that’s ideal for layering. Find step-by-step guidance and inspiration inside.
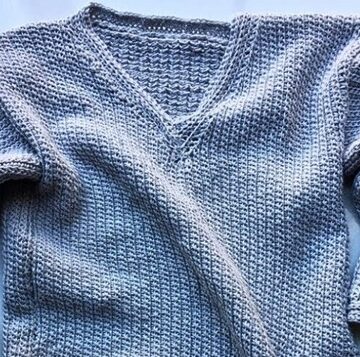
Crochet Raglan Sweater

The ribbed collar, cuffs, and hem give it a polished finish, while the seamless raglan design makes it easy to customize for any size. Whether you’re making it cropped, oversized, or fitted, this versatile project is perfect for anyone looking to crochet a cozy and modern sweater.
Materials
- Worsted weight yarn (about 3 skeins of acrylic)
- G-size crochet hook for ribbing
- I-size crochet hook for body and sleeves
- Scissors
- Four stitch markers
- Sewing needle
Ribbed Collar (Smaller Hook)
- Start with a slip knot using G-size hook
- Chain 9 or desired width
- Row 1: SC in second chain from hook, 7 SC total
- Row 2: Chain 1, turn, SC in back loop only across
- Repeat ribbing row until collar fits over head and stitch count is multiple of four
- Join ends with slip stitch through back loop and starting row
Yoke Setup and Marking (Larger Hook)
- Switch to I-size hook
- SC around collar edge, one SC per row end
- Divide total stitches by four and place markers at each section
- Slip stitch to join
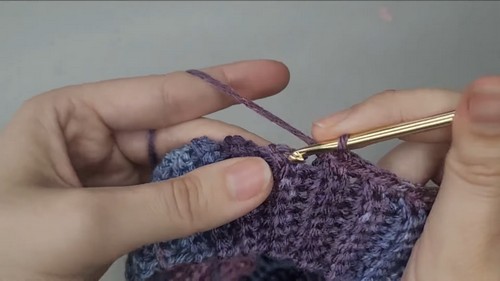
Raglan Yoke Increases
- Round 1: Chain 3, DC in each stitch until marker, in marked stitch work (DC, ch 2, DC).
- Repeat at all four markers, join with slip stitch
- Following Rounds: DC in stitches, work (DC, ch 2, DC) in chain spaces, continue until yoke reaches underarm
Creating Armholes
- Chain 3, DC to first chain space
- Place DC in chain space, chain desired number for armhole
- Skip sleeve stitches, DC into next chain space
- Repeat for other side, slip stitch to join
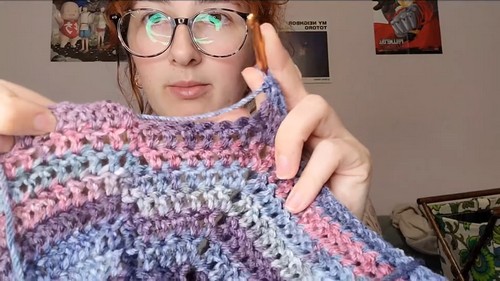
Body
- Continue DC rounds until desired length
- Switch to smaller hook for hemline
- Chain 9, SC down
- Join to body with slip stitch or decrease if needed
- Flip and SC in back loop only, repeat around hem
- Join ends with slip stitch, fasten off
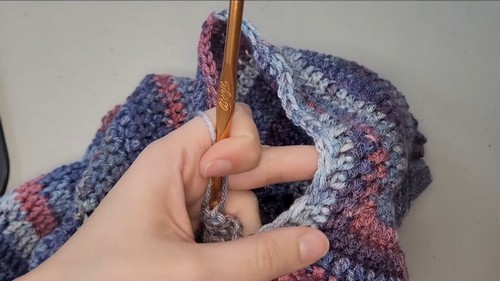
Sleeves
- Attach yarn at armpit chain space
- Round 1: Chain 3, DC around sleeve, decrease before and after armpit chain space, slip stitch to join
Tapering Pattern:
- Round 1: Two decreases at armpit
- Round 2: One decrease at armpit
- Round 3: Regular DC
- Round 4: Two decreases at armpit
Repeat tapering until sleeve is shaped, then continue DC until desired length
- Add ribbed cuff using same method as hemline


Leave a Reply