
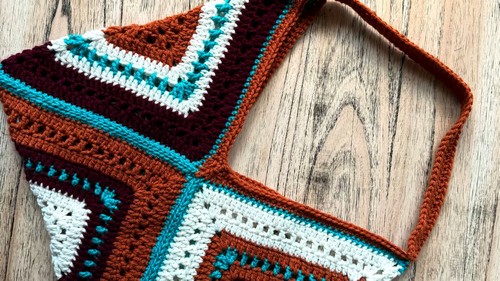
This stylish and functional crochet purse pattern is a must-have for anyone looking to blend creativity with practicality. Made from just three beautifully detailed granny squares, the purse features a playful mix of colors and textures, making it a great project to use up leftover yarn. The alternating rows of solid and chain-spaced stitches give each square a dynamic look, while the clever folding and joining technique forms a unique triangular silhouette.
Crochet Granny Square Purse
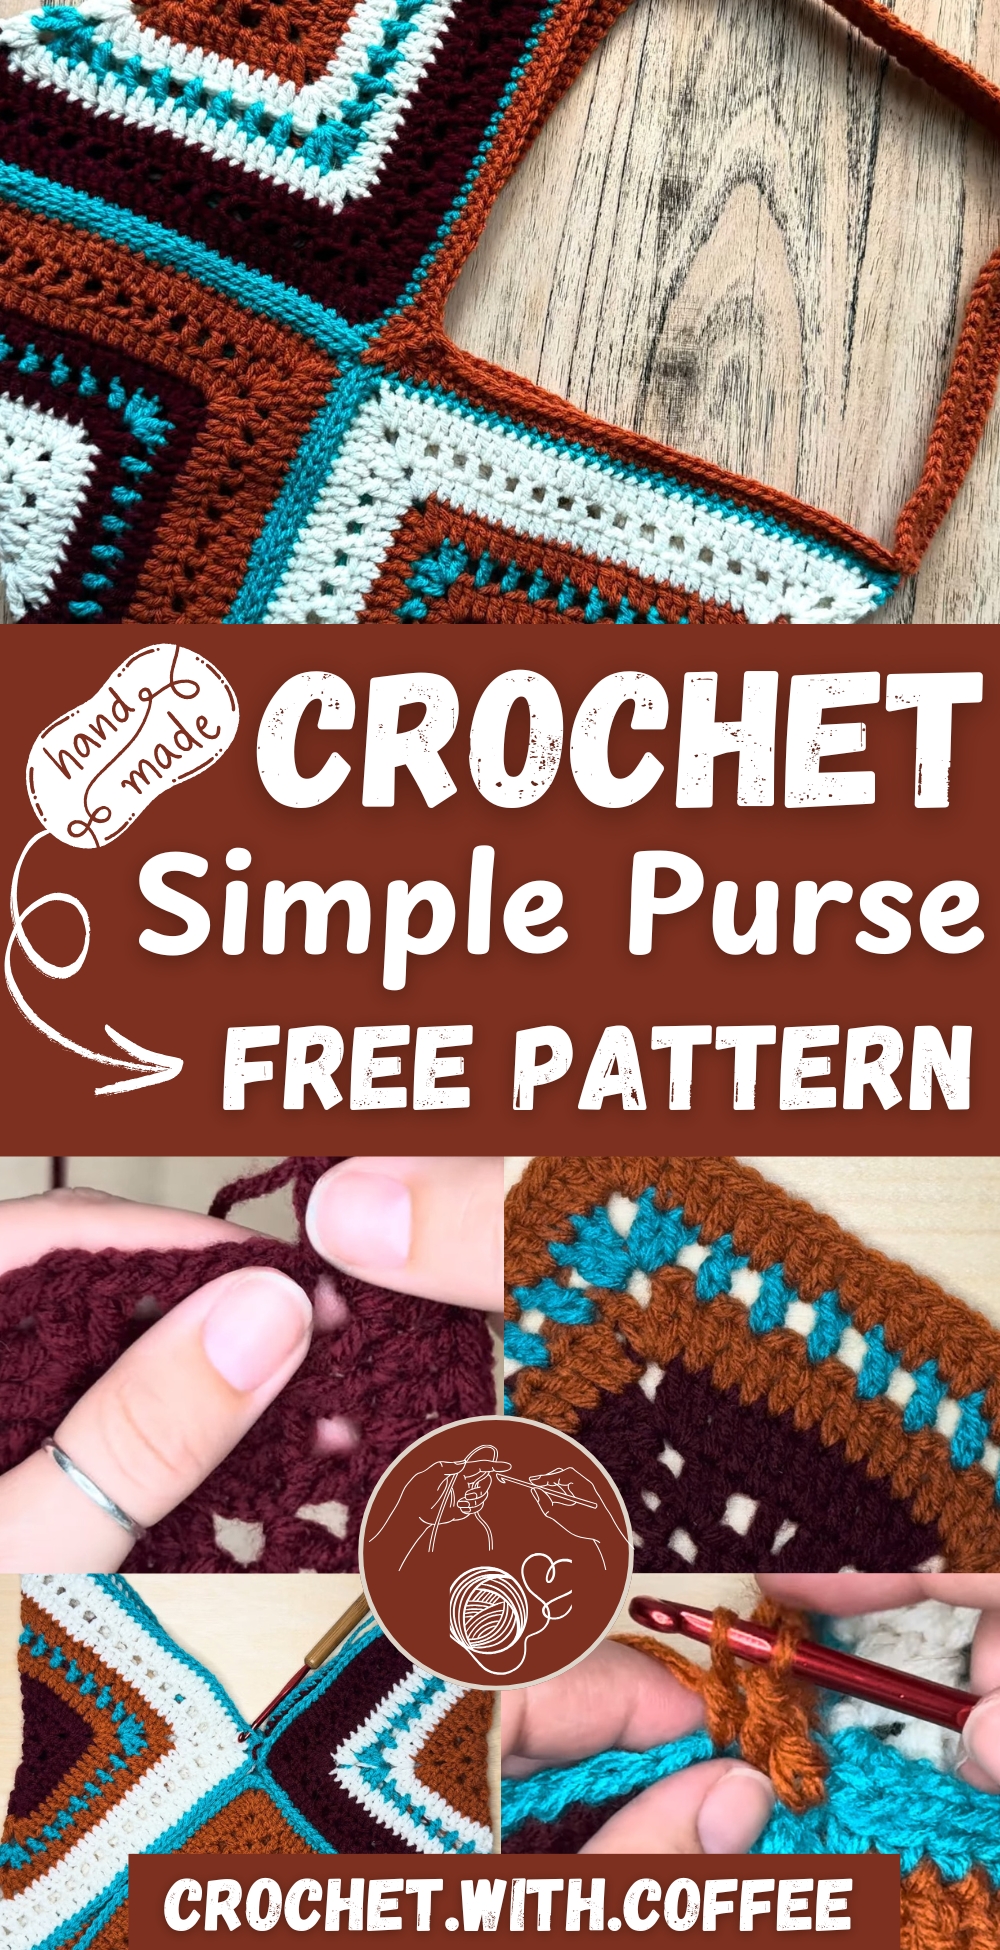
Whether you're new to crochet or a seasoned hooker, this project offers versatility with color choices, adjustable strap length, and options to customize the size. Perfect for festivals, casual outings, or gifting, this crochet purse is as fun to make as it is to wear.
Materials
- 5.5 mm crochet hook
- Medium 4 weight acrylic yarn (multiple colors recommended)
- Scissors
- Yarn needle
Granny Square Pattern
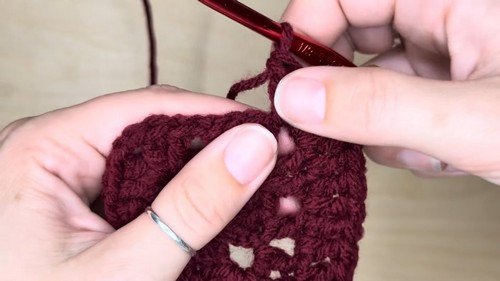
Round 1
- Make a magic ring.
- Chain 3 (counts as 1 double crochet).
- Work 2 double crochets into the ring.
- Chain 2.
- Work 3 double crochets into the ring.
- Repeat “chain 2, 3 double crochets” two more times.
- Tighten the magic ring.
- Finish with a half double crochet in the top of the starting chain 3.
Round 2
- Chain 3 (counts as 1 double crochet).
- Double crochet once more in the same corner.
- Chain 1.
- Skip 1 stitch, double crochet in the next.
- Chain 1.
- Skip 1 stitch, in the corner space work: 2 double crochets, chain 2, 2 double crochets.
- Chain 1, skip 1 stitch, double crochet in the next.
- Repeat this pattern around.
- Finish with a half double crochet in the top of the starting chain 3.
For Round 3
- Chain 3, double crochet in the same corner.
- Double crochet in each double crochet and chain 1 space around.
- Corners: 2 double crochets, chain 2, 2 double crochets.
- Finish with a half double crochet in the top of the starting chain 3.
- Chain 1 and cut yarn.
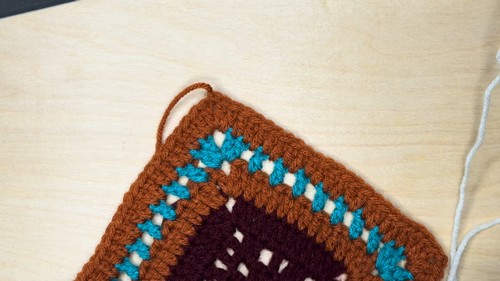
Additional Rounds
- Alternate solid rounds and chain-space rounds, changing colors per the desired sequence:
- Center color
- Accent color
- First color
- Accent color
- Third color
- Accent color
- First color
- Accent color
- Finishing color
Row 4 (Solid Row)
- Begin in any corner with a standing double crochet.
- Double crochet in each stitch.
- Corners: 2 double crochets, chain 2, 2 double crochets.
- Finish with a half double crochet. Cut yarn.
Row 5 (Chain 1 Row)
- Start in any corner with 2 double crochets.
- Chain 1, skip a stitch, double crochet in the next.
- Repeat across.
- In corners: 2 double crochets, chain 2, 2 double crochets.
- Finish with a half double crochet. Cut yarn.
For Rows 6 to 9
- Alternate solid and chain-space rows.
- Repeat the instructions for solid or chain 1 rows as described above.
- End with a solid round.
Row 10 (Single Crochet Border)
- Start with standing single crochet in a corner.
- Work 1 single crochet per stitch around.
- Corners: 1 single crochet, chain 1, 1 single crochet.
- Join with slip stitch, chain 1, leave yarn for joining.
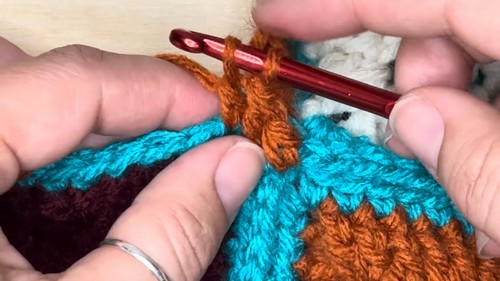
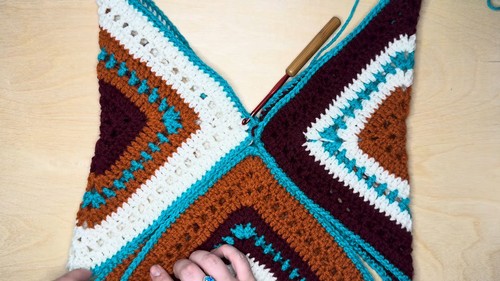
Joining the Squares
- Lay 3 squares wrong sides together.
- Use slip stitch join: insert into chain 1 spaces of both squares, slip stitch.
- Work into back loops only.
- Continue down one side.
- Fold and join remaining sides similarly.
- Add the third square in the same manner.
- At the end, chain 1 and snip yarn, leaving a tail.
Adding the Handle
- Choose a matching color.
- Attach yarn to chain 1 space at the top.
- Chain desired strap length (55 chains for shoulder bag).
- Ensure chain isn't twisted.
- Slip stitch to the opposite top corner.
Edging the Bag Opening (Side 1)
- Single crochet down the side.
- Before the corner: half double crochet, 2 double crochets together, 3 double crochets together, 2 double crochets together, half double crochet.
- Single crochet up to the handle.
- Single crochet across one side of the chain.
- Single crochet down the opposite side of the bag.
- Repeat shaping around the corner.
- Single crochet around and over the handle.
- Slip stitch to join and fasten off.
Edging the Bag Opening (Side 2)
- Attach yarn to the opposite chain 1 space.
- Repeat edging and shaping as on Side 1.
- Work into unused loops of the chain for the handle.
- Finish with slip stitch and weave in ends.


Leave a Reply