
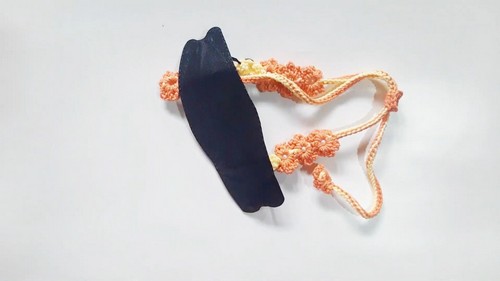
This 2-in-1 flower mask connector crochet pattern is perfect for anyone looking to add a personal touch to their face masks. The pattern combines functional design with decorative elements, creating a charming piece that not only connects the mask securely but also adds a pop of color and texture.
Crochet Flower Mask
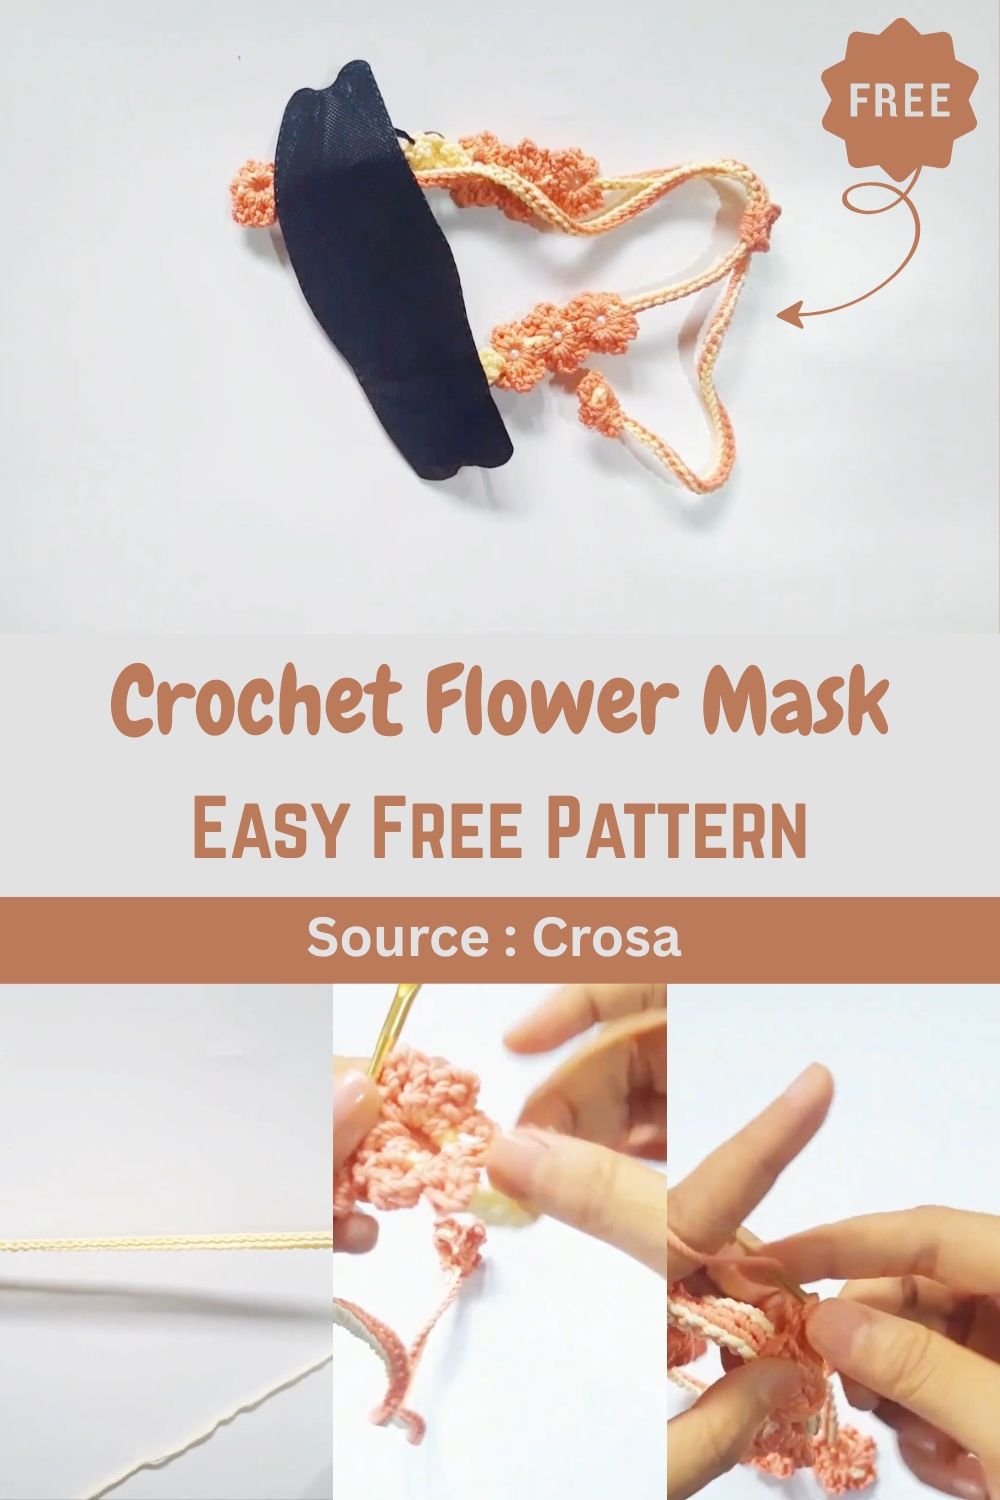
With buttons, pearls, and the beautiful flower design, this connector enhances any mask, turning a basic accessory into a stylish, handmade statement. It's a versatile project—ideal for beginners and seasoned crocheters alike—offering opportunities for customization and creativity. Plus, the step-by-step instructions ensure you can follow along easily, making it simple to create two connectors in no time.
Creating the Base of the Connector
- Start by making a chain stitch.
- In the first chain, create a slip stitch, then continue with six more chain stitches.
- Make five single crochets in the same hole.
- In the next hole, make one single crochet, followed by four single crochets in the next hole.
- Each side should have five single crochets, totaling ten single crochets.
- Make a slip stitch in the first single crochet.
- For the flower base, make three chain stitches, then a double crochet in the same hole where you made the slip stitch.
- Create a gap of two chain stitches, then make three more chain stitches, totaling five chain stitches.
Make one double crochet starting from the third chain.
- Repeat the previous step: make five chain stitches and one double crochet starting from the third chain.
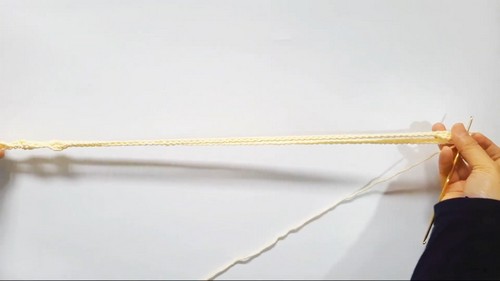
- Make 70 chain stitches for the strap.
- After completing the 70 chain stitches, make three more chain stitches and one double crochet in the third hole from the hook.
- Cut and tidy the yarn using a lighter to prevent fraying.
- Create a second connector base so you have two in total.
Decorating with Flowers
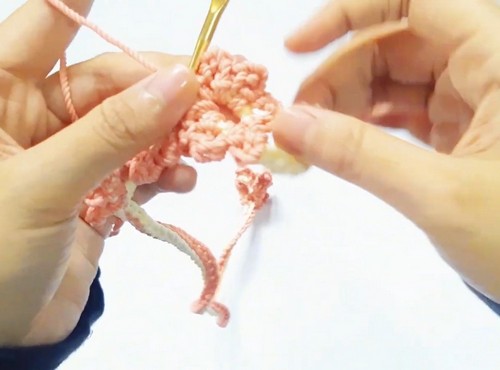
- Using salmon-colored yarn, insert it into the same hole where you made the double crochet.
- Make six slip stitches.
- Make a slip stitch in the large hole. Continue until you have six petals.
- Make the last slip stitch in the same hole where you started the chain.
- Make slip stitches along the 70 chain stitches you created earlier.
- Once completed, make a slip stitch in the large hole.
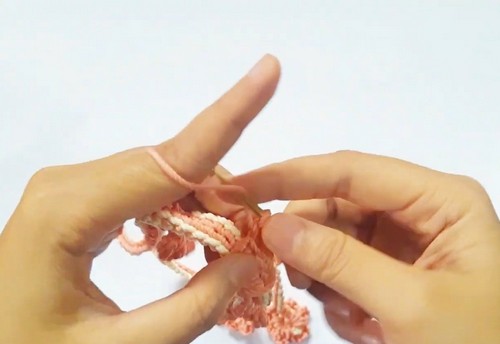
- Make four chain stitches and three slip stitches.
- Make two slip stitches in the two chain stitches that act as a connector or gap between the petals.
- Repeat the process for the next two large holes: make petals by creating four chain stitches and three slip stitches, then two slip stitches as a gap between the petals.
- In the last large hole, make three petals. Once done, turn the piece and make three more petals on the other side.
- For the last petal, make a slip stitch in the large hole.
- Make one chain stitch and cut the yarn.
- Tidy up by pulling the yarn end to the back of the petal and burning it.
- Repeat the process to create a second decorated part.
Connecting the Two Parts
- Arrange the two connector parts.
- Take yarn and make one chain stitch.
- Position the two connectors as shown in the video.
- Make one chain stitch, then single crochet around the connector.
- Make two chain stitches, then single crochet into two strands of yarn.
- Make four single crochets.
- Make two single crochets, then a slip stitch.
- Cut and tidy the yarn.
Attaching Buttons and Pearls
- Attach a button and a pearl. The video mentions using a 6mm pearl and a 1.8mm button.
- Attach the pearl to the center of the flower using a running stitch.
- Attach the button, sewing it several times to ensure it's secure.
- Repeat for the second part.
How to Use
- Insert the mask strap into the connector strap.
- Hook the connector strap onto the button.


Leave a Reply