
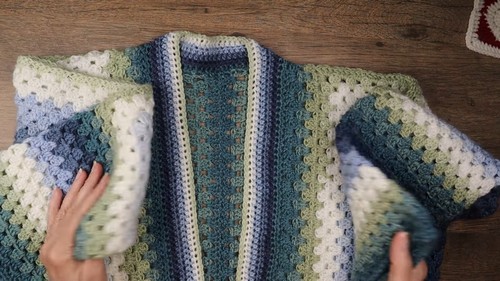
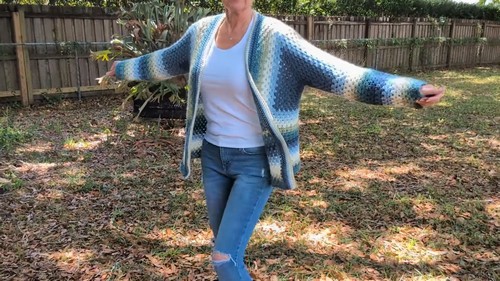
Elevate your handmade wardrobe with this cozy and customizable Granny Hexagon Cardigan crochet pattern. Made by transforming two simple granny hexagons into a stylish, boho-inspired cardigan, this project is perfect for layering and year-round wear.
Crochet Granny Hexagon Cardigan

Whether you're an adventurous beginner or a seasoned crocheter, the step-by-step instructions make it easy to follow along. You'll learn how to shape the garment, seam it together, and add personal touches like color changes and decorative edging. This pattern combines comfort, creativity, and fashion into one rewarding crochet project.
Materials
- Worsted weight yarn in multiple colors (optional)
- Crochet hook (as recommended by yarn label)
- Scissors
- Tapestry needle
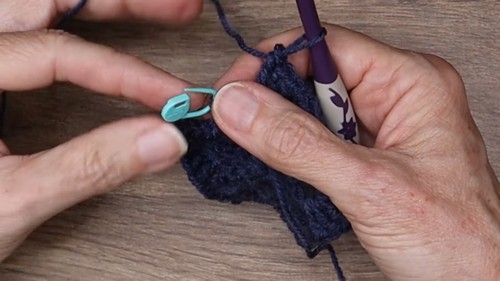
- Stitch markers
- Measuring tape
Making the Granny Hexagon
Starting the Hexagon
- Make a slip knot and chain 4.
- Join with a slip stitch to form a ring.
Round 1
- Chain 3 (counts as 1 dc).
- Make 2 dc into the ring (first cluster).
- Chain 1, 3 dc — repeat 5 more times (6 clusters total).
- Join with a slip stitch to the top of beginning ch-3.
- Chain 3 and turn.
Round 2
- Mark the top of your chain 3.
- Make 2 dc into the starting space.
- Skip 3 dc, into next chain space: 3 dc, ch 2, 3 dc (corner).
- Repeat around — 6 corners total.
- Complete final corner with 3 dc into the starting space.
- Join with a half double crochet to top of ch-3.
- Chain 3 and turn.
For Round 3 and Beyond
- Mark your chain 3 top.
- 2 dc into the same space (half corner).
- In each side gap: 3 dc.
- In each corner: 3 dc, ch 2, 3 dc.
- Join each round with 3 dc to complete starting corner, then hdc join.
- Turn after each round.
- Continue until hexagon is desired size.
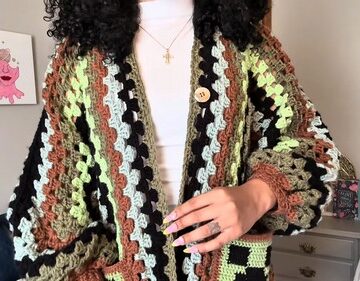
Changing Colors
- On last pull-through of a dc, switch to new color.
- Complete the stitch using new yarn.
- Chain 3 with new color and turn.
- Tie and trim old yarn after a few stitches.
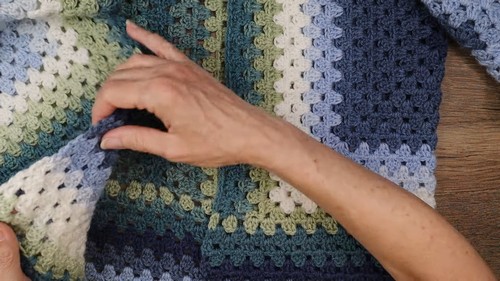
Adding the Back Panel
- After 2 hexagons are done, identify front-facing side.
- Join yarn in chain-2 space of corner.
- Chain 3, dc into same space, mark chain 3.
- Across the back: 3 dc in each gap.
- In final space: 2 dc only.
- Turn work after each row.
- Alternate row patterns:
- Row 1: Start with dc pair, end with 2 dc.
- Row 2: Skip first gap, begin clusters in next space.
- Repeat until back panel width is achieved.
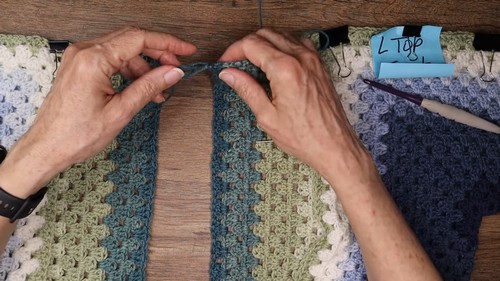
Seaming the Back Panel
- Use tapestry needle and yarn tail (3x seam length).
- Match up "V" stitches and whip stitch under both loops.
- Knot off and weave in ends.
Adding Front Panels
- Try on garment to measure front panel needs.
- Work as with back panel: clusters in gaps, turning rows.
- Stop when desired width is reached.
Seaming the Sleeves
- Use inner loops only (touching sides of “V”s) for delicate seam.
- For panel areas without “V”s, space stitches evenly.
- Whip stitch across to match both sides.
Adding Length to the Sweater Body
- Join yarn at a bottom corner with slip stitch.
- Chain 3, dc next to it.
- Work clusters around the bottom edge.
- Be mindful of tension over horizontal bars.
- Mirror stitch counts on both sides.
- Add rounds until you reach your desired length.
Adding Edging
- Work double crochets around entire edge of cardigan.
- Around neckline: 4 rows of half double crochet, 1 row of single crochet.
- Customize edging as you like (scallops, crab stitch, etc.).


Leave a Reply