
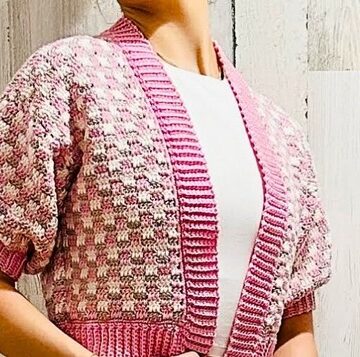
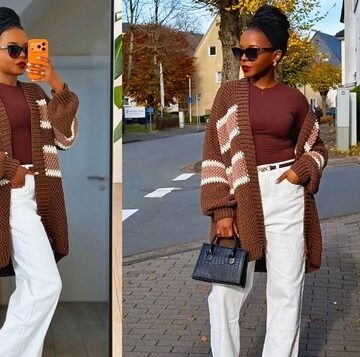
The Chunky Ribbed Cardigan crochet pattern is a warm, textured, and beginner-friendly project designed to fit your body perfectly. Using super bulky yarn and a simple ribbed stitch, this cardigan works up quickly while offering amazing stretch, comfort, and structure. The panels are made to your measurements, allowing complete customization.
Crochet Chunky Ribbed Cardigan
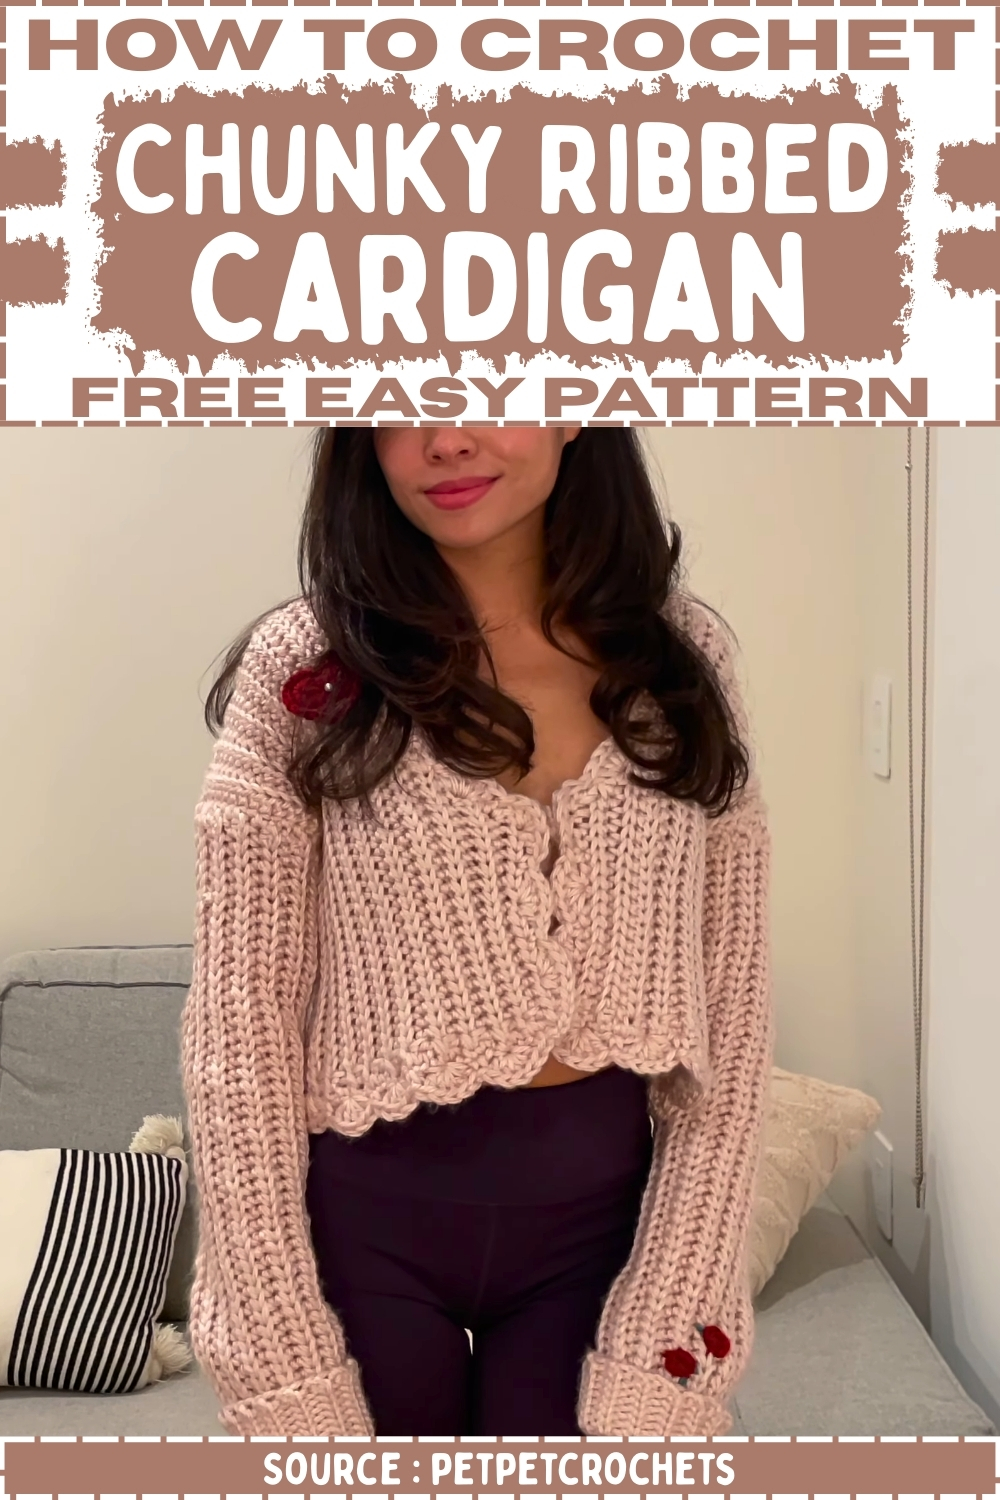
The design features shaped front panels, a soft V-neck, fitted sleeves, optional scallop edging, and decorative add-ons that give a handmade, stylish finish. Whether you want a cozy layering piece or a statement cardigan, this pattern gives you full creative control.
Materials
- You will need weight 6 super bulky yarn, an 8 mm hook, a tape measure, scissors, a yarn needle, and stitch markers.
Preparation and Measurements
- Measure your desired cardigan length from the shoulder to the hem.
- Measure your shoulder width from the base of the neck to two inches past the shoulder.
- Measure your chest circumference around the fullest point.
- Calculate the back panel width using the chest circumference minus two shoulder widths.
Crochet the Front Panels Make 2
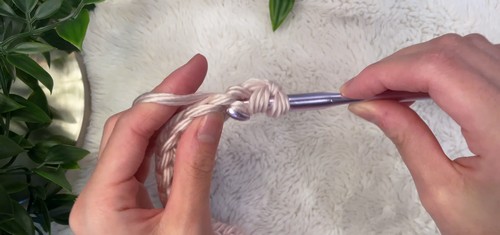
- Create a Foundation Half Double Crochet chain equal to your desired length plus one inch.
- Start each row with chain 2, then place one Half Double Crochet in the first stitch.
- Work Half Double Crochet Slip Stitches in the back loop only across the row.
- Repeat the rows until the width matches your shoulder width measurement.
- Make sure the final row ends on the side where the tail yarn is located.
Create the V Neck Decreases
Right Front Panel
- Work in pattern until reaching the halfway width point.
- For the first decrease row, chain 2, turn, skip the first stitch, place one Half Double Crochet in the second stitch, and continue in pattern.
- Repeat to complete a total of two decrease rows.
Left Front Panel
- Create the second front panel to match the width of the right panel before decreases.
- Cut the yarn, then reattach it at the foundation row corner.
- Work to the halfway point and make the first decrease row by skipping the first stitch after turning.
- For the next row, stop with two stitches remaining and work them together using a Half Double Crochet Slip Stitch decrease.
- Make one final normal row to match the other front panel.
Crochet the Back Panel Make 1
- Create a Foundation Half Double Crochet chain using the same number of stitches as used for the front panel foundations.
- Work repeated rows of Half Double Crochet Slip Stitch in the back loop.
- Continue until reaching your calculated back panel width.
Crochet the Sleeves Make 2
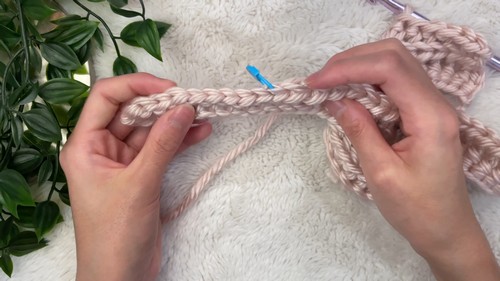
- Begin with ten Foundation Single Crochet stitches for the cuff.
- For Row 1, chain 1, turn, place one Single Crochet in the first stitch, work nine back loop slip stitches for the cuff, then work back loop Half Double Crochet Slip Stitches for the sleeve body.
- For Row 2, chain 2, turn, place one Half Double Crochet in the first stitch, work back loop Half Double Crochet Slip Stitches to the cuff area, then finish with ten back loop slip stitches.
- Repeat Rows 1 and 2 until the sleeve reaches your desired length.
Seaming the Cardigan
- Lay all panels with the wrong side facing outward.
- Align both front panels to the back panel at the shoulder edges.
- Use Single Crochet to seam the shoulder areas.
- Move to the sides and seam upward from the bottom, stopping at the armhole height.
- Fold each sleeve in half and align it with the armhole.
- Slip stitch to attach the sleeve corner, then use Single Crochet to seam each side of the sleeve to each layer of the front and back panels.
- Slip stitch at the armpit area and continue seaming the sleeve closed all the way to the cuff.
Adding the Scallop Edge Optional
- Attach yarn to the right side and place Single Crochets evenly around the entire perimeter of the cardigan.
- Create the scallops by chaining 1, placing one Single Crochet, skipping two stitches, making five Double Crochets in the next stitch.
- Skipping two stitches, then placing one Single Crochet in the next stitch.
- Repeat this scallop pattern around the cardigan.

Final Touches Optional
- Add embroidered roses or crochet hearts for decoration.
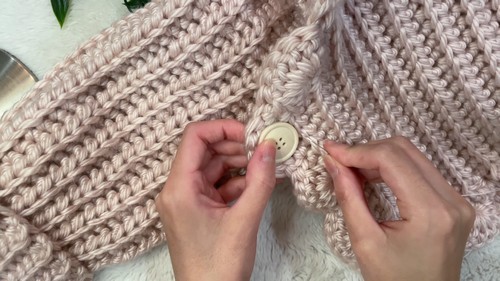
- Sew a button inside one front panel and create a small chain loop on the opposite side.
- Alternatively, make two long chains to tie the cardigan closed in front.

Leave a Reply