
This beautiful cable vest crochet pattern creates a textured and stylish garment that works well for everyday wear or layering. Featuring alternating cable rows and simple single crochet sections, the design offers both visual interest and a relaxing repeat.
Crochet Cable Vest

Whether you're customizing the width, adjusting the length, or choosing different ribbing heights, this pattern gives you the freedom to create a vest that suits your personal style. With its reversible finish and structured shape, it’s a versatile handmade piece you’ll love adding to your wardrobe.
Materials
- Acrylic yarn
- 5.5 mm hook
- 3.5 mm hook
- Tapestry needle
- Measuring tape
- Scissors
Foundation Chain
- Make a slip knot.
- Chain a multiple of 12 plus 2.
- Ensure the chain measures half your bust width.
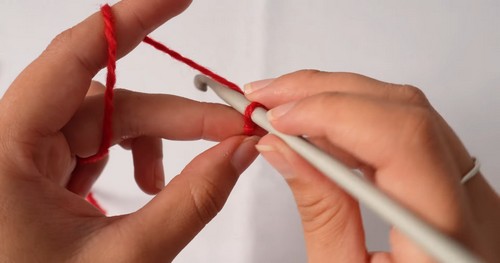
Base Row
- Chain 1 and skip the first chain.
- Work single crochet across the entire chain.
- You should have the same number of stitches as your chain minus one.
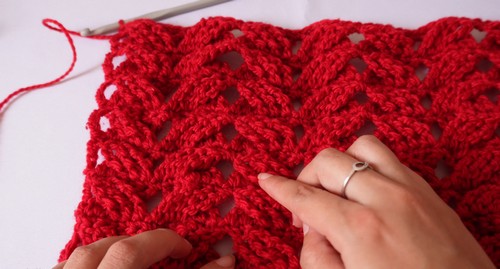
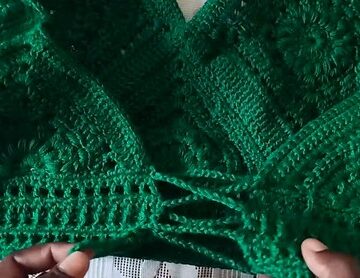
Cable Row
- Chain 4 and turn your work.
- Skip the first stitch.
- Skip 3 stitches and make triple crochet in the next 3 stitches.
- Work triple crochet into the 3 skipped stitches from the front.
- Skip 3 stitches and work triple crochet in the next 3 stitches.
- Work triple crochet into the 3 skipped stitches from behind.
- Repeat the front and back cable sequence across the row.
- Finish with one double crochet in the final stitch.
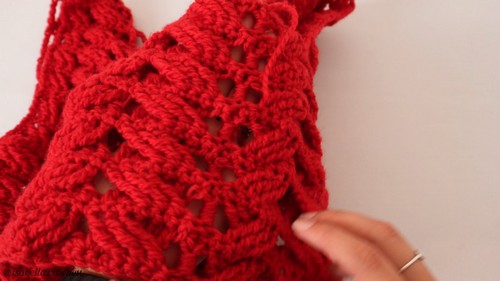
Main Body
- Repeat a full row of single crochet.
- Repeat one cable row.
- Continue alternating these two rows until you reach the armhole height you need.
Armhole and Neck Shaping
- Leave 6 stitches unworked at each edge to form the armholes.
- Cut yarn and reattach in the correct stitch to begin the next cable sequence.
- Continue working cable rows and single crochet rows on the reduced stitch count.
- Work half cables at the edges when needed to maintain shaping.
- Stop when the neck opening height is reached.
- Stop working the center cables to form the neck split.
- Work the left shoulder with decreases at the neck edge.
- Repeat the same process for the right shoulder.
Assembly
- Sew the shoulders together using a tapestry needle.
- Sew the sides together using single crochet.
- Work 3 single crochet into the side of each cable row.
- Work 1 single crochet into the side of each single crochet row.
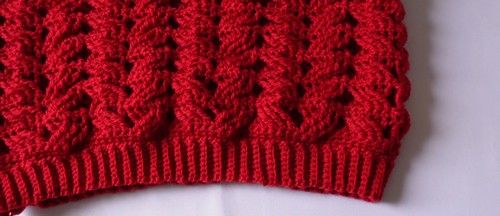
Edging
- Work single crochet evenly around armholes, neck, and bottom using the 5.5 mm hook.
- Switch to the 3.5 mm hook for ribbing.
- Work short rows of single crochet in the back loop only.
- Create 5-row ribbing around armholes and neck.
- Create 8 to 10-row ribbing for the bottom edge.
- Join each ribbing row to the body with slip stitches.
- Sew ribbing ends together using single crochet.


Leave a Reply