
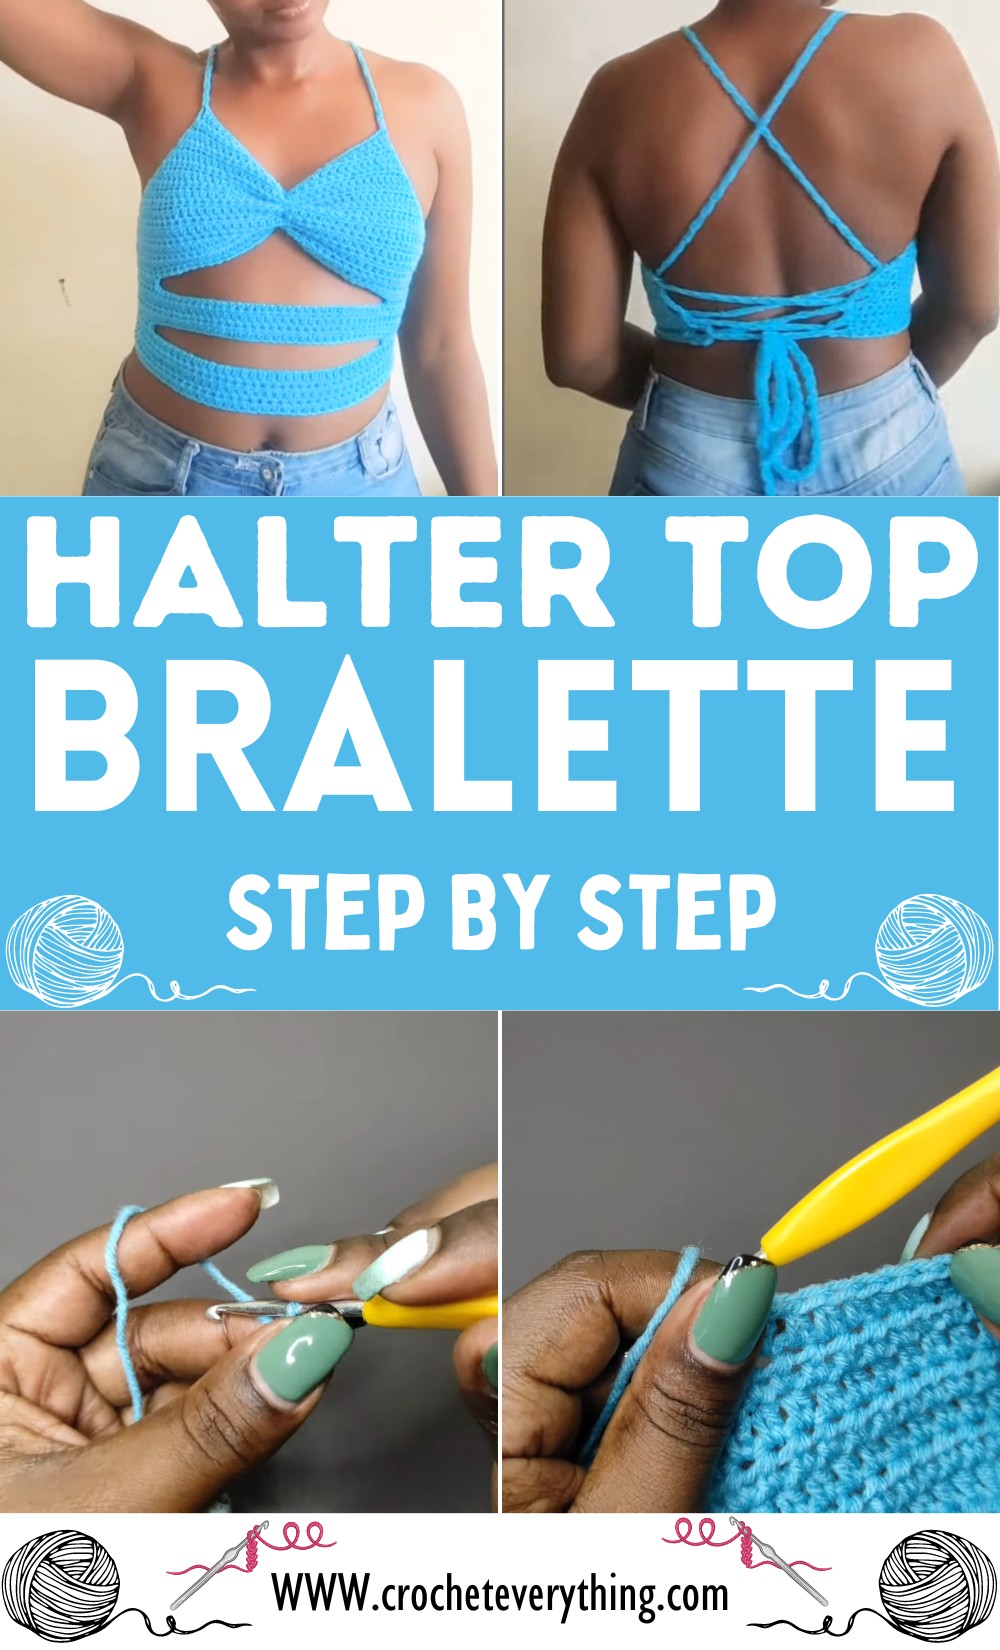
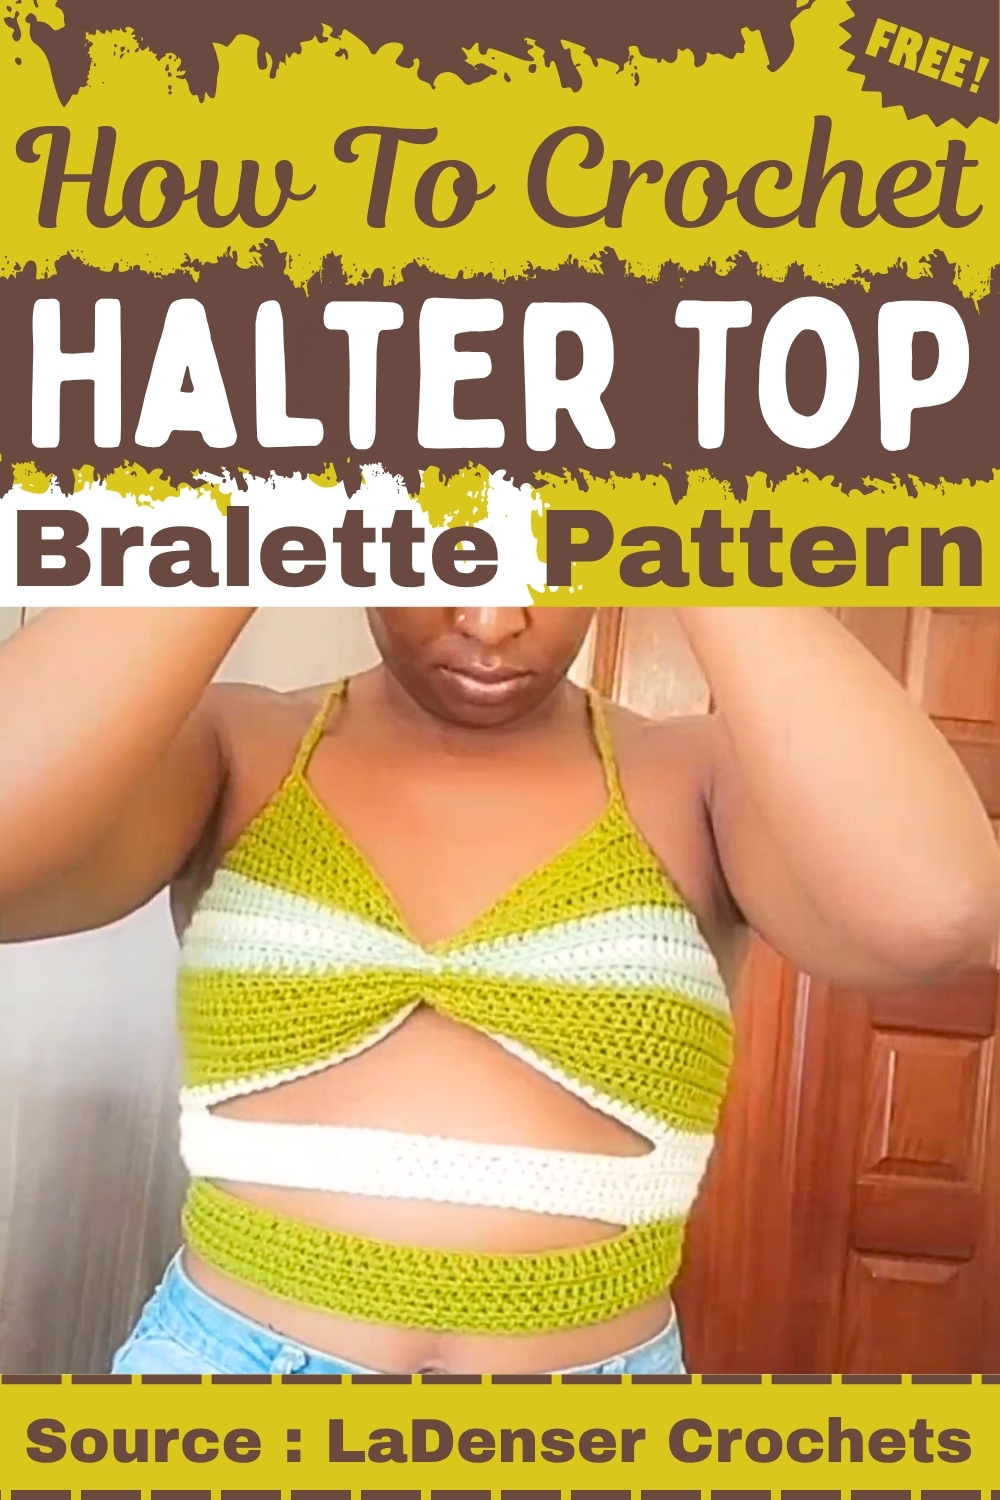
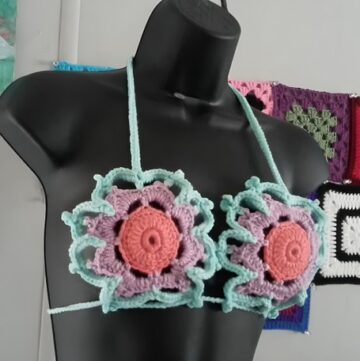
Explore our simple crochet halter top/bralette pattern tutorial! Whether you're gearing up for summer or just love adding handmade items to your wardrobe, this pattern is perfect for crocheters of all levels. This halter top is not only stylish but also customizable to fit various body sizes.
Crochet Simple Halter Top/Bralette Pattern
We'll walk you through each step using basic crochet stitches, and you'll see how easy it is to create a beautiful piece of clothing out of a few basic materials. Grab your crochet hook, choose your favorite yarn, and let's get started on this fun and rewarding project!
Materials:
- Shade of blue yarn (Winter King, 100% acrylic, 4 ply, medium weight)
- 3.5 mm crochet hook
- Scissors
- Darning needle
- 1-2 balls of yarn
Pattern Details:
Starting Chain:
- XS-S: Chain 30
- M-L: Chain 40
- XL and Beyond: Chain 50
Row 1:
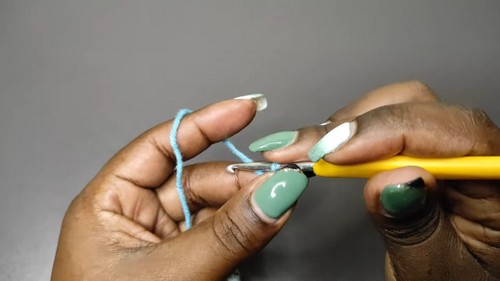
Begin with a slip knot and the appropriate starting chain based on size.
- Block off the last chain, chain one more, then yarn over and insert your hook into the blocked chain, yarn over and pull up a loop (three loops on the hook), yarn over, and pull through all the loops for a half-double crochet (HDC).
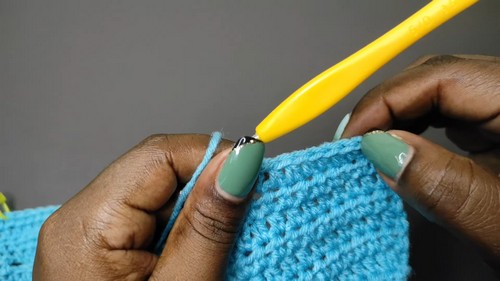
- HDC in each chain to the end. You will have the same number of stitches as your starting chain.
For Row 2:
Chain 1 and turn.
- Increase in the first and last stitch by placing two HDCs in each of these stitches.
- Place one HDC into all other stitches till the end of the row.
Row 3 and Beyond:
- Repeat the process of increasing in the first and last stitches of every row.
- For XS-S, work a total of 18 rows; M-L, 20 rows; XL and Beyond, 25 rows.
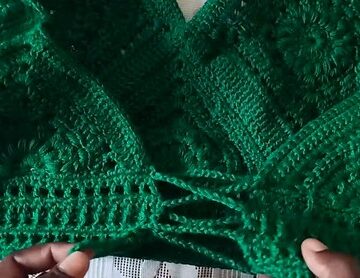
Creating the Cup Area:
- After completing the necessary rows for coverage, take your starting chain number and divide it by 2.
- Count from the opposite side of your work the divided number and mark the next stitch.
- On the next row, chain 1 and turn, working only to the stitch before your marked stitch, then chain the number of stitches between this point and the marked stitch. Reconnect on the other side of your marked stitch with a HDC and work to the end.
- Work straight rows (without increases) up to the desired cup height.
Strap and Edging:
- After completing the main part, work on the edging by creating spaces for the straps.
- Alternate between two single crochets and one single crochet across for 18 stitches along the side of the halter top.
- Create gaps for the straps by chaining 2, skipping stitches, and single crocheting in the next stitches.
- Work on both sides of the halter top this way.
Straps:
- Start with a slip knot and attach it to the point decided for the strap.
- Chain 2 and work a double crochet into the same space, followed by chain 2 and a double crochet in between stitches across for a total of 70 rows.
- Repeat for the second strap.

Tying:
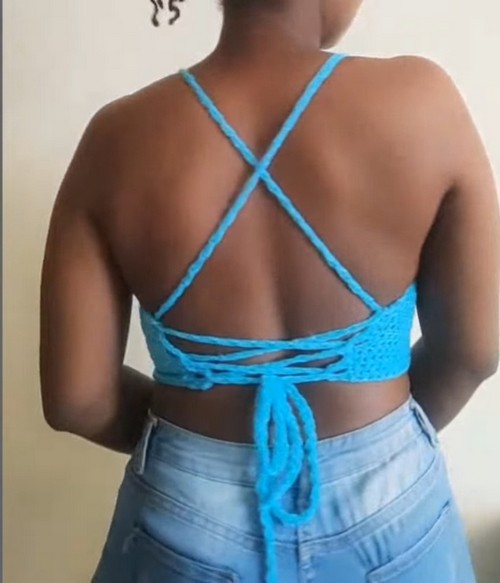
- Turn the work into a bralette by pulling strings through the middle part of the top and tying knots securely.
- The straps are then tied at the back by weaving through the gaps created earlier and finally tying in a bow for closure.
Leave a Reply