
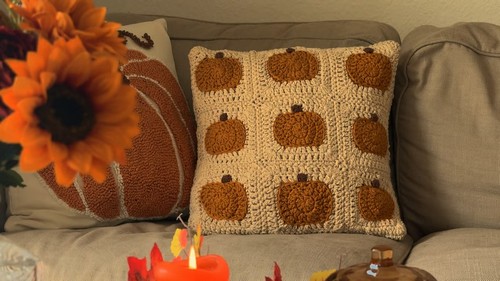
This crochet pumpkin granny square pillow Cover pattern is the perfect way to add a cozy, autumn-inspired touch to your home. Whether you’re decorating for fall, Halloween, or simply want a seasonal update, this charming pillow brings a festive vibe with its pumpkin shape and inviting colors.
Crochet Pumpkin Granny Square Pillow Cover
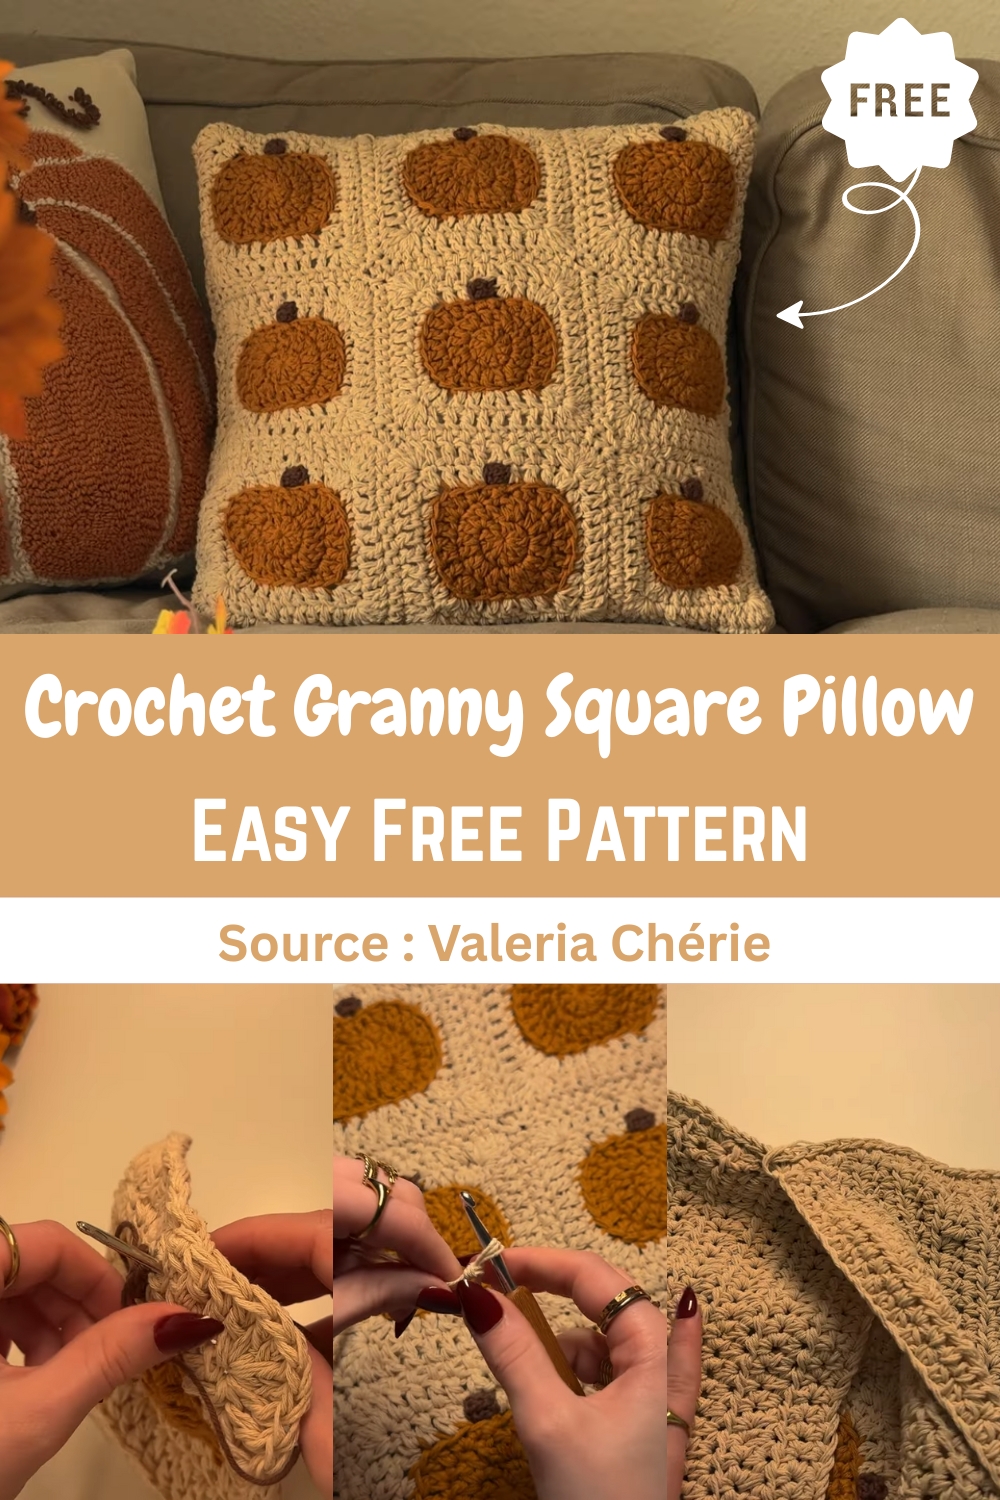
The granny square construction is simple yet effective, allowing you to make multiple squares and assemble them into a pillow that can be customized to your style. With its fun and playful design, it’s a great project for both beginners and experienced crocheters who want to create a warm, welcoming space.
Creating the Pumpkin Granny Square
- Round 1: Start with a magic ring, then chain three or use a chainless double crochet for the first stitch.
- Make nine more double crochets for a total of 10 stitches.
- Slip stitch to close.
Round 2: Chain three or use a chainless double crochet.
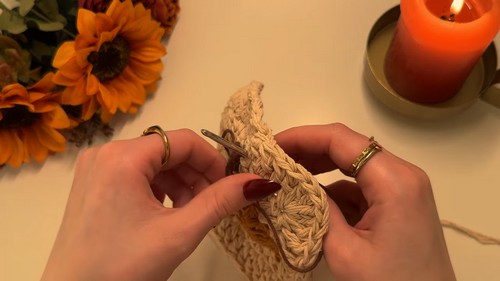
- Make two double crochets in each stitch for a total of 20 stitches.
- Slip stitch to close.
- Round 3: Chain one and make a single crochet into the first stitch.
- Follow the pattern to create the pumpkin shape using a mix of single crochets and double crochets.
- Use three slip stitches for an indented look.
- Cut and fasten off the yarn at the end of the round.
For Round 4 (Using the corner color yarn):
- Attach new yarn to the back loop of the last slip stitch from the previous round.
- Create corners by placing three double crochets together, and use a mix of half double crochets and single crochets for the sides.
- Slip stitch to join at the end of the round.
Round 5: Start with a chain three or a chainless double crochet.
- Make one double crochet in each of the next four stitches.
- In the middle of the corner, work six double crochets.
- Continue this pattern for the remaining sides and corners, with eight double crochets along the sides.
- Slip stitch to join.
Adding the Stem
- Attach brown yarn and chain five.
- Make a double crochet into the second and third chains from the hook.
- Cut the yarn and fasten off.
- Use a yarn needle or crochet hook to attach the stem to the granny square.
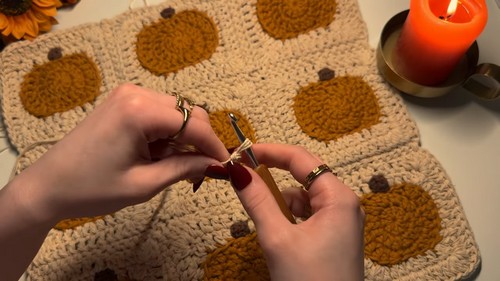
Joining the Squares
- Make a total of nine granny squares for a one-sided pillow or 18 for a two-sided pillow.
- Arrange the squares in a 3x3 layout.
- Join the squares together using single crochets, working on the back side to keep the front neat.
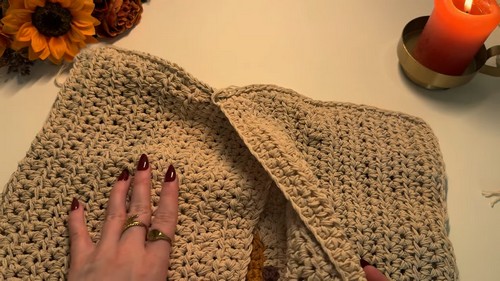
Making the Back Panel
- Crochet two separate rectangles for the back of the pillow.
- Chain 42 (or the length of your front panel) plus two for turning.
- Make half double crochets all the way across.
- Continue in rows until the rectangles are a little longer than half the height of the front panel.
Assembling the Pillow
- Place the two back rectangles on the front panel so they overlap.
- Single crochet all the way around the pillow to join all the pieces together, inserting your hook through all three layers where they overlap.
- Turn the pillow cover right side out and insert the pillow form.


Leave a Reply