
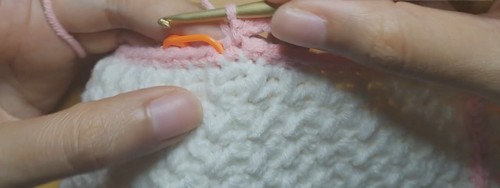
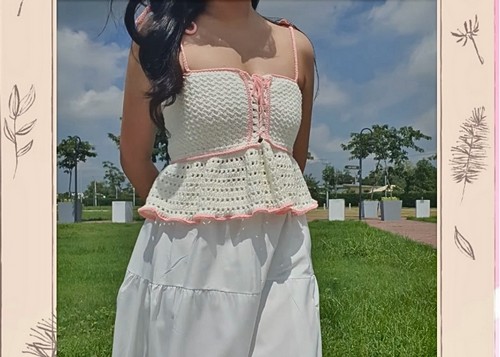
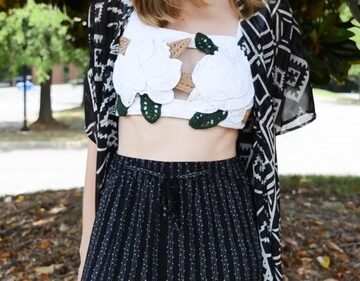
The Corrine Peplum Top is a cute, fitted crochet top with a flirty ruffled peplum and customizable tie straps. It starts with a flat Suzette Stitch chest panel you can easily adjust for your exact bust fit, then adds shaped side sections for a neat closure look.
Crochet Corrine Peplum Top
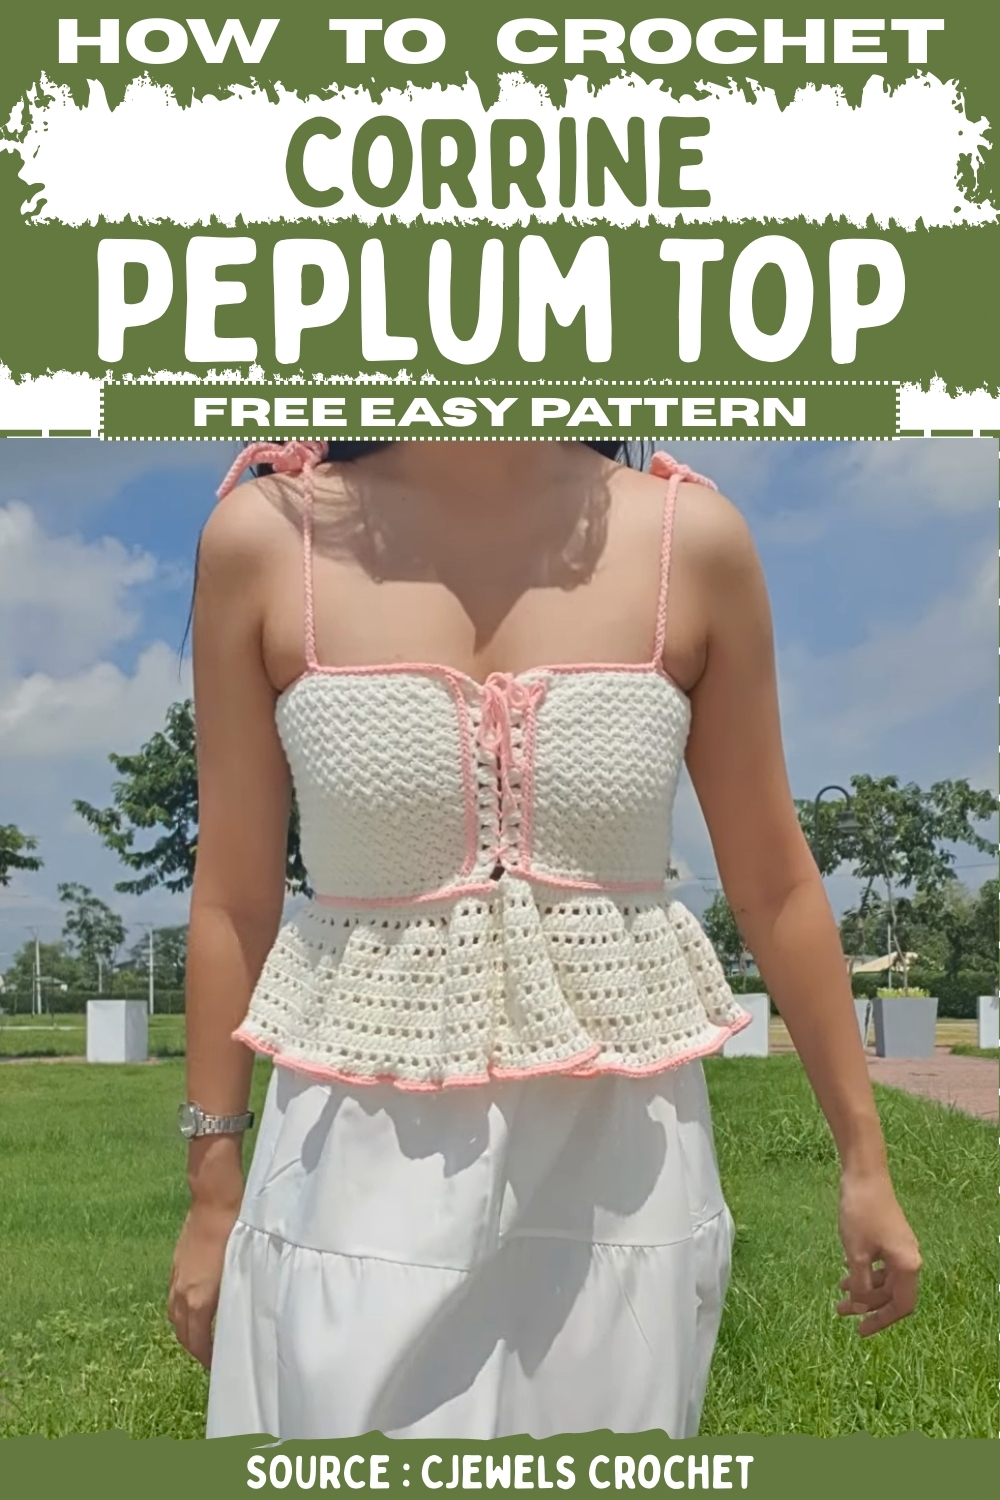
After that, you crochet the peplum in rounds along the bottom edge, using increases and mesh rounds to create that light, bouncy ruffle. You can also add contrast trims for a soft, coquette finish, and make the straps longer or shorter depending on how you want it to tie. This pattern is perfect when you want a handmade top that feels trendy, adjustable, and fun to style for layering or warm weather outfits.
Materials
- Yarn in main color
- Yarn in contrast color for trim and ruffle edging (optional)
- Crochet hook (use a size that matches your yarn and gives you a nice drape)
- Stitch markers
- Scissors
- Yarn needle for weaving ends
Abbreviations
- ch = chain
- sl st = slip stitch
- sc = single crochet
- hdc = half double crochet
- dc = double crochet
- BLO = back loop only
Notes
- The chest piece is worked flat in rows.
- Side sections are added to both ends of the chest piece.
- The peplum is worked in rounds along the bottom edge.
- Straps are made as chain cords and slip stitched back across for thickness.
- Adjust sizing by adding or reducing chest rows until it wraps comfortably around your chest.
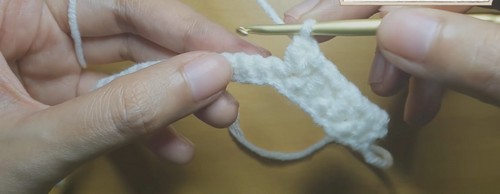
Chest Piece (Suzette Stitch Panel)
Foundation
- Make a slip knot.
- Ch 31.
Row 1
- Sc into the back bumps of each chain across.
Row 2
- Ch 1, turn.
- Hdc in the first st.
- Skip 1 st.
- Sc and dc in the next st (Suzette Stitch).
- Repeat: skip 1 st, sc and dc in next st across.
- Hdc in the last st.
Repeat
- Repeat Row 2 for every row.
- Keep going until the panel is long enough to wrap around your chest.
Side Sections (Add To Both Ends)
Side A Row 1
- Attach yarn if needed.
- Ch 1, turn.
- Sc in every st across.
For Side A Row 2
- Ch 1, turn.
- Sc in every st across using BLO.
Side A Row 3
- Ch 2, turn.
- Dc in the first st.
- Skip 2 sts.
- 3 dc in the next st.
- Repeat: skip 2 sts, 3 dc in next st across.
- Dc in the last st.
For Side A Row 4
- Ch 1, turn.
- Sl st in every st across.
- Ch 1 and fasten off.
Side B
- Repeat the same 4 rows on the other end of the chest piece.
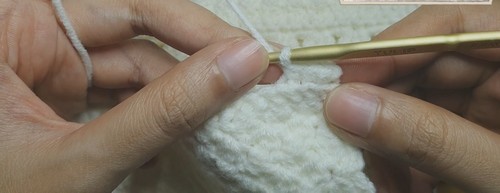
Bottom Ruffled Peplum (Worked In Rounds)
Round 1
- Attach yarn to the bottom edge of the chest piece.
- Sc evenly along the bottom edge with 1 sc per row.
Round 2
- Ch 1, turn.
- Sc in every st around using BLO.
For Round 3 (Increase Round)
- Ch 2.
- Dc in the first st.
- Work around using this increase rhythm to build fullness.
- Continue increasing by placing extra dc in stitches at regular intervals around.
- Sl st to join to the top of the beginning ch 2.
Round 4 (Mesh Round)
- Ch 2.
- Dc in the same st.
- Ch 1, skip 1 st, dc in the next st.
- Repeat around.
- Ch 1, sl st to join.
For Round 5 (Increase Round)
- Ch 2.
- Dc in the same st.
- Increase heavily for a ruffly look by placing multiple dc into the chain spaces and dc on top of prior dc as you go.
- Sl st to join.
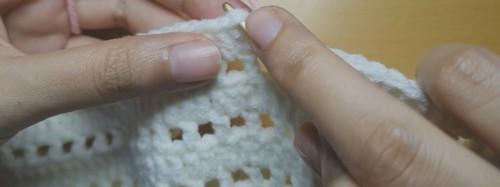
Round 6 (Mesh Round)
- Ch 3.
- Skip 1 st, dc in the next st.
- Ch 1.
- Repeat around.
- Sl st into the second chain of the starting ch 3 to join.
Round 7 (Solid Round)
- Ch 2.
- Dc in the same st.
- Dc in the ch 1 space.
- Dc on top of the next dc.
- Repeat around.
- Sl st to join.
Repeat For Length
- Repeat the mesh and solid rounds for as long as you want the peplum.
Optional Contrast Ruffle Edging
- Attach contrast yarn to the bottom edge.
- Ch 1.
- 2 sc in every st around.
- Sl st to join.
- Ch 1 and fasten off.
Trim And Edging Details (Optional)
Contrast Trim On Front Loops
- Insert hook into the front loops left from BLO rows.
- Attach contrast yarn.
- Ch 1.
- Sc in each front loop across the section.
- Sl st in the last st and fasten off.
- Repeat on other front loop sections you want to highlight.
Top Edge Border
- Attach main color yarn to the top edge.
- Sc evenly along the top edge with 1 sc per row.
- Fasten off.
Optional Contrast Top Edge
- Repeat the top edge border again using contrast yarn.
Straps (Chain Cord)
Placement
- Try on the top and mark 4 strap points using stitch markers.
Strap Cord
- Attach contrast yarn at the first strap point.
- Ch 100 or to your preferred strap length.
- Sl st in the second ch from the hook.
- Sl st in every chain across the cord.
Attach Strap
- Sl st into the fabric where the strap meets the top.
- Sl st into the next stitch on the fabric.
- Ch 1 and fasten off.
Repeat
- Make the remaining 3 straps the same way.

Leave a Reply