
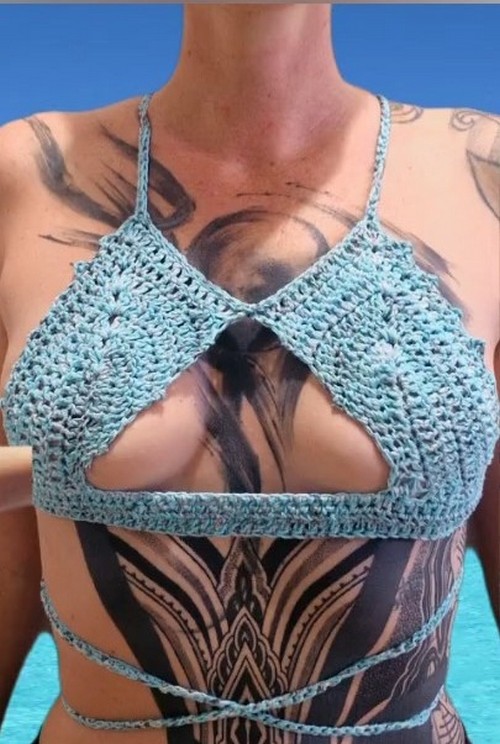
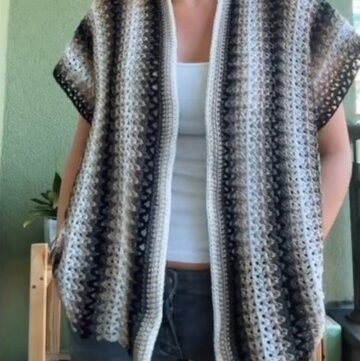
This Peek-a-Boo Bralette crochet pattern is the perfect project to showcase your crochet skills while making a fun and flirty garment! Whether you're looking to add a playful piece to your wardrobe or create a customizable, comfortable bra that fits just right, this pattern offers everything you need.
Crochet Peek-a-Boo Bralette
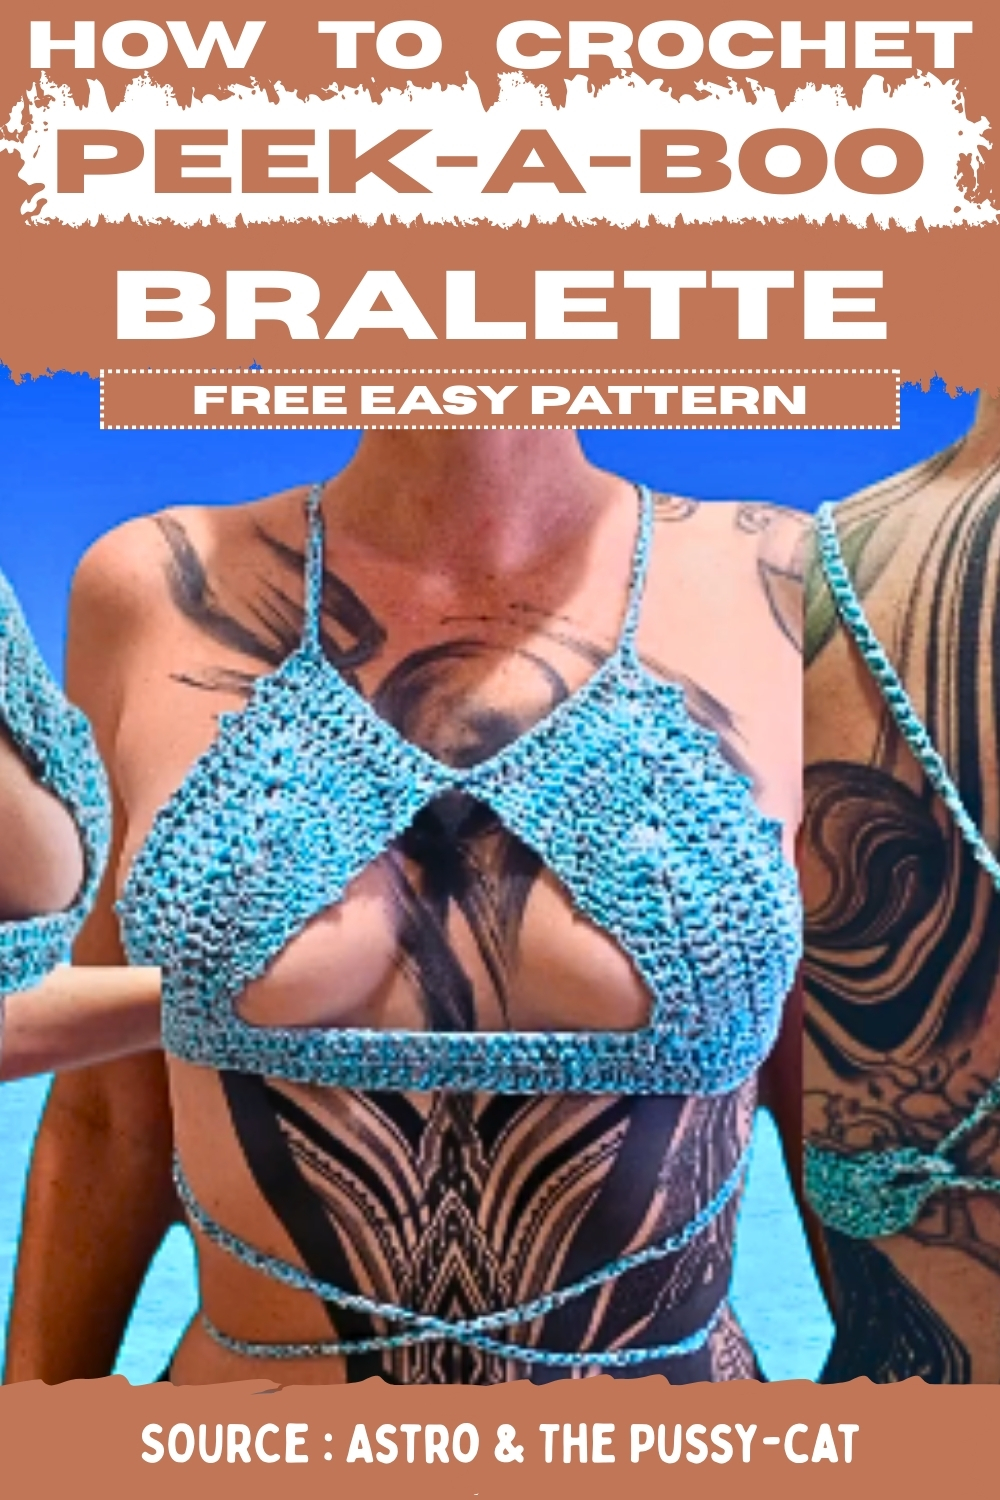
It features two soft and stretchy yarn types—cotton and silk ribbon—and includes detailed instructions for creating beautiful cups, a decorative pico stitch border, and an adjustable back band with lacing. Customize it to your liking by choosing your favorite colors and adjusting the size for the perfect fit. Plus, with a crochet hook and basic stitches like double crochet and single crochet, you’ll enjoy a smooth, step-by-step crafting experience. Perfect for beginners and experienced crocheters alike!
Materials
Yarn:
- Fine baby cotton
- Silk ribbon cotton
- You can use an 8-ply, heavier weight acrylic, cotton, or wool yarn in any color
Hook: 4 mm (or appropriate size for your yarn)
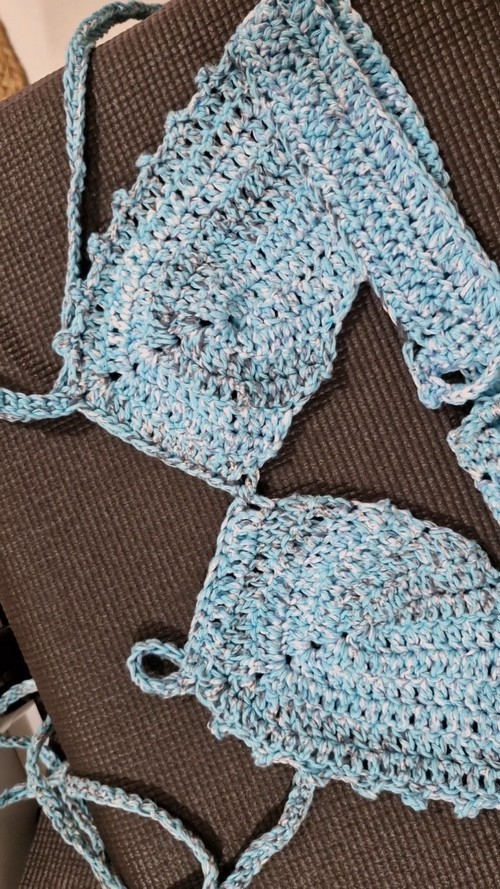
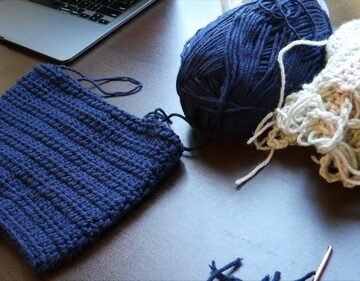
Bra Cup Construction (Make 2)
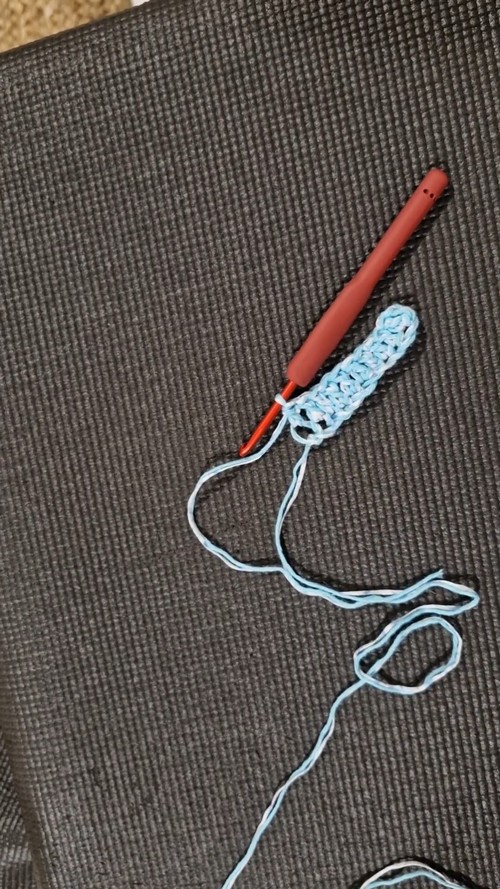
Starting Chain
- Make a slip knot.
- Chain a length that fits from the base of your breast to just over your nipple (approx. 8, 10, or 14 chains based on size).
- Add 2 more chains to the initial measurement.
Row 1 (Double Crochet)
- Double crochet into the third chain from the hook.
- Continue double crocheting into every chain down the row.
- Count stitches to ensure they match the initial chains minus two.
Creating the Peak
- In the last chain, work 2 more double crochets.
- Chain 1.
- Work 3 more double crochets into the same last chain.
Working Down the Other Side
- Double crochet into each chain down the other side, working into the bottom loop.
- Continue until one chain remains unworked.
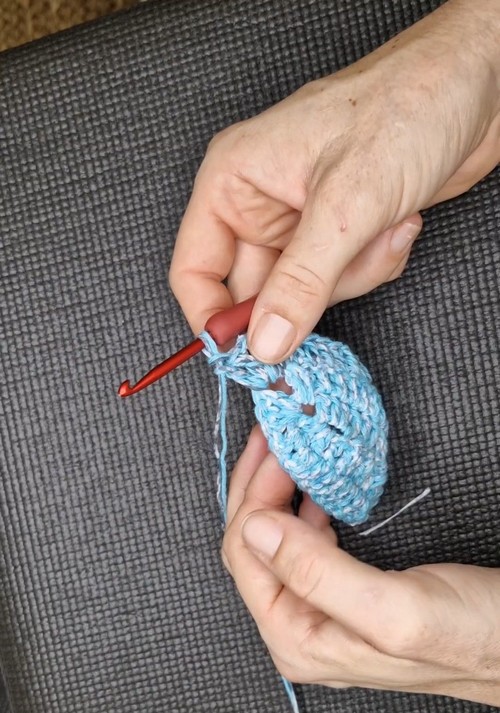
Row 2 (Increasing for Cup Shape)
- Chain 1.
- Turn the work.
- Slip stitch into the first stitch.
- Double crochet into each stitch until the peak is reached.
- At the peak, work: 2 double crochets, chain 1, and 2 more double crochets.
- Double crochet down to the bottom.
Row 3 (Continuing Increases)
- Chain 2.
- Turn.
- Double crochet to the peak.
- Repeat the same peak increase: 2 double crochets, chain 1, 2 more double crochets.
- Double crochet to the second-to-last stitch.
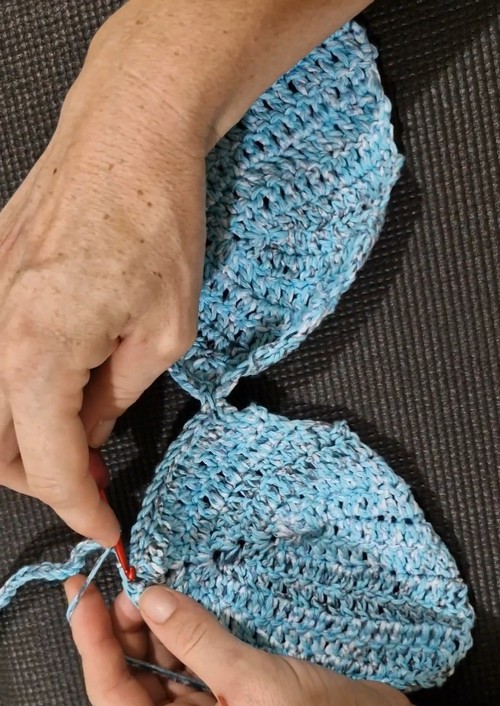
Repeating Rows for Cup Size
- Repeat the pattern until the cup comfortably fits. The creator used 7 rows for her cup.
- Fasten off.
- Make a second identical bra cup.
Connecting the Cups and Adding Straps
Neck Straps
- Attach yarn to the peak of one cup.
- Chain for the neck strap (e.g., 170 chains).
- Chain 1 more.
- Single crochet back down to the peak of the cup.
- Slip stitch down the short side of the cup.
Connecting the Cups
- Align the decreased edges of the cups, facing the inside.
- Single crochet into the same space on both cups.
- Repeat until the cups are joined.
Second Neck Strap
- Repeat the same process as for the first strap.
Pico Stitch Border
- Slip stitch into the first 3 stitches along the cup.
- Chain 3, slip stitch into the first chain.
- Continue with the pico stitch pattern until you reach the last stitch.
Back Band Construction
Side Chain for Back Band
- Chain a length that fits from the side of the cups to the back (e.g., 25 chains).
- Fasten off.
Half Double Crochet Row (Back Band)
- Chain 2 extra.
- Half double crochet along the side chain and around the cups.
- Continue until reaching the center.
Connecting Chain for Peek-a-Boo Gap
- Add 10 chains to increase the space between the cups.
- Slip stitch into the center bottom of the second cup.
- Half double crochet along the side chain and cups.
Creating the Loops for Lacing
First Loop (Right Side)
- Single crochet into each row end and make a chain 4 loop.
- Slip stitch to reinforce.
Second Loop (Left Side)
- Repeat the same process for the second loop.
Finishing
- Fasten off.
- Weave in ends.
Leave a Reply