
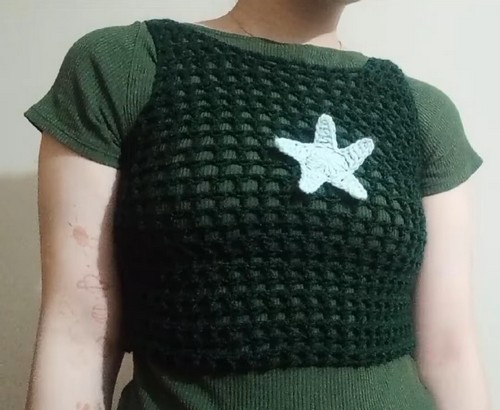
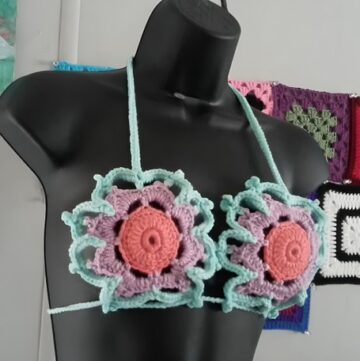
This beautiful mesh star crochet top combines light texture with bold flair, making it a must-have for your summer wardrobe. Featuring a breezy mesh stitch and a charming star appliqué, this top is both stylish and beginner-friendly.
Crochet Mesh Star Top

With easy-to-follow steps, customizable length and width, and a unique layered construction, this project is perfect for anyone looking to create a handmade fashion statement. Whether you're heading to the beach, a festival, or just out and about, this lightweight top brings comfort and personality to any outfit.
Materials
- 4.5 mm crochet hook
- Yarn
- Darning needle
- Scissors
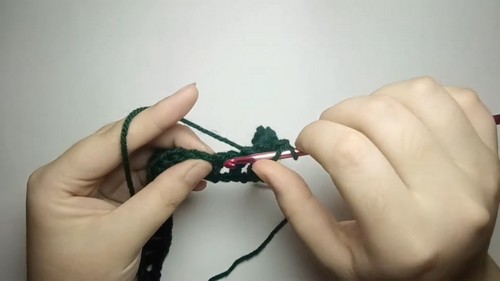
Starting the base chain
- Begin with a slip stitch and chain 50
- Chain 3 extra for the first double crochet
- Skip 4 chains and double crochet into the fifth chain
- Chain 1, skip one chain, and double crochet until the end of the row
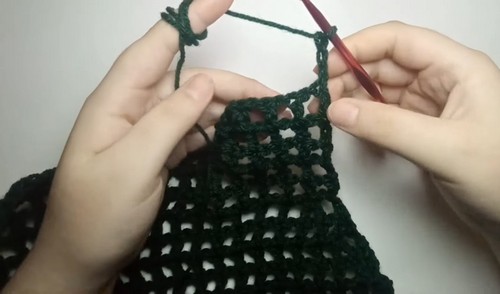
Continuing the mesh pattern
- Turn your work and chain 3
- Skip 1 stitch, double crochet, chain 1, and repeat to the end
- Continue the mesh stitch pattern until you reach row 16
- For a longer top, continue beyond 16 rows
Shaping the top (rows 17–20)
- Row 17: chain 1, skip one stitch, double crochet to the last two squares, then decrease
- Chain 3 and turn
- Repeat this decrease technique for rows 18 to 20
By Shaping the top (rows 21–24)
- Chain 1, skip a stitch, double crochet across without decreasing
- Chain 3 and turn
- Repeat until the end of row 24
Shaping the top (rows 25–28)
- Row 25: chain 1, skip one stitch, double crochet until the 4th square, then decrease
- Chain 3 and turn
- Row 26: continue mesh stitch without decreasing
- Repeat rows 25 and 26 once more
- Fasten off with a long tail
Srocheting the other shoulder
- Count five squares from the left and attach yarn
- Repeat the steps from rows 25 to 28 for the second shoulder
- Fasten off with a long tail
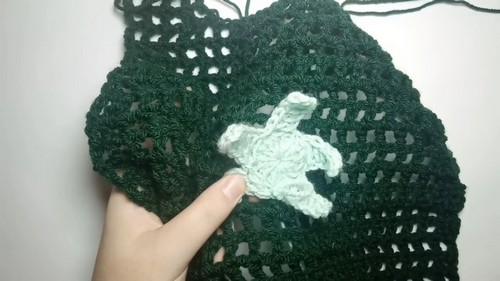
Crocheting the star
- Crochet a medium-sized star
- Do not cut the yarn when finishing the star
- Use the yarn to sew the star onto the front panel
- Ensure the star is centered before attaching
- Weave in and trim any excess yarn
Back panel
- Repeat the exact same process as the front panel
- Do not include a star on the back
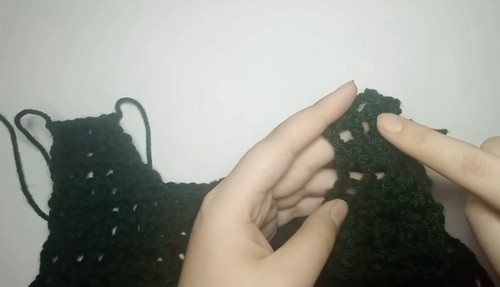
Joining the panels
- Align both panels on the wrong side
- Use the yarn tails and a darning needle to sew one square of the front to one square of the back
- Continue sewing along the side seam
- Repeat for the other side seam
Leave a Reply