
Explore the timeless elegance of the Crochet Houndstooth Turtleneck Sweater Pattern, a sartorial masterpiece that marries the nostalgic charm of classic houndstooth with the cozy warmth of crochet artistry. Each stitch tells a story of tradition and trend, weaving together a tapestry of design that's as chic as it is comfortable.
Crochet Houndstooth Turtleneck Sweater

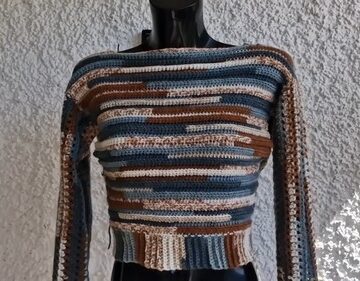
The distinctive juxtaposition of color and texture comes to life in this sweater, creating an eye-catching pattern that's both sophisticated and fashion-forward. Perfect for those crisp autumn strolls or snuggly winter evenings by the fire, this crochet pattern offers crocheters the chance to craft their very own statement piece.
Materials Needed:
- Yarn of choice
- 5mm crochet hook
- 3.5mm crochet hook
- Scissors
- Stitch markers (optional)
Starting:
- Create a slip knot and chain the required number of stitches for your project size.
Pattern Body:

Row 1:
- Start with a series of single crochets to create the first row of your pattern.
Turning:
- At the end of the first row, turn your work to start the next row.
Row 2 and Beyond:
- Continue with single crochets, ensuring to turn your work at the end of each row. Add any desired increases or decreases as per the pattern you are following.
Incorporating Design Elements:

Floral Cover:
- The pattern suggests the addition of a floral design, though detailed instructions are missing. Generally, this could involve creating petal shapes through a combination of stitches and possibly changing colors.

Blood Restaurant Scissors Pattern:
- This part is unclear but might refer to a specific stitch pattern or color change technique meant to simulate a decorative design.
Finishing Touches:

Joining Edges:
- To finish the design, edges may need to be joined. Use a slip stitch to seam edges together if creating an item like a garment or bag.

Edging:
- Crochet a border around your project to give it a polished look. Use a contrasting color for visual interest.

Weaving in Ends:
- Use a yarn needle to weave in all loose ends for a neat finish.


Leave a Reply