
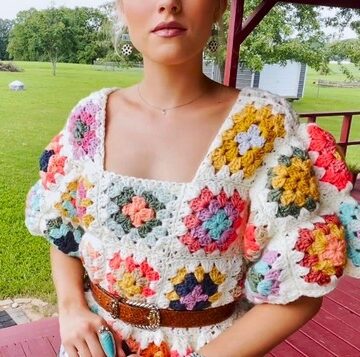
This beautiful Crochet Granny Stitch Gown with Flowers is the perfect project for those looking to create a unique and elegant garment. With its intricate granny stitch design for the main body and delicate crochet flowers as accents, this gown offers a wonderful combination of comfort and style.
Crochet Granny Stitch Gown With Flowers
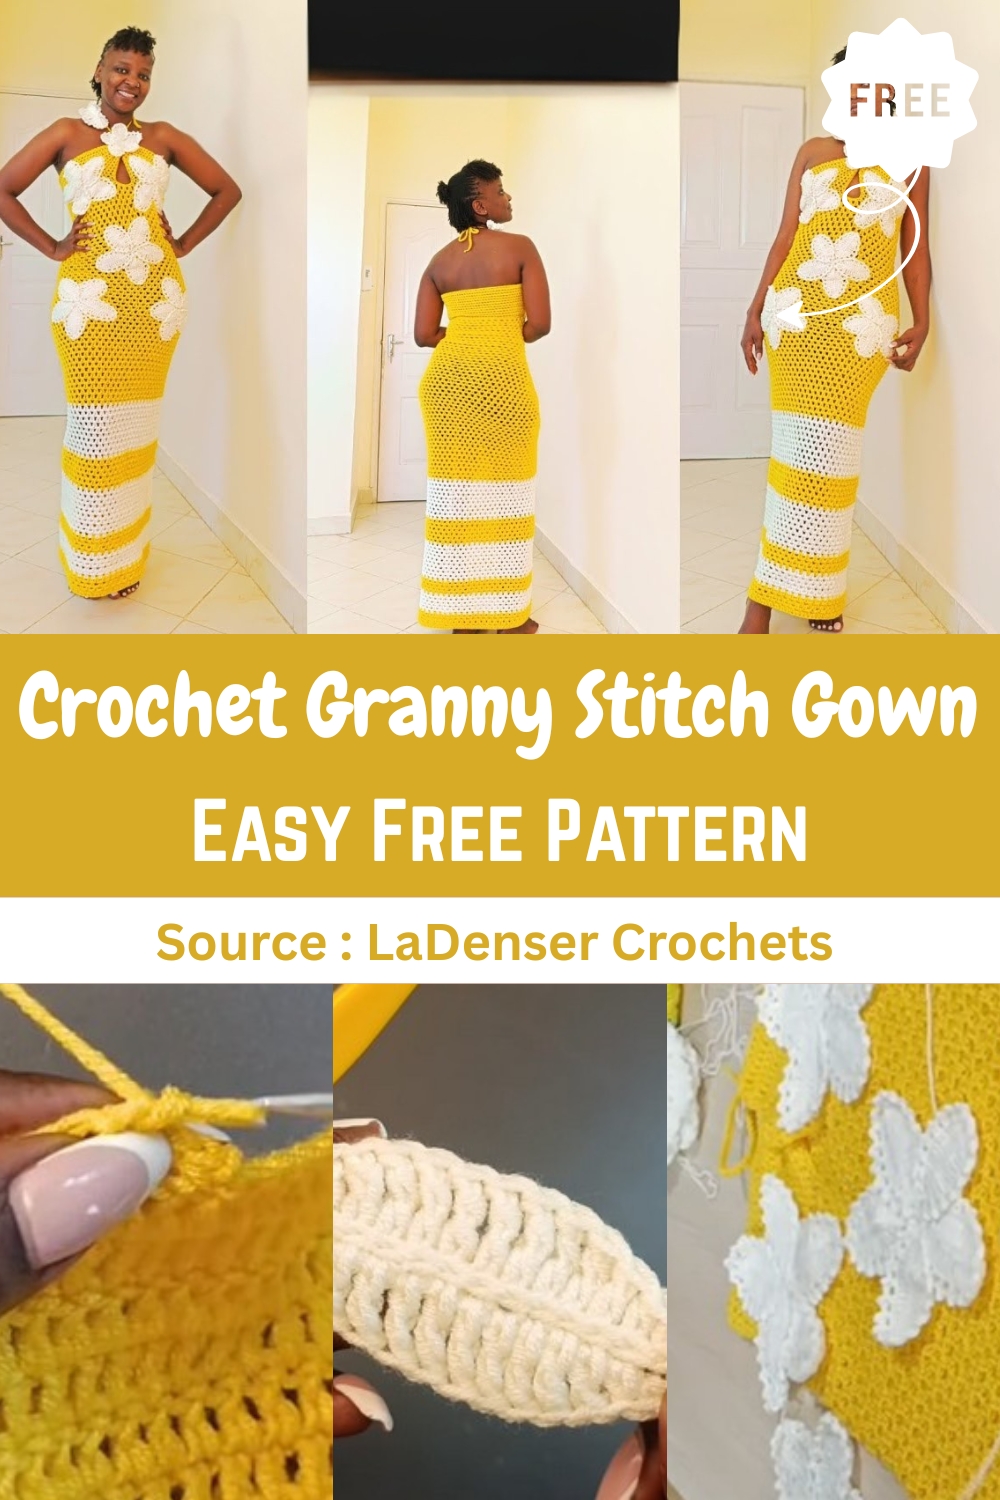
The pattern is versatile and customizable, making it ideal for various occasions, from casual outings to special events. Whether you choose vibrant yarns for a bold statement or soft pastels for a more subtle look, this gown can be personalized to suit your tastes. Perfect for both beginners and more experienced crocheters, it’s a rewarding project that will result in a stunning, one-of-a-kind piece.
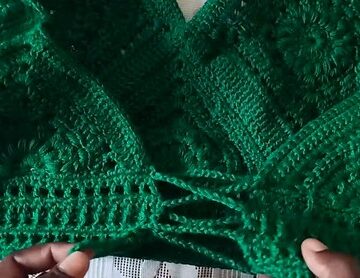
The Top/Bust Band
Materials
- Hook: 3.5 mm crochet hook
- Yarn: Medium weight yarn
- Measurements: Your bust measurement
Starting & Row 1 (Foundation Row)
- Start with a slip knot. Chain until the length equals your bust measurement (e.g., 36 inches, 94 chains for creator).
- Hold the last chain. Chain 3 (counts as the first Double Crochet - DC).
- Yarn over and place 1 DC into the chain you are holding (the 4th chain from the hook).
- Place 1 DC into each chain across to the end.
Rows 2-12 (Repeat for Coverage)
- Chain 3 (counts as DC) and turn.
- Place 1 DC into the second stitch and into each stitch across.
- Ensure your final DC is placed on top of the chain-3 turning chain of the previous row.
- Repeat this row until you have the desired height/coverage for your bust area (creator worked 12 rows).
- At the end of the last row, Chain 1 and cut off the yarn to fasten.
Connecting the Underbust Section
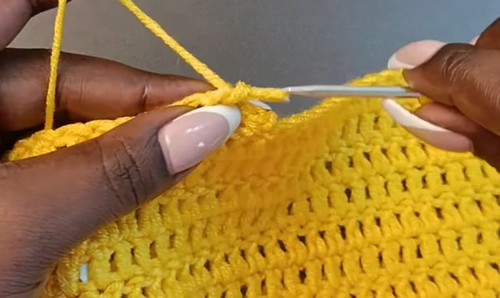
Setting up for the Straps (SC and Chain)
- Identify the middle stitch of your work and mark it (e.g., 48th stitch).
- From each edge, count in 10 stitches and mark the 10th stitch.
- Attach yarn to the middle stitch (remove marker), slip stitch, Chain 1, and place 1 Single Crochet (SC) into the same stitch.
- Place 1 SC into each stitch across until you reach the stitch marker on the other side.
- Chain 11 (This is for the back strap).
- Skip the 10 marked stitches, and in the stitch immediately after the stitch marker, place 1 SC.
- Continue placing 1 SC into each stitch across to the end.
- Slip stitch into the first SC to join the round, then Chain 1 and turn.
- Next Round: SC into the second stitch and continue placing 1 SC into each stitch and each chain around.
- Slip stitch into the first SC to join the round.
The Main Dress Body (Granny Stitch)
Non-Increasing Rounds (Underbust to Waist)
- Chain 3 (counts as DC) and turn.
- Round 1 (Granny Stitch): Place 1 DC into the very first stitch (you now have 2 DC). Skip 1 stitch, place 2 DC into the next stitch. Repeat from * to * all around.
- Join: Slip stitch on top of the starting chain 3.
- Round 2 (Repeat Round): Chain 3 and turn. Place 1 DC into the first space (the space between the 2-DC clusters). Place 2 DC into the next space. Repeat placing 2 DC into each space all around.
- Join: Slip stitch on top of the chain 3.
- Repeat Round 2 until the work reaches the length from below your bust to your natural waist (creator worked 16 rows).
Increasing Rounds (Waist to Hip)
- Marking: Identify the exact middle space on the side opposite the starting join (the back side) and mark it with a stitch marker.
- Increase Round (Row 17): Chain 3 and turn. Work 2 DC into each space until you reach the first marked increase point.
- Increase: In the marked space, work: 2 DC, Chain 1, 2 DC. Mark the chain-1 space.
- Work 2 DC into each space until you reach the second marked increase point.
- Second Increase: In the marked space, work: 2 DC, Chain 1, 2 DC. Mark the new chain-1 space.
- Work 2 DC into the remaining spaces. Slip stitch into the chain 3 to complete.
- Subsequent Increase Rounds: Repeat the Increase Round, always placing the increase (2 DC, Chain 1, 2 DC) in the marked chain-1 spaces and re-marking the new chain-1 spaces.
- Continue increasing until the work, when stretched slightly, reaches your full hip measurement (creator increased for 7 total rows).
Final Skirt Length
- Remove the stitch markers.
- Continue to repeat Round 2 (2 DC into every space, with no further increases) until the gown reaches the desired full length (creator did a total of 90 rows for the full length).
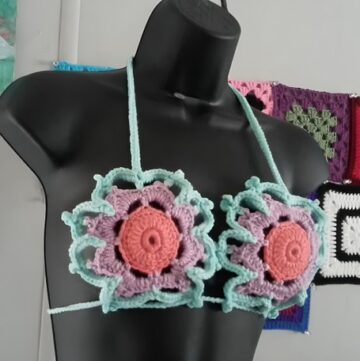
The Crochet Flowers
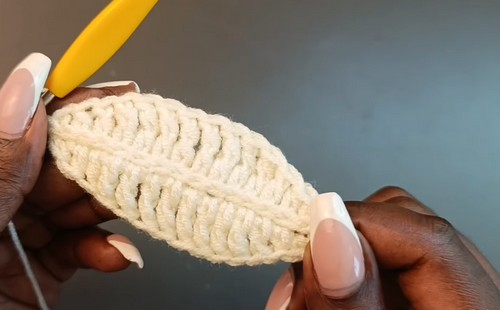
A. Large Flower Leaf (Chain 15)
Row 1 (Foundation)
- Chain 15.
- Starting in the 2nd chain from the hook, work the following stitches sequentially:
- 1 SC
- 1 HDC (Half Double Crochet)
- 1 DC (Double Crochet)
- 8 TR (Triple Crochet)
- 1 DC
- 1 HDC
- 1 SC (Last chain)
Working Around
- Chain 1, turn to work along the other side of the starting chain.
- Work the corresponding stitches into the opposite side:
- 1 SC
- 1 HDC
- 1 DC
- 8 TR
- 1 DC
- 1 HDC
- 1 SC
- Chain 1, and slip stitch into the first SC to join the round.
Center Rib & Edging
- Center Rib: Chain 1. Slip stitch into each of the center spaces/chain connections all the way to the other end to make the leaf firm.
- Round 2 (Netting): Follow the full instructions in the video, which involves a pattern of
HDC, Chain 1, Skip 1all the way around, with the exception of the 3 stitches at the tips where you workHDC, Chain 1, HDCwithout skipping. - Round 3 (Picot Edging): Work a picot/puff stitch (Chain 2, slip stitch back into the same stitch) on top of every HDC, and slip stitch into the chain-1 spaces all the way around.
B. Small Flower Leaf (Chain 9)
- This follows the exact same structure as the large leaf, but with a shorter starting chain and fewer stitches in the middle section.
- Start: Chain 9.
- Row 1 (Part 1): Starting in the 2nd chain from the hook: 1 SC, 1 HDC, 1 DC, 2 TR, 1 DC, 1 HDC, 1 SC.
- Working Around: Chain 1, turn. 1 SC, 1 HDC, 1 DC, 2 TR, 1 DC, 1 HDC, 1 SC.
- Finish: Complete the Center Rib, Netting Round, and Picot Edging as detailed for the large flower.
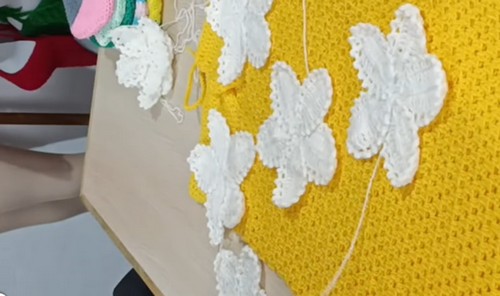
C. Flower Assembly
- Weave in all ends, leaving one long end on one leaf for joining.
- Overlap the 5 large leaves to form one large flower, and sew them together at the tips with a darning needle and/or use glue for a firmer shape.
- Do the same for the smaller flowers (2 leaves each).
- Attach the assembled flowers to the dress.
Leave a Reply