
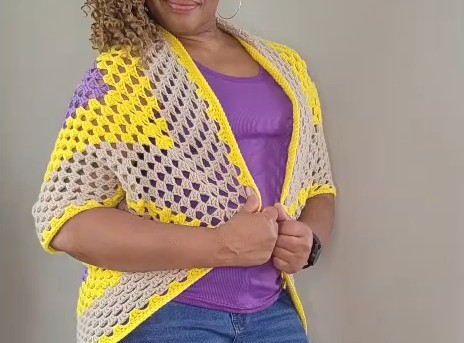
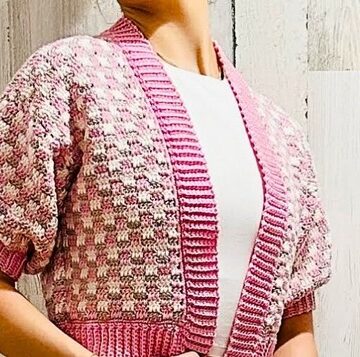
The Easy Crochet Granny Square Cardigan is the perfect project for beginners who want to create a stylish, cozy cardigan. Using the timeless granny square technique, this pattern allows you to work up a large square that, when folded, transforms into a fashionable cardigan with armholes.
Crochet Granny Square Cardigan
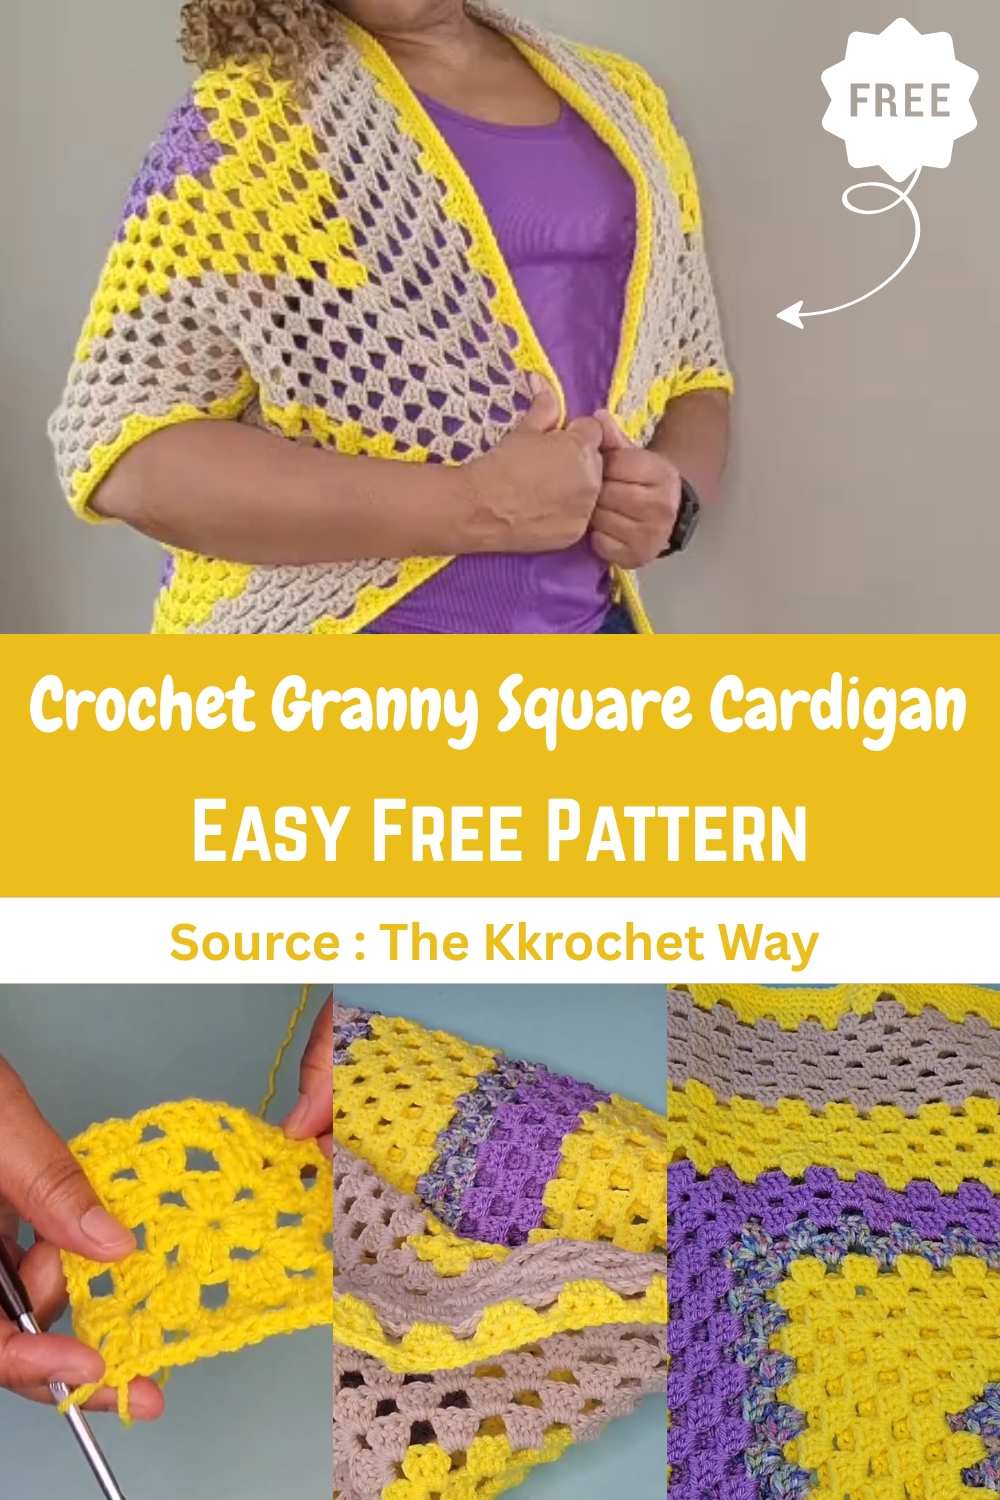
Not only does this project help you master the basic granny square, but it also gives you a chance to personalize your cardigan with your choice of yarn and colors. The design is simple yet versatile, and you can adjust the size to suit your preferences, making it an ideal choice for every wardrobe. Whether you're wearing it in cooler weather or as a layering piece, this cardigan is sure to become a favorite.
Materials
- Yarn (The video uses scrap yarn)
- 5 mm crochet hook
- Scissors
- Yarn needle
The Granny Square Pattern
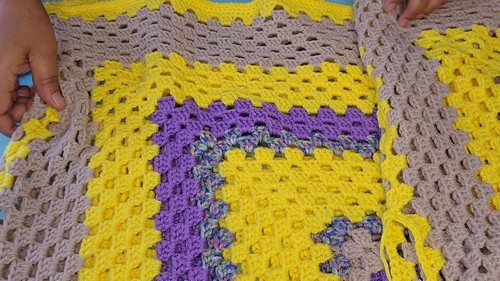
The cardigan is made from a single, large granny square that is later folded and seamed.
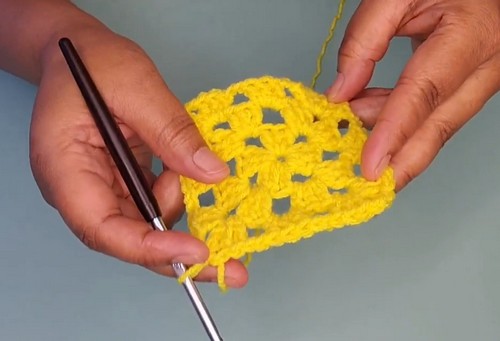
Round 1 (Foundation)
- Make a slip knot.
- Chain 4.
- Slip stitch into the first chain to form a ring.
- Chain 3 (counts as the first double crochet, or DC).
- In the ring, place 2 DC.
- Chain 2 (This creates the first corner space).
- In the ring, place 3 DC.
- Chain 2.
- In the ring, place 3 DC.
- Chain 2.
- In the ring, place 3 DC.
- Chain 2.
- Slip stitch to the top of the beginning chain 3 to close the round.
Subsequent Rounds (Repeating the Pattern)
- To start a new round: Chain 3, and place 2 DC into the same space.
- Side Space: In the next chain-2 space along the side, place a single cluster of 3 DC.
- Corner Space: In the corner chain-2 space, place (3 DC, Chain 2, 3 DC).
- Between clusters: Chain 2 between every 3 DC cluster, except within the corner clusters.
- To end the round: Chain 2, then slip stitch to the top of the beginning chain 3.
- Continue this pattern until the square is large enough.
- The video suggests the square should be big enough that when folded in half diagonally, it reaches from your shoulder to your forearm for the sleeve opening.
Shaping the Cardigan (Armholes)
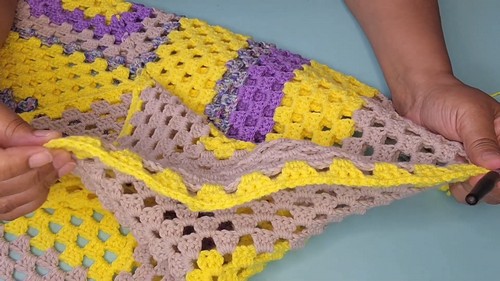
Once your large square is complete, fold it in half diagonally. You will now be working on the opening for the sleeves.
Create the Armhole Opening
- Ensure you are working on the back side of the folded square.
- Starting at the top edge of the short side, attach yarn and Chain 1.
- You will now work a row of single crochet (SC) up the edge of the square to mark the armhole:
- In the chain space, place 2 SC.
- In the cluster (the three DC stitches), place 1 SC in each of the three stitches.
- Repeat this pattern (2 SC in space, 3 SC over cluster) until you have worked into 11 chain spaces. (This number can be adjusted for a smaller/larger armhole).
Finish the Armhole Edge
- Remove your hook from the loop, flip the work to the right side.
- Insert your hook back into the loop.
- Chain 1.
Work a second round of SC around the armhole opening:
- In the chain space, put 2 SC.
- In the cluster, put 3 SC.
- Continue this until you get back to the start.
- Place the last 2 SC in the chain space before the end, then slip stitch to the first chain.
Chain 1, cut yarn, and tie off.
- Repeat Steps 1 and 2 on the opposite side of the folded square for the second sleeve.
The Border
- The final step is to add a single crochet border around the entire opening of the cardigan.
- Attach yarn at one of the corners of the sleeve opening.
- Chain 1.
- Work 3 rounds of single crochet (SC) all the way around the entire cardigan opening (down one front, across the bottom, and up the other front):
- In the cluster (the 3 DC group), place 3 SC.
- In the chain space, place 2 SC.
- Closing the Rounds: At the end of each round, slip stitch to the top of the first chain. Chain 1 to start the next round.
- After the third round, slip stitch, chain 1, cut the yarn long enough to weave in, and fasten off.
- Weave in all remaining ends to complete the cardigan.


Leave a Reply