
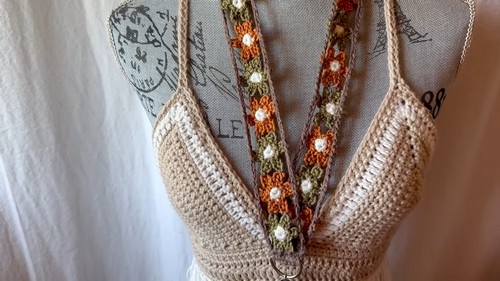
Explore our Crochet Flower Lanyard Tutorial that's a delightful project perfect for crochet enthusiasts looking to create something both beautiful and functional.
Crochet Flower Lanyard Tutorial
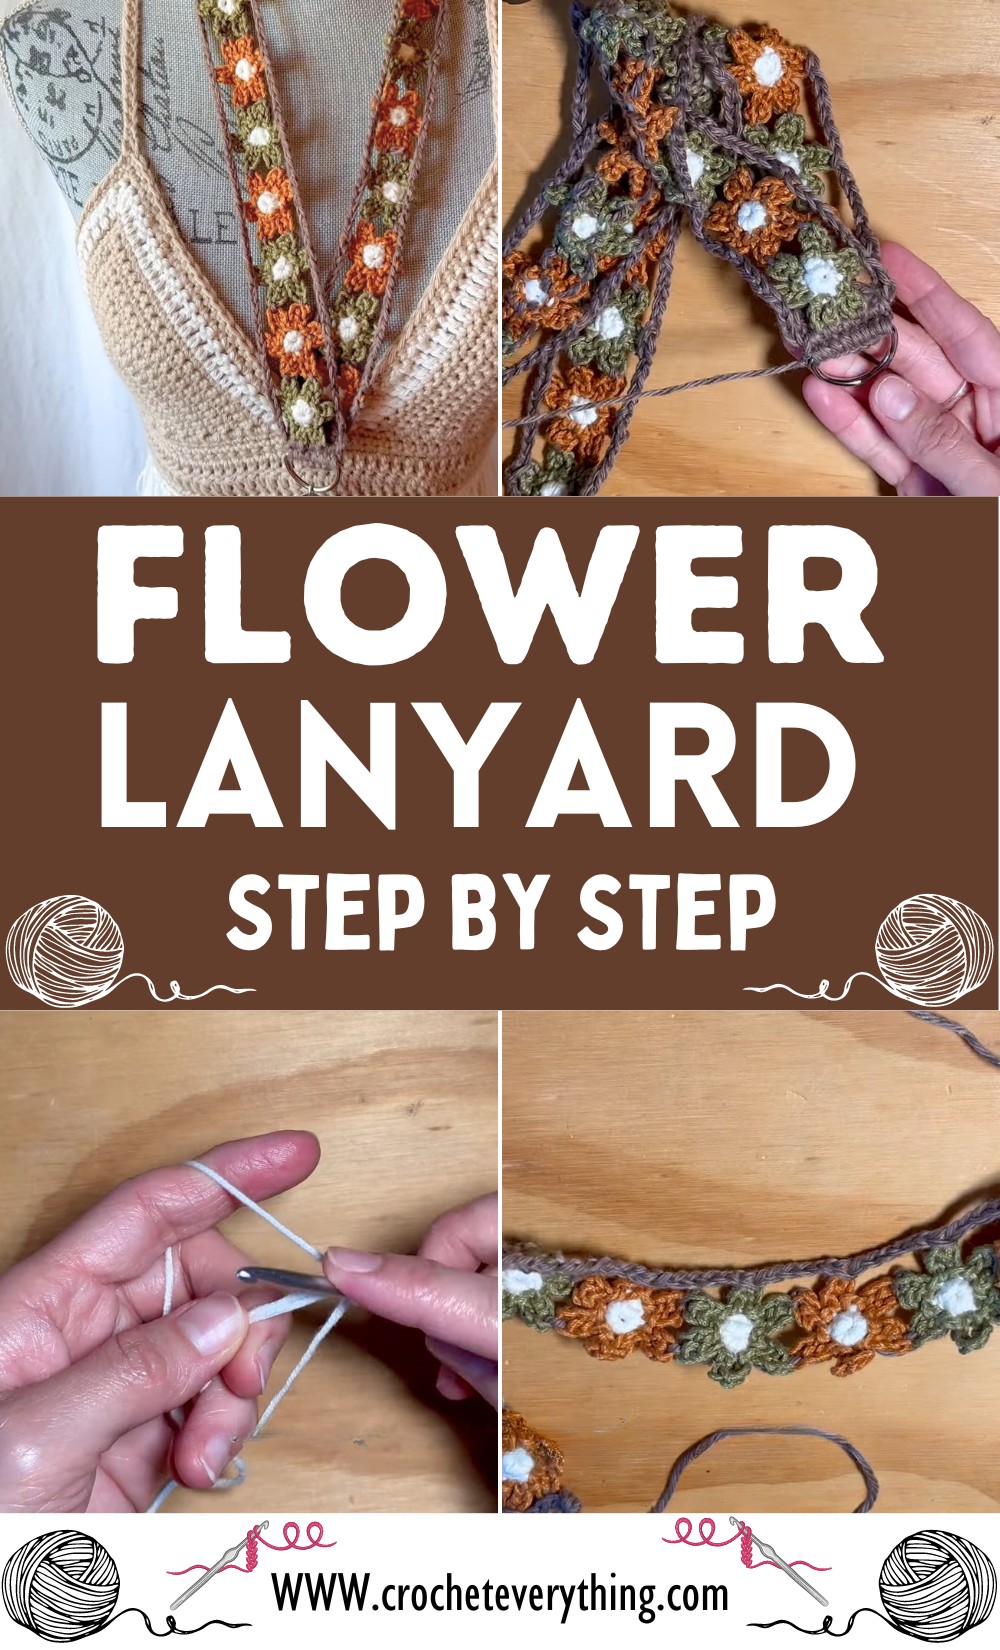
Through a series of simple steps, we will guide you on how to craft an eye-catching lanyard adorned with crochet flowers. This pattern involves creating individual flowers, joining them together into a lanyard, and adding a neatly crocheted border for a polished finish.
Suitable for intermediate crocheters or ambitious beginners eager to expand their skills, this tutorial promises a unique accessory that's not only a joy to make but also a charming addition to your collection or a thoughtful handmade gift.
Center of Flowers
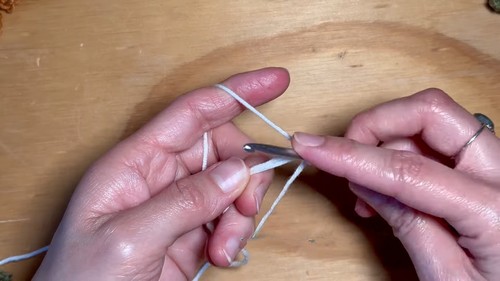
- Start with white yarn and make a magic ring.
- Chain 1 and add six single crochets into the center of the ring.
- After the last single crochet, pull the ring closed.
- Slip stitch to the first single crochet to end the round.
- Cut and sew in your ends.
Petals
- Choose your petal colors (the example alternates green and amber).
- Tie yarn onto any stitch of the six base stitches.
- Chain 6.
- Slip stitch into the same stitch you started to form the first petal.
- Slip stitch into the next stitch, chain 6 again, and slip stitch into the same stitch. This is the second petal.
- Repeat the process (slip stitch, chain 6, slip stitch in same stitch) for each of the six stitches to create a total of six petals.
- After the last petal, slip stitch into the first stitch to end the row.
- Cut and sew in ends.
- Repeat the process to make a total of 23 flowers.
Joining Flowers
- Place two flowers right sides together.
- Cut a strand of yarn in your chosen color for joining (brown is used in the example).
Use a darning or tapestry needle to join the flowers:
- Sew through the top stitch of the corresponding petals to connect them.
- Tie a double knot to secure.
- Work your way up the back of the flower in a U shape to hide the yarn.
- Join the top stitches of the next two petals similarly.
- Ensure not to pull too tight.
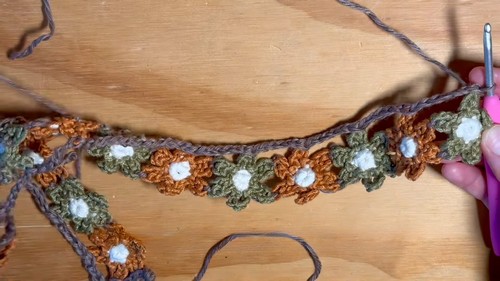
- Continue joining flowers in a single line, leaving the left and right petals free—join, free, join, free pattern.
Border
- Using the same color yarn (brown in the example) and same-sized hook:
- Chain 7.
- Starting in the second chain from the hook, add one single crochet.
- In the next stitch, go through the top of the flower's bottom petal, and then complete the single crochet.
- Add single crochets in the following two stitches.
- Repeat joining single crochets to petals.
- To work up the side, chain 4 and slip stitch in the top of each petal—chain 6 between each slip stitch.
- After covering one side, chain 5.
- Work on the opposite end, slip stitch in the top of the first petal, chain 2, and slip stitch in the bottom of the next petal.
- Chain 5 and repeat the side pattern from step 7 on the other side.
- Chain 4 and slip stitch into the first stitch to complete the border.
- Cut and sew in ends.
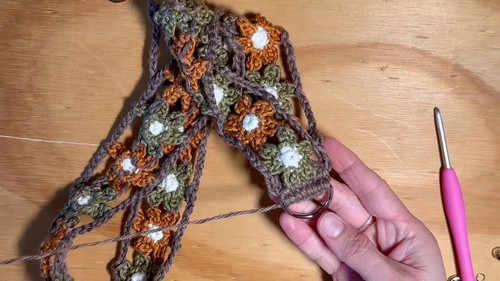
Join Lanyard
- Ensure no twists in the lanyard and place both right sides facing up.
- Tie yarn onto the right-hand corner.
- Single crochet along the flat edge, joining both ends together.
- Chain 1, turn, and attach a D-ring with single crochets going around the D-ring.
- Continue until the end of the row, tie off, and sew in the end.
Attach Keychain
- Use a strong jump ring and a lanyard keychain (with pliers for assistance).
- Feed the lanyard onto the jump ring along with the D-ring and close the jump ring.
The lanyard should now be completed. Give the lanyard a final check to make sure everything is secure, making any adjustments as necessary. Enjoy your handmade crochet flower lanyard!


Leave a Reply