
Attaching a wig cap or hat to a crocheted doll might seem like a small step, but it's essential for achieving a professional, clean finish. This tutorial walks you through a simple yet highly effective method for sewing a pre-made wig cap or hat onto your crochet doll’s head.
Crochet Doll Wig Cap For Amigurumi
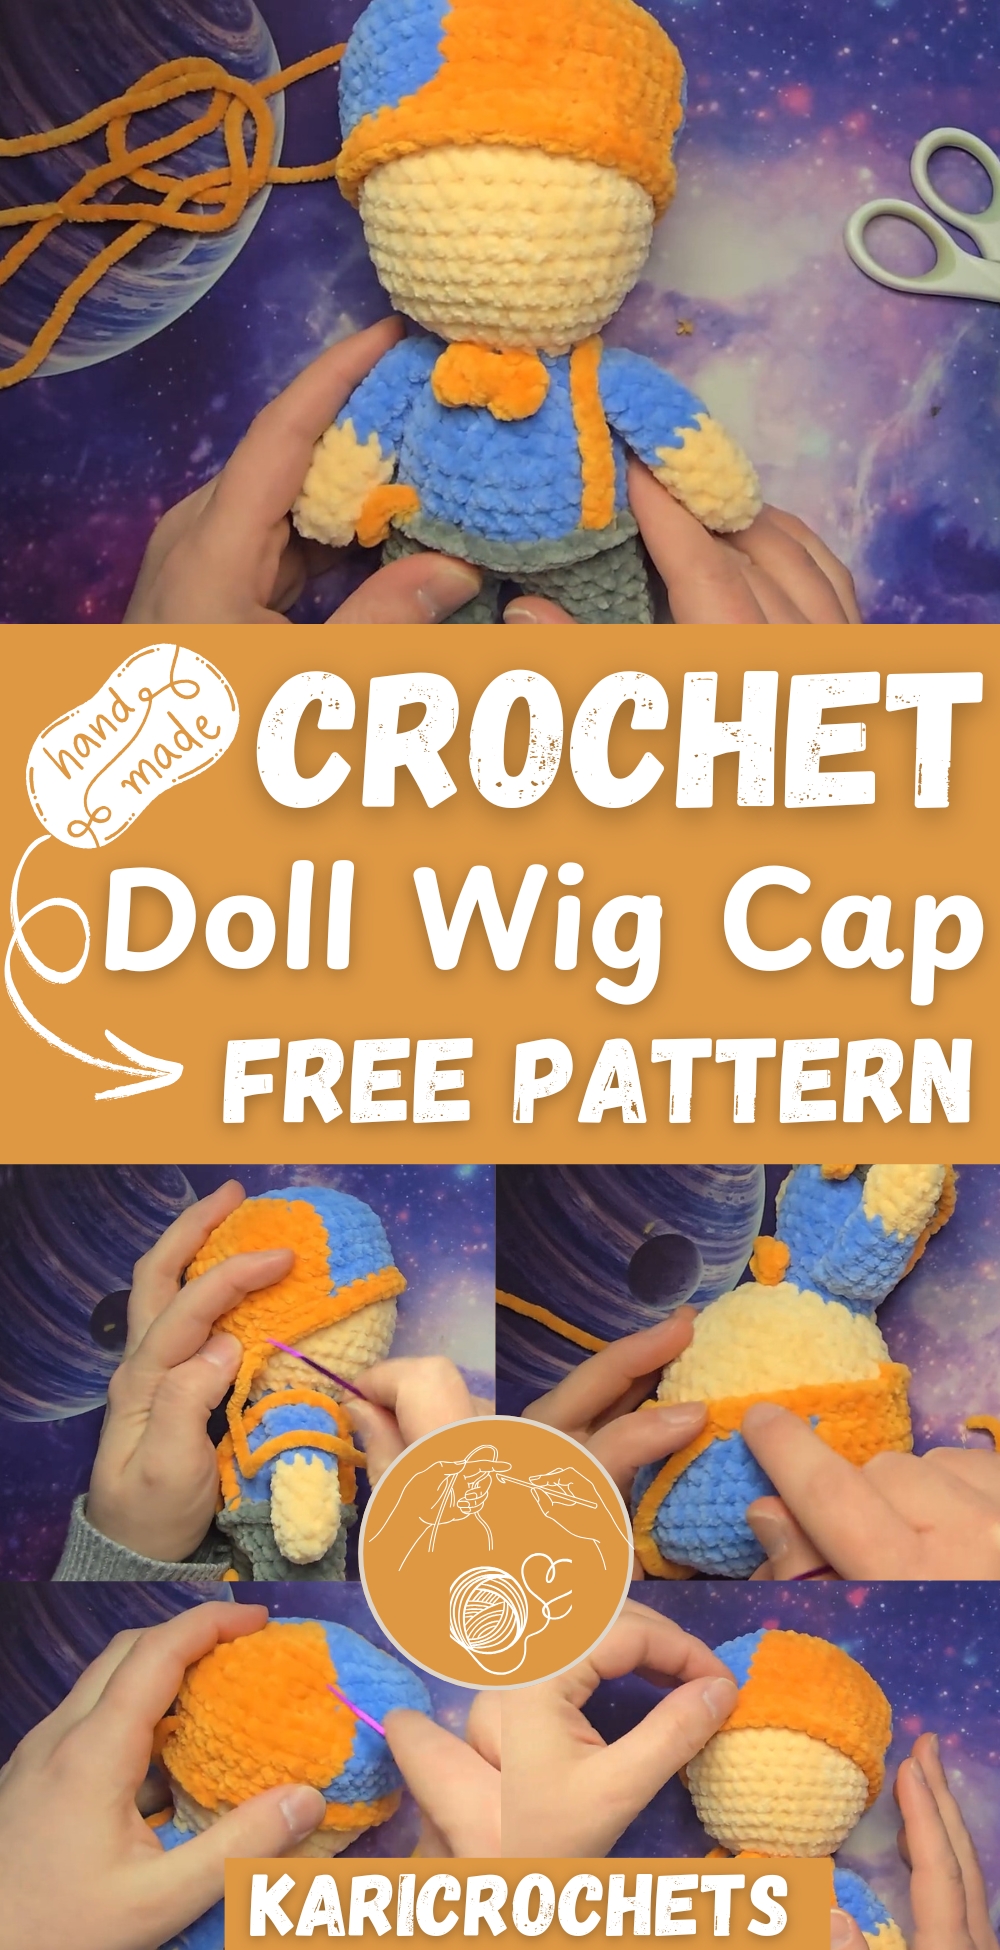
From positioning the cap properly to working through the last row of stitches, every detail ensures the result is seamless and secure. Whether you're completing a custom amigurumi or enhancing a handmade gift, this technique keeps your doll looking polished, symmetrical, and free of puckering. It’s the perfect method to elevate your crochet creations!
Materials
- Pre-made wig cap or crocheted hat
- Darning or yarn needle
- Matching yarn
- Crochet doll with finished head
- Scissors
Step-by-Step Instructions

Position the Wig Cap or Hat
- Place the cap on the doll’s head.
- Adjust it until it aligns perfectly where you want it to sit.
Start Sewing from the Back
- Thread your needle with a length of matching yarn.
- Begin at the back of the head for a discreet starting point.

Sew Through the Last Row of the Wig Cap
- Insert the needle through the last round of stitches on the wig cap.
- Work around the posts of the stitches for a stronger hold.

Tug Gently After Each Stitch
- After each stitch, give the yarn a light tug to keep the cap snug against the doll’s head.
- Avoid pulling too tight to prevent puckering.
Complete the Seam
- Continue sewing evenly around the head.
- Go one stitch past your starting point to ensure closure.

Knot and Secure the Yarn
- Tie a secure knot to finish.
- Run the needle back through the doll’s head to hide the yarn tail.

Smooth Out Any Puckers
- Use your needle or fingers to gently pull out and smooth any puckering along the seam.


Leave a Reply