
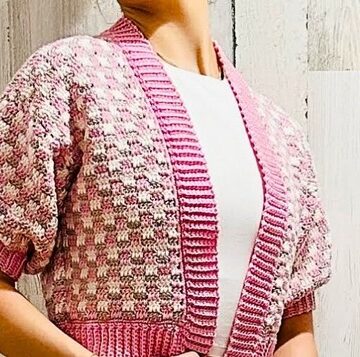
This Crochet Cardigan for Beginners is a simple, cozy project made with easy panels and a beginner friendly double crochet technique that creates a clean textured look. You’ll crochet one back panel, two front panels, and two sleeves, then seam everything together for a classic cardigan shape that feels modern and wearable.
Crochet Cardigan For Women
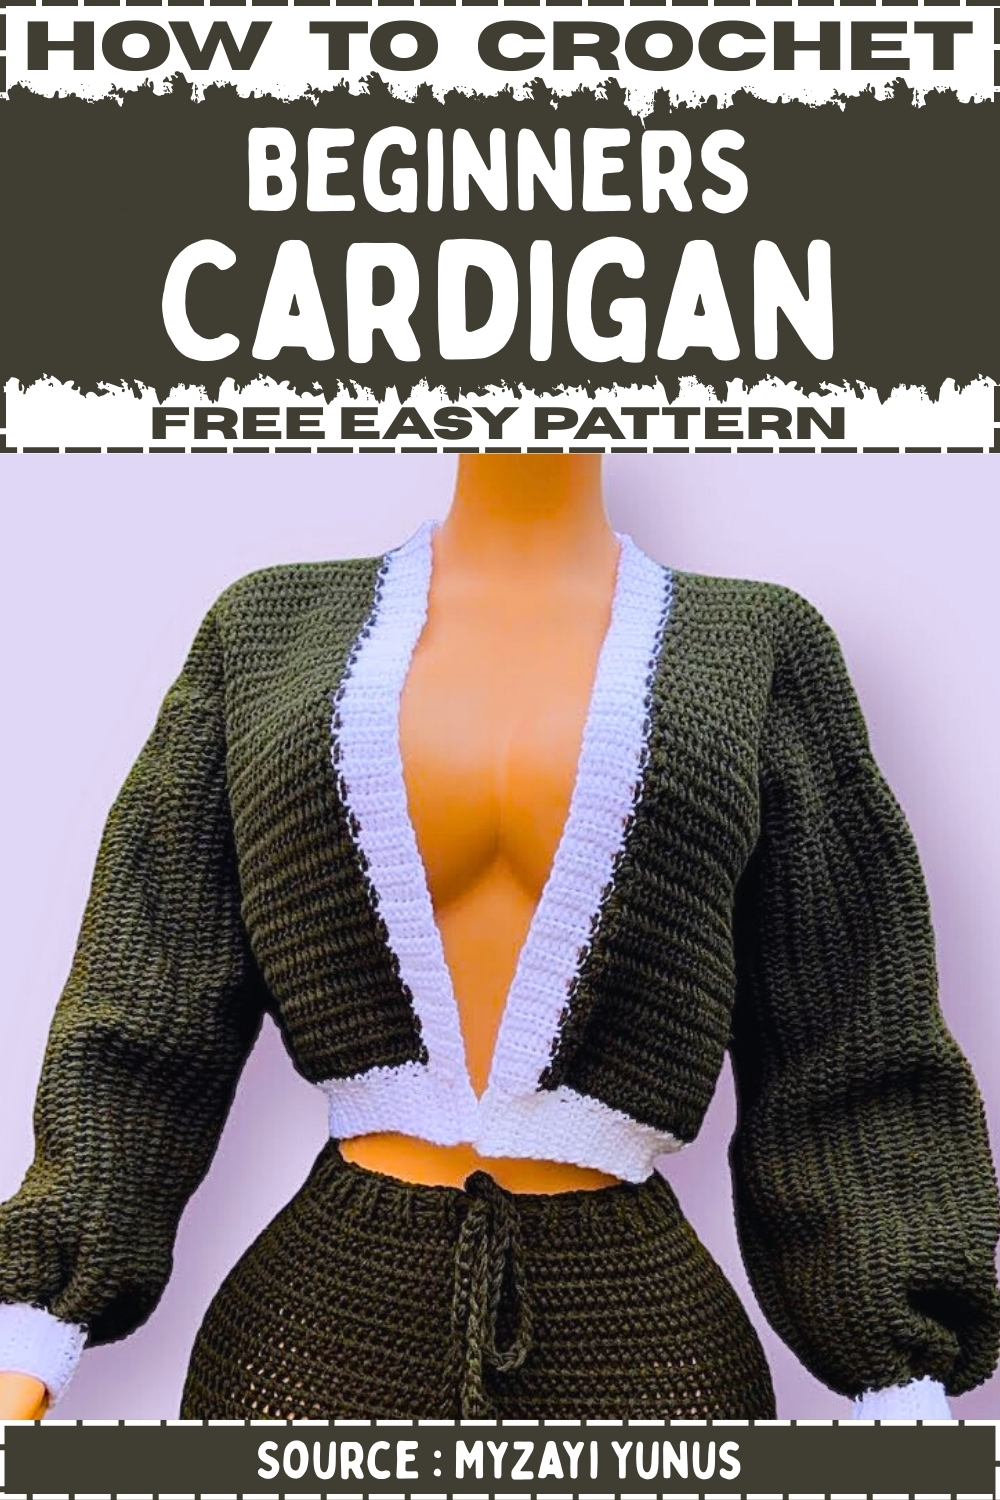
The pattern is designed for sizes 6 to 12, and it’s also easy to customize by adjusting the starting chain for more width or adding rows for extra length. With neat single crochet borders and simple ribbing on the cuffs, neckline, and hem, this cardigan is a great first wearable that still looks polished when finished.
Materials
- Yarn in main color plus a second color for ribbing
- Crochet hook to match your yarn
- Stitch markers
- Scissors
- Tapestry needle
Stitches and Abbreviations
- Ch chain
- Sl st slip stitch
- Sc single crochet
- Dc double crochet
- Hdc half double crochet
- Sc dec single crochet decrease
- BLO back loop only
Notes
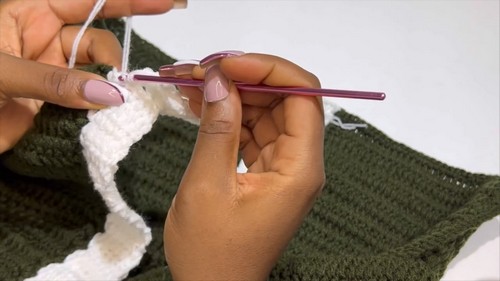
- The main body uses double crochet worked between stitches by inserting the hook into the space between dc posts
- Fit adjustment option: increase the starting chain for a looser fit
Back Panel Make 1
Foundation and Body
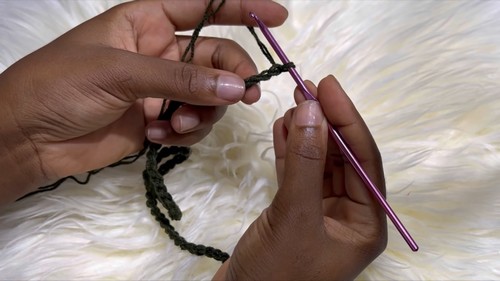
- Make a slip knot and ch 80
- Optional for looser fit: ch 90 to 100
- Row 1 ch 2, skip first 2 chains, dc in 3rd chain from hook, dc in each chain across to the end
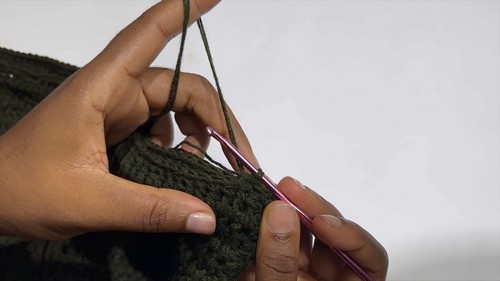
- Row 2 ch 3, turn, dc in the space between the first and second dc of the previous row, dc in each between stitch space across, do not skip the last stitch
- Rows 3 to 52 ch 3, turn, repeat the same between stitch dc row until you reach 52 rows total or your preferred length
Back Panel Border
- Do not cut yarn, ch 1
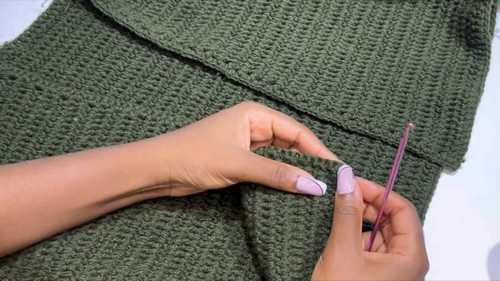
- Work 2 sc into the side space of each row along the panel edge
- At each corner work sc, ch 1, sc in the same corner space
- Along the bottom foundation edge work 1 sc in each stitch space
- Continue the sc border around all four edges
- Ch 1, cut yarn, fasten off
Front Panels Make 2
Foundation and Body
- Make a slip knot and ch 32 total
- Row 1 skip first 2 chains, dc in 3rd chain from hook, dc in each chain across
- Rows 2 to 52 ch 3, turn, dc in each between stitch space across for the same number of rows as the back panel
Front Panel Border
- Ch 2
- Work 2 sc into the side space of each row along the side edges
- Along the bottom edge work 1 sc in each stitch space
- Work border only on the side and bottom edges
- Do not work sc along the front vertical opening edge
- Cut yarn, fasten off
Assembly and Seams
Shoulder Seams Sc Join
- Lay the back panel with the front side facing you
- Place the two front panels on top with the wrong side facing you
- Align shoulder edges and attach yarn with a slip knot
- Ch 1 and sc through both layers across the shoulder edge to join
- Repeat for the second shoulder
Side Seams Sl St Join
- From the shoulder seam measure down about 9 inches and place a stitch marker to mark the armhole opening
- Attach yarn at the bottom edge of a side seam
- Ch 1 and sl st through both layers up the side seam
- Stop at the stitch marker to leave the armhole opening
- Repeat for the second side seam
Sleeves Make 2
Sleeve Body
- Ch 70 or your desired sleeve length
- Row 1 ch 2, skip first 2 chains, dc in 3rd chain from hook, dc in each chain across
- Sl st 2 times into the armhole space to begin shaping around the opening
- Turn, skip the slip stitches, dc in each between stitch space across
- Ch 3, turn, dc in each between stitch space across
- Sl st 2 times into the armhole space
- Turn, skip slip stitches, dc across
- Repeat the process around the entire armhole opening
- Optional for less puff: alternate between 2 and 3 sl sts when joining into the armhole
Sleeve Seam
- Align sleeve edges with right sides together
- Ch 1 and sl st through both sides to close the sleeve seam
Wrist Band Ribbing
- Ch 1 and work 1 sc in each row space around the wrist opening
- Sl st to join
- Ch 1, turn, work sc dec around the wrist opening
- Sl st to join
- Cut yarn without fastening off and attach the second color
- Ch 9
- Skip 2 chains, hdc in 3rd chain from hook, hdc in each chain to the end
- Sl st 2 times into the main wrist edge
- Turn, skip the slip stitches, work BLO hdc across
- Ch 2, turn, work BLO hdc across
- Sl st 2 times into the main wrist edge
- Turn, skip slip stitches, BLO hdc across
- Repeat around the wrist opening until it meets the start
- Ch 1 and sl st the ribbing ends together to seam
- Ch 1 and work 2 sc in each row space around the ribbing edge
- Sl st to join, cut yarn, fasten off
Neck and Bottom Ribbing

Neck and Front Band
- Attach yarn at the bottom of the front opening edge where no border was worked
- Ch 8 or adjust for preferred band width
- Skip 2 chains, hdc in 3rd chain from hook, hdc in each chain to the end
- Sl st 3 times into the cardigan edge to join
- Turn, skip slip stitches, work BLO hdc across
- Ch 2, turn, work BLO hdc across
- Sl st 3 times into the cardigan edge to join
- Repeat up the first front edge, around the neck, and down the second front edge
- Optional: alternate between 3 and 4 sl sts as needed for a smooth lay
Bottom Hem Band
- Continue from the neck band or attach yarn along the bottom hem
- Ch 8
- Skip 2 chains, hdc in 3rd chain from hook, hdc in each chain to the end
- Sl st 4 times into the bottom edge to join
- Turn, skip slip stitches, work BLO hdc across
- Ch 2, turn, work BLO hdc across
- Sl st 4 times into the bottom edge to join
- Repeat around the entire hem
Finishing
- Cut yarn, fasten off
- Weave in all ends neatly


Leave a Reply