
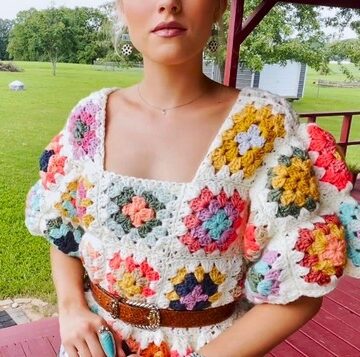
Looking for the perfect summer crochet project? This easy-to-follow bikini top pattern is ideal for beginners and seasoned crocheters alike. Designed with comfort and style in mind, the finished bikini top features shaped cups, halter neck and back straps, and detailed edging for a clean, polished look.
Crochet Bikini Top

With clear shaping and joining instructions, you can confidently customize your fit and color choices. Whether you're lounging by the pool, heading to the beach, or styling it as a bralette for summer festivals, this versatile piece will become a handmade favorite in your wardrobe.
Materials
- Cotton or acrylic-blend yarn (lightweight)
- 3.5 mm or 4 mm crochet hook
- Stitch markers
- Yarn needle
- Scissors
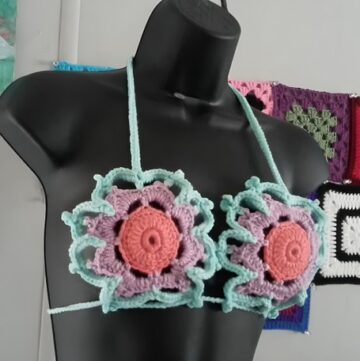
Crochet the Cups
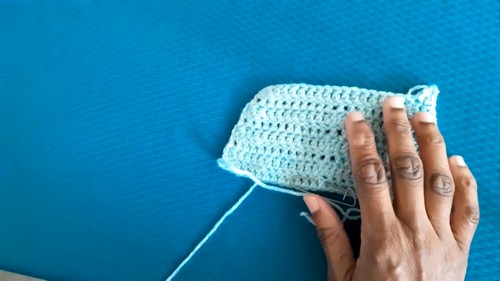
Starting the First Cup
- Make a slip knot.
- Chain 29.
- Double crochet in the 4th chain from hook and continue across.
- You should have 27 double crochets at the end of the row.
Shaping Rows (Rows 2–7)
- Make a turning chain at the end of each row.
Even Rows (2, 4, 6):
- Decrease one stitch at the beginning using a cluster stitch.
- Double crochet until the 14th stitch (middle); place a stitch marker.
- Crochet 3 double crochets into the middle stitch.
- Continue double crocheting until two stitches remain.
- Decrease over the last two stitches using a cluster.
- End Row 2 with 25 stitches.
Odd Rows (3, 5, 7):
- Chain 2 at the start (acts as first double crochet).
- Skip the cluster from the previous row, crochet into next stitch.
- At the middle, skip first of the 3 stitches, double crochet in the center, skip the third.
- Continue crocheting to the end, placing the last double crochet into the cluster’s edge.
Continue Shaping the Cups (Rows 8–16)
Row 8:
- Decrease at the beginning.
- Double crochet to the middle stitch—place 1 double crochet in the middle.
- Continue double crocheting to the end.
- End Row 8 with 19 stitches.
Rows 9–16:
- Continue decreasing at the beginning.
- Crochet across the row without any middle shaping.
- By Row 16, only 3 stitches remain.
- Fasten off and weave in tail.
- Leave stitch markers in place.
- Repeat entire process to make a second cup.
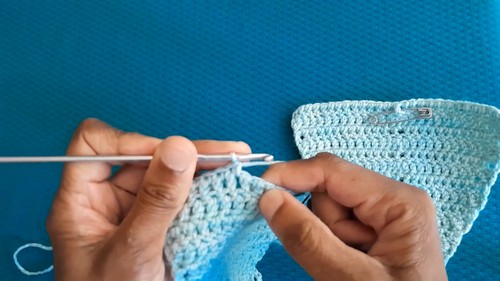
Join Cups & Make Back Straps
Align Cups:
- Place both cups side by side, right side up.
Left Back Strap:
- Rotate cups so bottom edges face up.
- Chain 62 with a slip knot.
- Attach chain to bottom of left cup using a single crochet.
- Single crochet along the bottom of the cup.
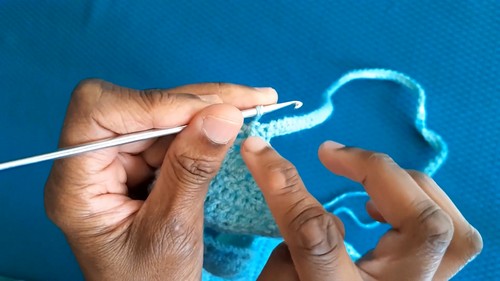
Connect Cups:
- Chain 3 between the cups.
- Single crochet into the bottom corner of the right cup.
Right Back Strap:
- Continue single crocheting along bottom of the right cup.
- Chain 62 for the right strap.
- Work 2 rows of single crochet all the way across.
Add Halter Neck Straps & Edging
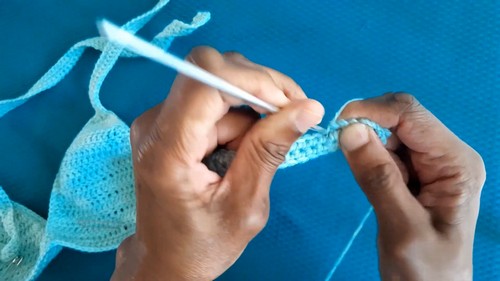
Right Halter Neck Strap:
- With cups facing up, single crochet up the right side.
- At the top of the right cup, single crochet into the first of the final 3 stitches.
- Chain 75.
- Single crochet in second chain from hook, and all the way back down.
- Single crochet into the bottom of the next (middle) top stitch.
- Turn and repeat: crochet up and down the strap once more.
- Single crochet into bottom part of cluster stitch to finish.
Inner Edging & Middle:
- Single crochet along the inner edge of the right cup.
- In the cup-joining area, skip first stitch, crochet into the second stitch between previous row’s stitches.
- Skip the next.
Left Side & Halter:
- Crochet up the inner edge of the left cup.
- Repeat halter strap instructions for the left cup.
- Continue crocheting down to the left back strap.

Final Edging (Crab Stitch)
- With the right side facing you, work reverse single crochet (crab stitch) along all borders:
- Bottom edge
- Inner and outer neck straps
- Cup edges and middle
- Finish at the top of the left back strap.
- Weave in any remaining yarn tails.
Leave a Reply