
This crochet sweater pattern offers a creative and cozy way to add handmade charm to your wardrobe. Whether you're a beginner or an experienced crocheter, this pattern provides endless possibilities for creating a personalized sweater that suits your style.
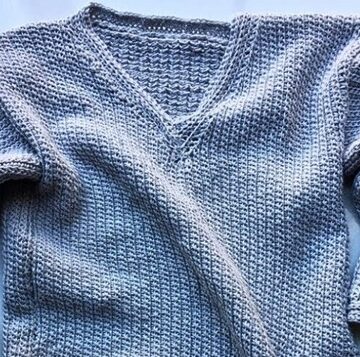
Crochet Sweater

From soft, chunky knits to delicate, lightweight designs, crochet sweaters offer unique texture and warmth, making them the perfect project for anyone who loves both fashion and creativity. Transform simple yarn into a stunning, wearable piece that’s as comfortable as it is stylish.
Materials Needed:
- Scissors
- Stitch markers
- Tapestry needle
- 5.5 mm crochet hook
- Measuring tape
- 4-5 balls of Sirdar Snuggly Super Soft Rainbow Drops yarn (or similar Aran weight acrylic yarn)
Measurements:
Body width:
- Measure from one side to the other at your desired width (e.g., 20.5 inches)
Body height:
- Measure from top of shoulder to where you want the jumper to end (e.g., 16 inches)
Sleeve length:
- From top of shoulder to wrist (e.g., 16 inches)
Sleeve width:
- Around the upper arm, adjusted for comfort (e.g., 17 inches)
Body (Front and Back Panels):
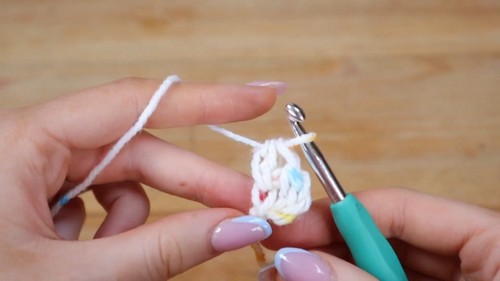
Create a Slipknot and Begin Chain:
- Create a slipknot and chain 3.
Foundation Half Double Crochet Chain:
- Yarn over, insert hook into the first chain.
- Yarn over, pull through to create three loops on the hook.
- Yarn over, pull through one loop, then yarn over again and pull through all three loops.
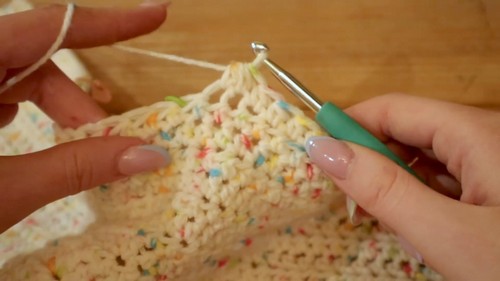
- Repeat this process to extend the foundation chain to the desired width (e.g., 68 stitches or 20.5 inches).
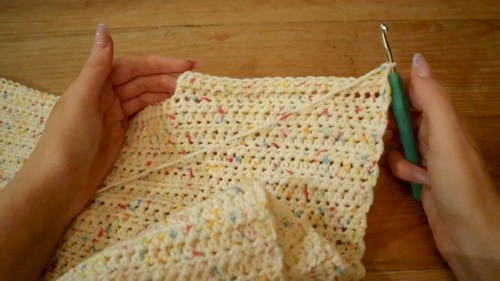
Build the Body Panels:
- Work in half double crochet back and forth until you reach the desired length minus 2.5 inches for the last section where the neck begins.
- Begin decreases for the neck by halving the number of stitches in the middle, marking with stitch markers.
Sleeves:
Create the Foundation Chain:
- Similar to the body, but adjust length according to measurements around the upper arm.
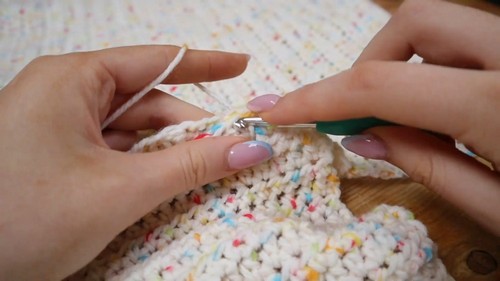
Work Rows:
- Continue in half double crochet until the sleeve is long enough to match the length from the shoulder to the wrist.
Attach Sleeves:
- Attach the sleeves to the body by aligning the center of the sleeve with the shoulder seam and using a slip stitch or a seam stitch to secure them.
Finishing Touches:

Neckline:
- Pick up stitches around the neckline and work a few rows in single crochet or as desired for a finished edge.
Assembly:
- Place front and back panels right sides together.
- Seam shoulders and sides together using a whip stitch or preferred seaming technique.
Cuff and Hem:
- Optionally, add ribbing or a simple single crochet edge to the cuffs and hem for a cleaner finish.

Leave a Reply