
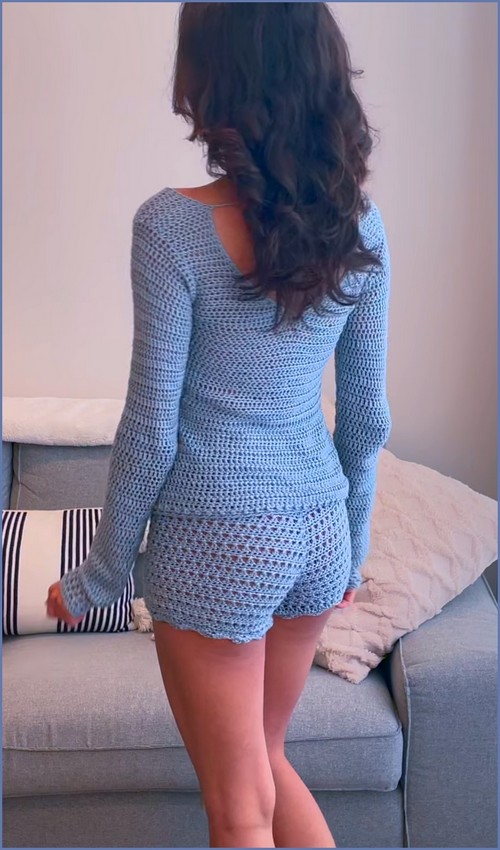
This crochet long sleeve top pattern is designed to fit your exact measurements, giving you a custom, romantic-inspired top every time. The construction includes shaping for the bust, back, and sleeves, allowing the finished piece to contour beautifully to your body.
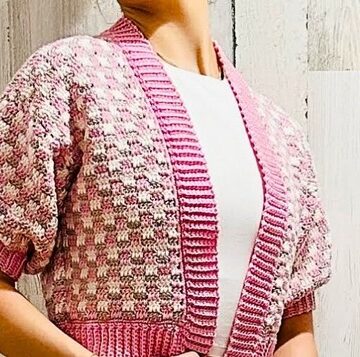
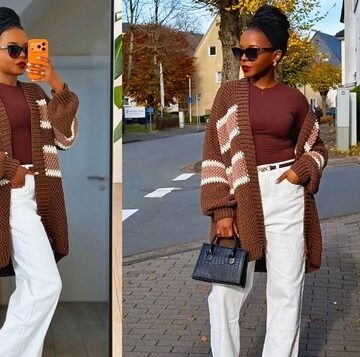
Crochet Long Sleeve Cardigan
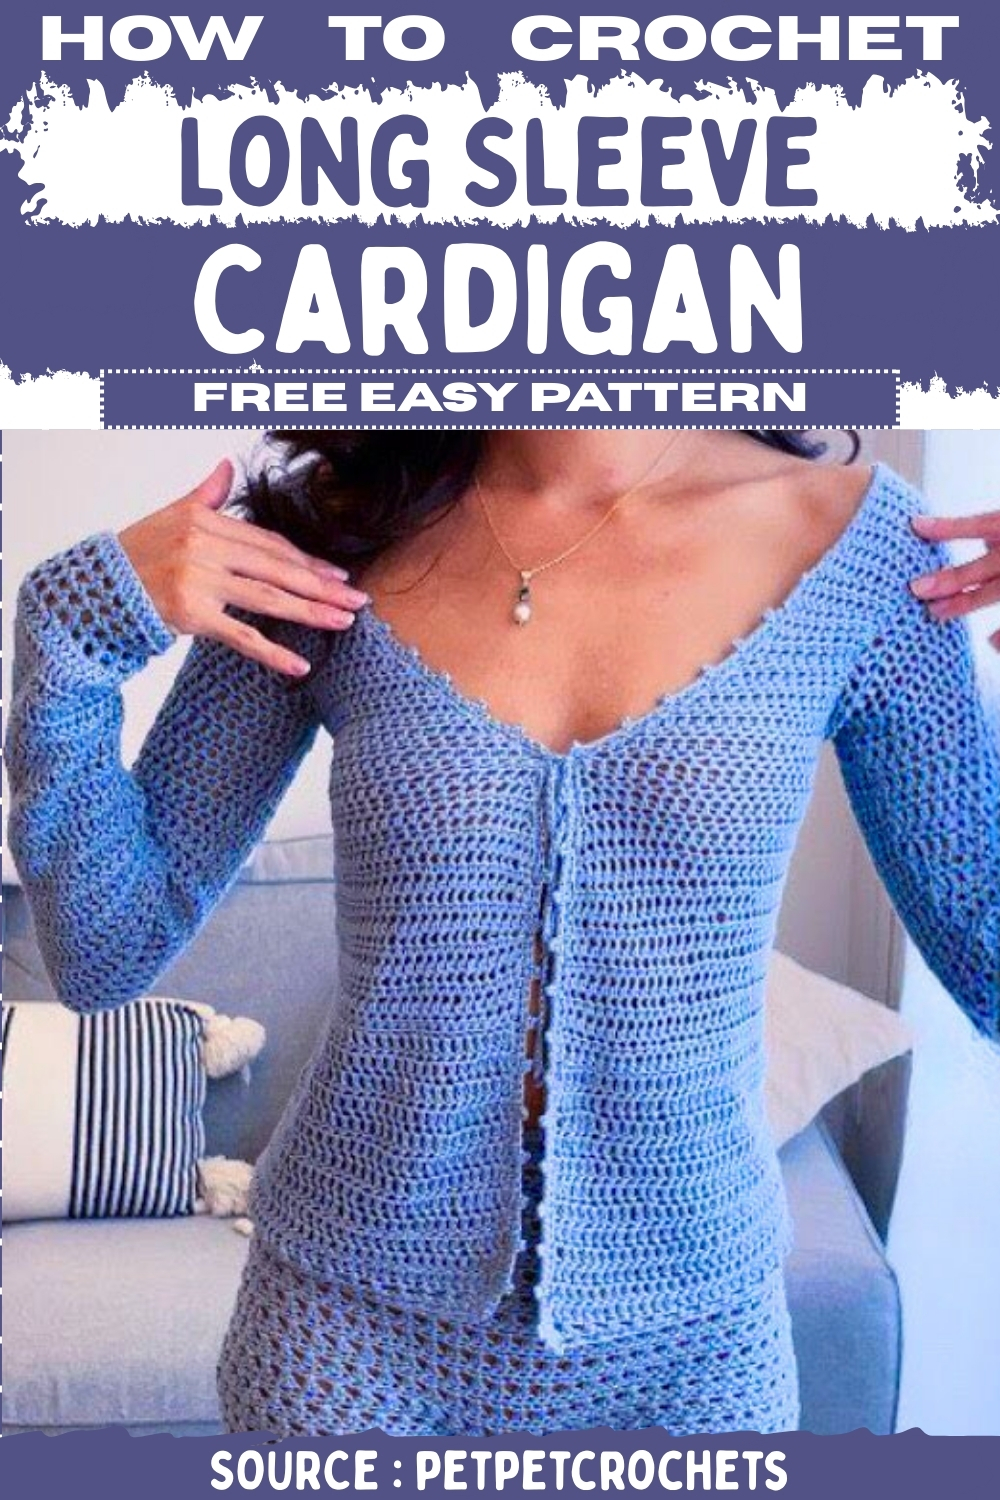
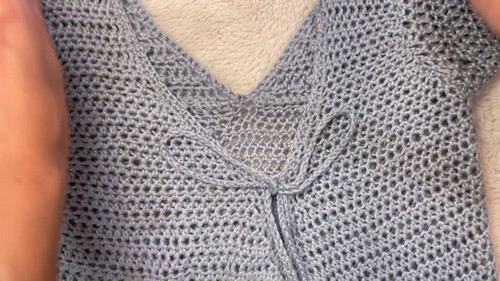
Its adaptable design lets you create it as a fitted top or a cozy cardigan, with optional features like picot edging, a lace-up front, or a stabilizing back strap. Whether you prefer a soft, simple everyday look or a delicate, feminine style, this pattern offers plenty of room to personalize your yarn, length, and details.
Preparation and Measurements
- Use DK weight 3 yarn, a 3.5 mm hook, a 2.25 mm hook optionally, and a tape measure
- Measure your bust circumference around the fullest part
- Measure bust panel length from underarm to center chest
- Calculate back panel length using bust circumference minus two bust panel lengths
- Divide back panel length by two to determine V-shape length
- Note back panel height after completing the bust panel shaping
Crocheting the Panels
Bust Panels Make 2
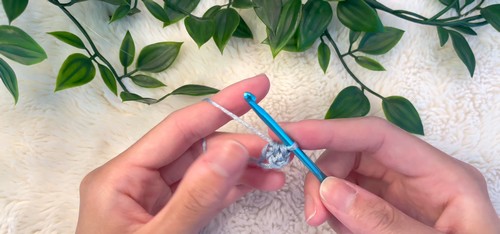
- Start with a slip knot and chain 3
- Work foundation HDC until reaching your bust panel length
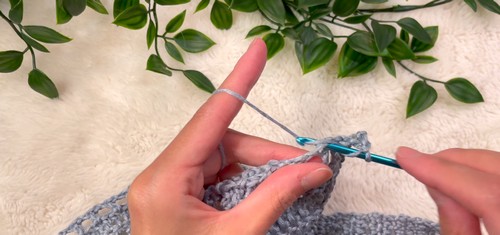
- Chain 2 and turn for HDC rows until close to bust height
- Begin V-neck shaping by decreasing at the end of a row
- On the next row decrease at the start by skipping the first stitch
- Alternate decrease sides until the top edge reaches V-shape length
- Record panel height for back panel height
- Shape straps by decreasing at both ends until strap width is reached
- Work a few rows decreasing only at the beginning
- Work regular HDC rows for strap length
- Begin increases by placing two HDC in the first and last stitch
- Continue increasing until width returns to original bust panel length
- Chain 1, cut, and secure yarn
Back Panel Make 1
- Work foundation HDC up to back panel length
- Chain 2 and turn for HDC rows until reaching back panel height
- Chain 1, cut, and secure yarn
Assembly and Body
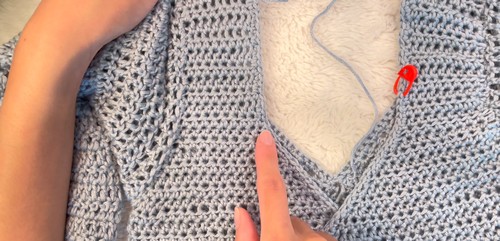
Joining Panels
- Place the bottom of the triangular bust panel against the top of the back panel
- Use SC to join across the edge to the midpoint
- Repeat for the second panel
- Line up front and back sides and SC up each side
Crocheting the Body
- Begin at a corner and chain 1
- Work SC evenly around the entire bottom
- Ensure an even stitch count
- Chain 2 and work DC rows until reaching desired body length
- For the mesh rows chain 4 and skip 2 stitches then DC
- Follow the pattern of chain 1 skip 1 and DC
- Repeat mesh row pattern for the second row
Edging
- Chain 1 and work SC around neckline straps and body
- Add two SC in corners for clean shaping
Sleeves Make 2
- Work DC foundation stitches to fit around the wrist with an even count
- Work mesh rows using chain 1 skip 1 and DC for five rows
- Chain 2 and work DC into every stitch and space
- Work five rows of regular DC
- Repeat five rows of DC and increase on the sixth row alternating sides
- After reaching armpit length switch to faster increases
- Work three DC rows and increase on both ends of the fourth row
- Continue until sleeve fits over the shoulder
Final Assembly and Details
- Align the sleeve opening with the armhole using markers
- Begin at the armpit and SC the sleeve to the armhole
- SC along the open sleeve edge to close it
- Repeat for the second sleeve
- Create an optional back cord and attach to straps
- Add optional picot edging using SC in four stitches then picot
- Make a chain strap and weave through the picots for closure
- Weave in all loose ends


Leave a Reply