
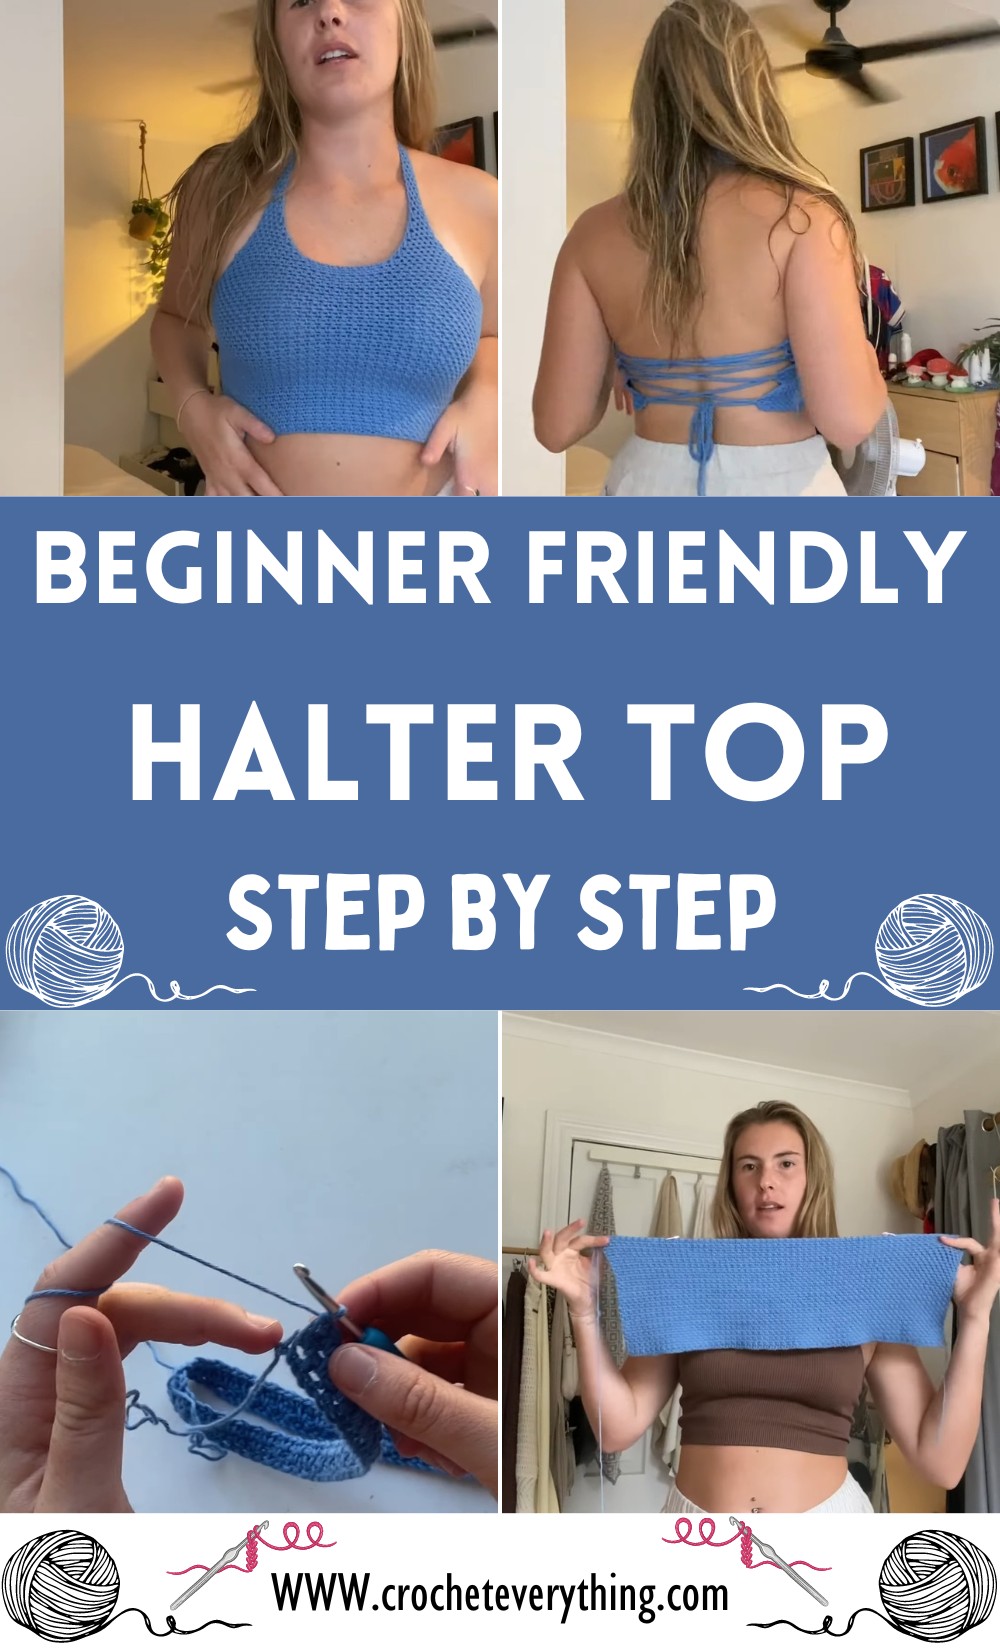
If you're just getting started with crochet and are eager to try your hand at making clothing, this tutorial is designed with you in mind. It's a straightforward guide to creating an attractive crochet halter top that's surprisingly simple to put together, requiring only basic stitches and a small amount of yarn.
Beginner Friendly Crochet Halter Top Tutorial
Through each phase of the process, you'll learn essential techniques that will lay the foundation for future projects. This pattern is geared toward those who have never made a garment before, providing easy-to-follow instructions that will help you produce a piece you can be proud of wearing.
Materials:
- 100g of Four Seasons Flinders Yarn (50g balls)
- 4mm crochet hook
- Scissors
- Yarn needle
- 4 stitch markers (2 of each color for differentiation)
Halter Top Pattern:
To Start:
Make a slip knot and chain an even number that wraps comfortably around your rib cage with a 4 to 5 inches gap at the back (example given was 120 chains but adjust as needed to your size).
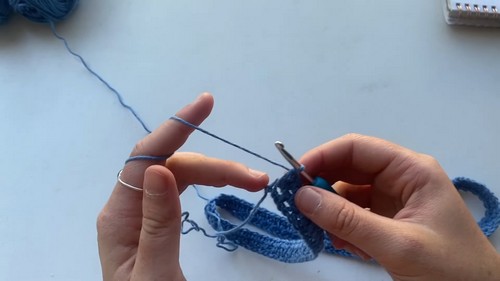
- Row 1: After your base chain, chain 1 more, skip 2 chains, and single crochet into the third chain from the hook. Chain 1, skip the next stitch, and single crochet into the following stitch. Repeat this process across the entire row.
- Row 2: Chain 2 (counts as your first single crochet and chain space). Turn your work, single crochet in the chain space from the previous row, chain 1, and repeat across the row, ensuring you single crochet into each chain space.
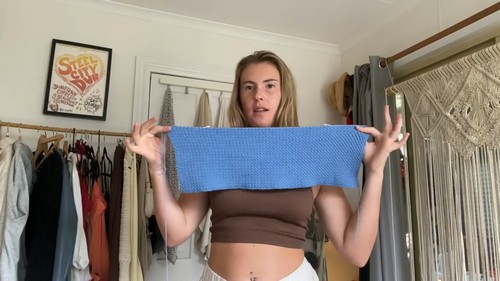
- Repeat Row 2 for the specified number of rows to build the height of the top (suggested is 42 rows, but adjust based on desired length).
For the Straps:
Try on the top to determine where you want the straps to sit and mark these spots with stitch markers.
- Count the number of chain spaces to ensure an even placement of straps on both sides.
- Connect yarn at one marker with a slip knot and begin making the moss stitch pattern across to the other marker for the first strap row.
- For strap shaping, perform decreases at the beginning and end of every other row to create a tapered look. And continue until you've reached the desired strap length, ending with a row count that suits you (example used suggests decreasing every second row and maintaining even rows without decreases in between).
- Repeat the strap process for the second strap ensuring symmetry in row count and decreases.
Creating the Border and Back Ties:

Add a single crochet border on each side of the halter top. Counting stitches to ensure they're even on both sides.
- Incorporate chain spaces within this border evenly spaced for back tie laces.
- Crochet a long chain (suggested around 300 chains or to your preference). To lace through the back ties, adjust for fit, and tie securely.
Finishing Touches:
Weave in all loose ends for a neat finish.
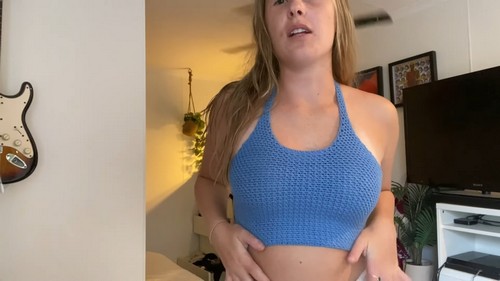
Try on the halter top and adjust the back laces as needed for comfort and fit.


Leave a Reply